Growing plants and herbs from kitchen scraps or pantry items is my absolute favorite thing about my deck garden. Don’t get me wrong- I am not against buying plants or saplings from nurseries. But if you can grow them from something that was either going to the trash can or is sitting in the pantry then isn’t it fascinating? Think about it, a kitchen scrape can actually grow an entire new plant. Basically you are using every bit of that produce. Now the fun part is that once you have a plant grown it keeps giving fresh produce every few days. So you don’t run out of the basic herbs and plants that are like the backbone of Indian cuisine.
Now for me this isn’t about just saving money but it’s more about the feeling of accomplishment. It makes me feel good and positive when I see these plants growing from something that was in my kitchen already. Ok this may sound a bit philosophical but think about it. These plants and herbs are so humble and modest that they easily grow from their own scrapes. Now isn’t that fascinating to think? Even if you don’t feel that way then let me talk about the flavor and freshness of the home grown produce. It is DEFINITELY DIFFERENT from store bought produce. Home grown produce is so fresh and full of flavor that I bet you will not go back to store bought ones after growing them once. Atleast I am not. So without wasting any more time, here I am sharing a few of the plants and herbs that you can grow from the scrapes or pantry staples that is already in your kitchen.
- Tomatoes
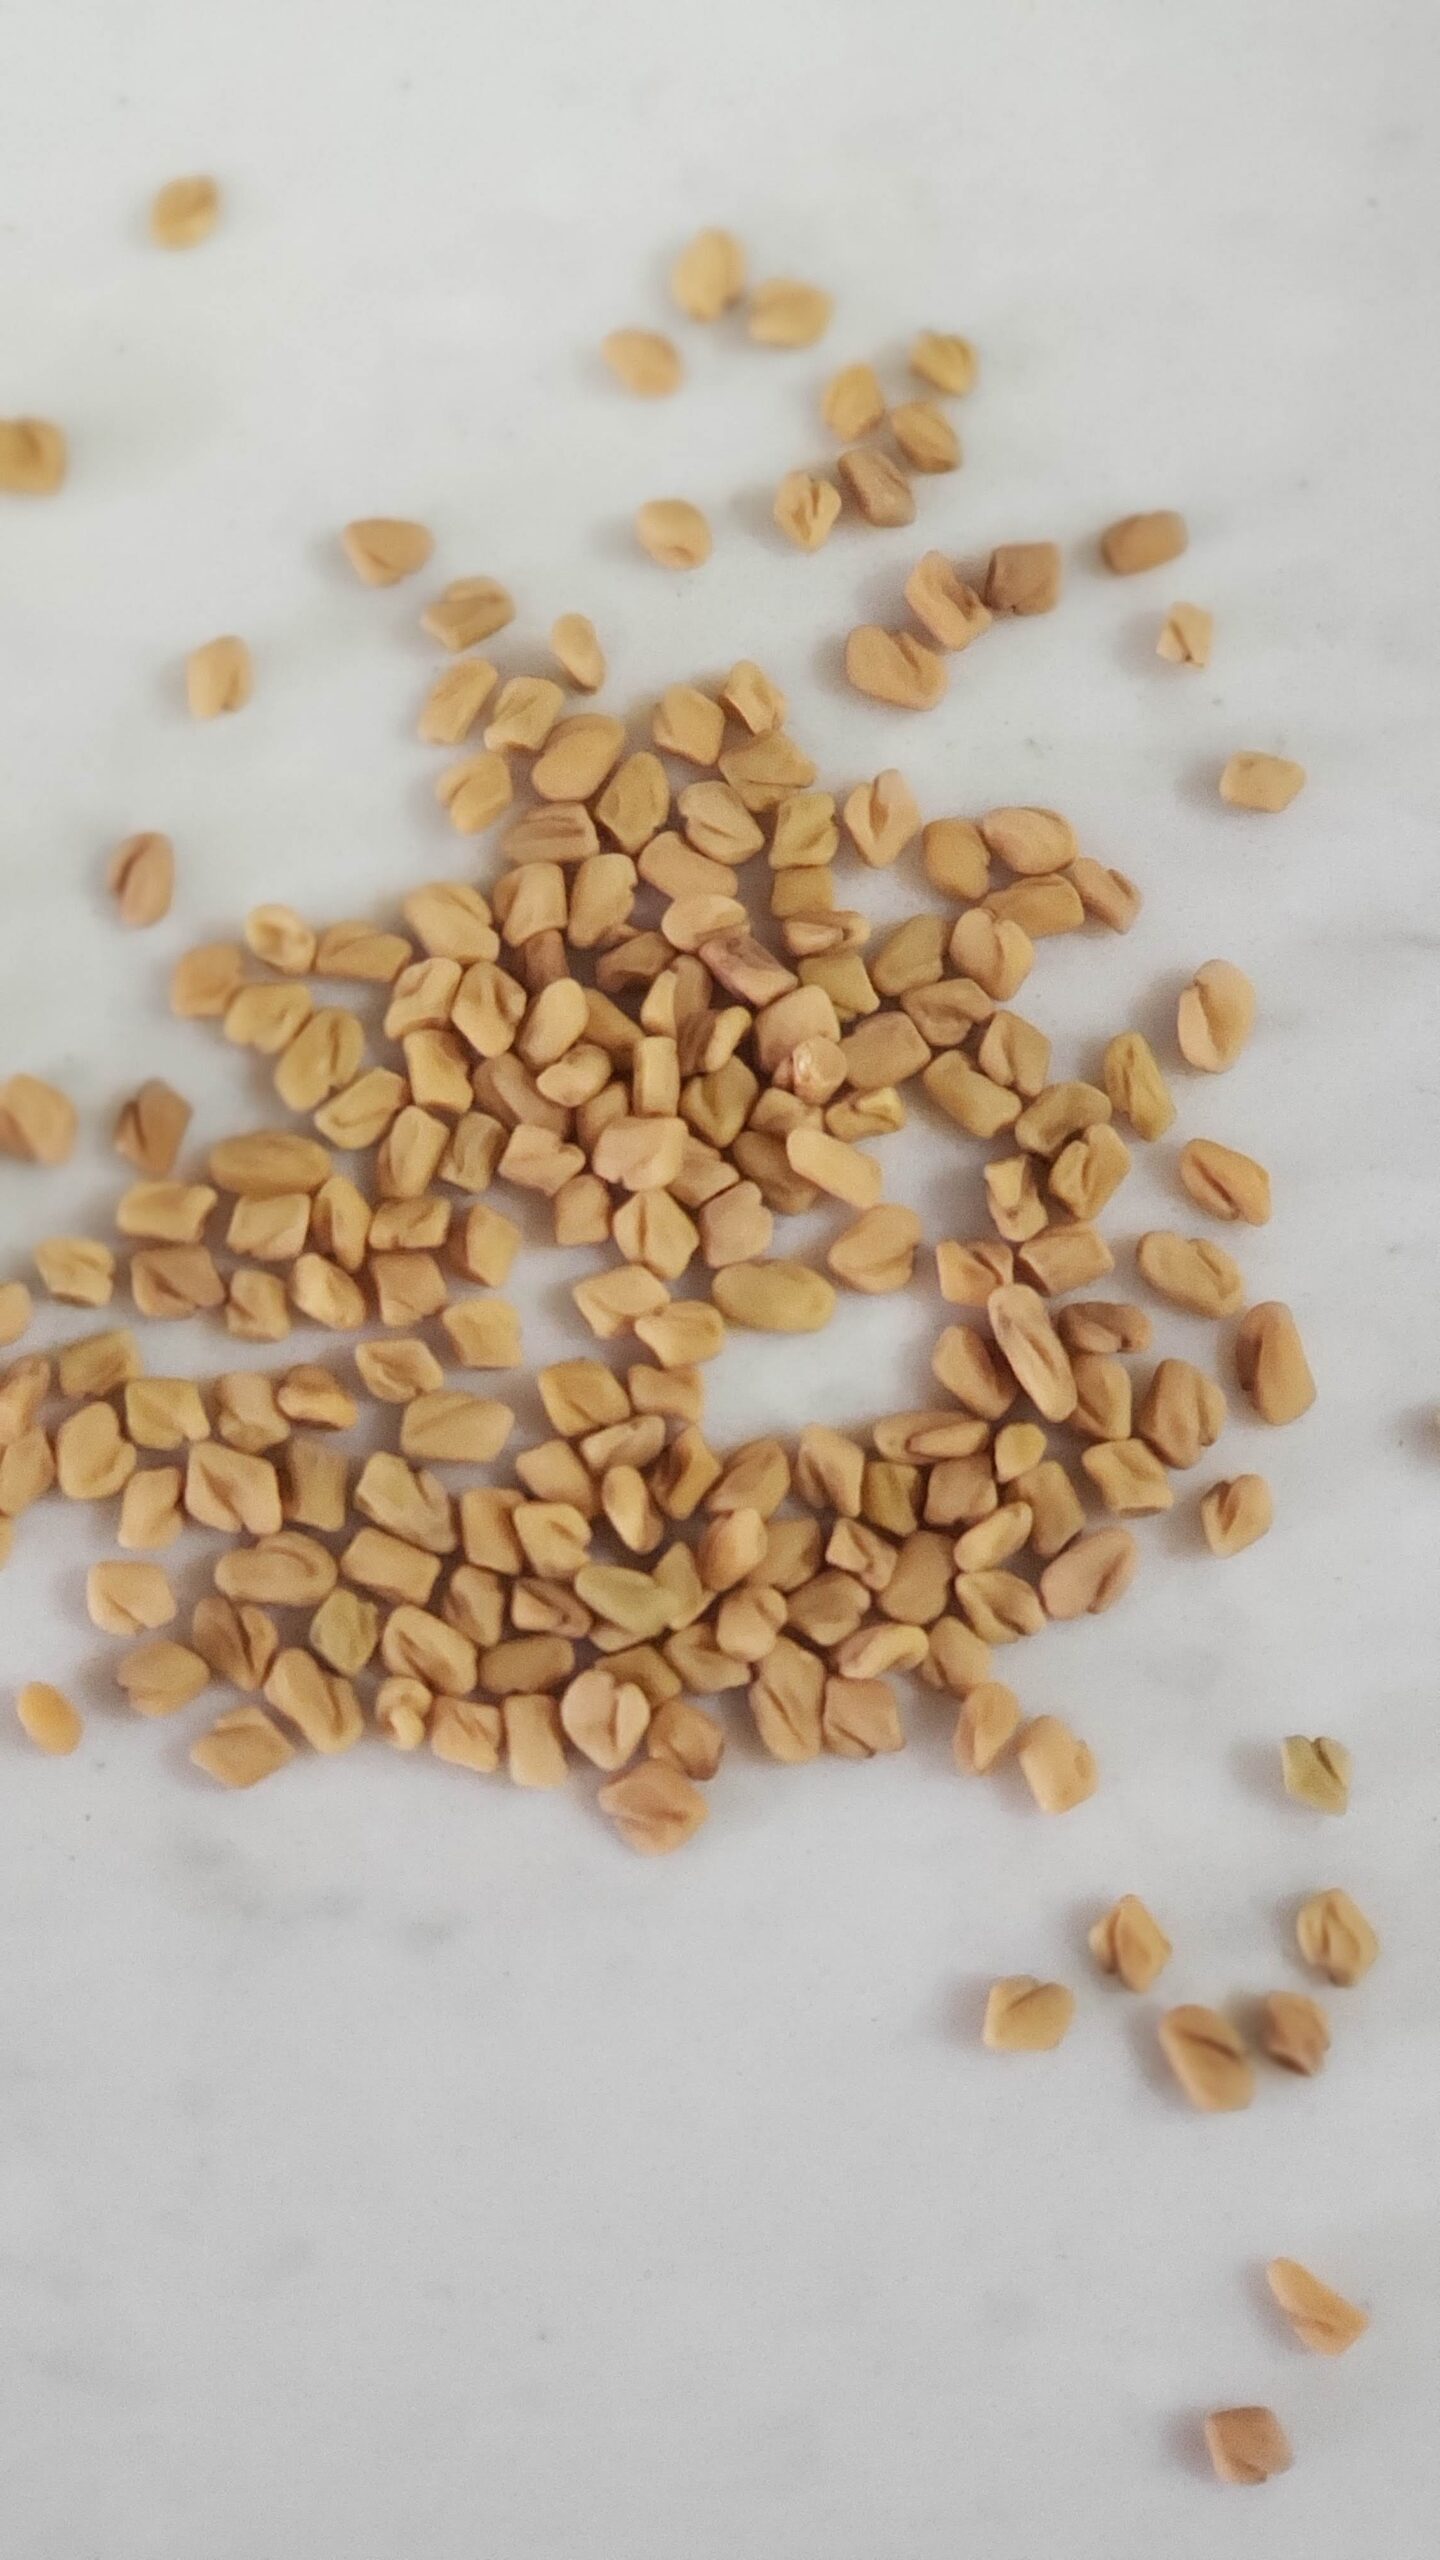
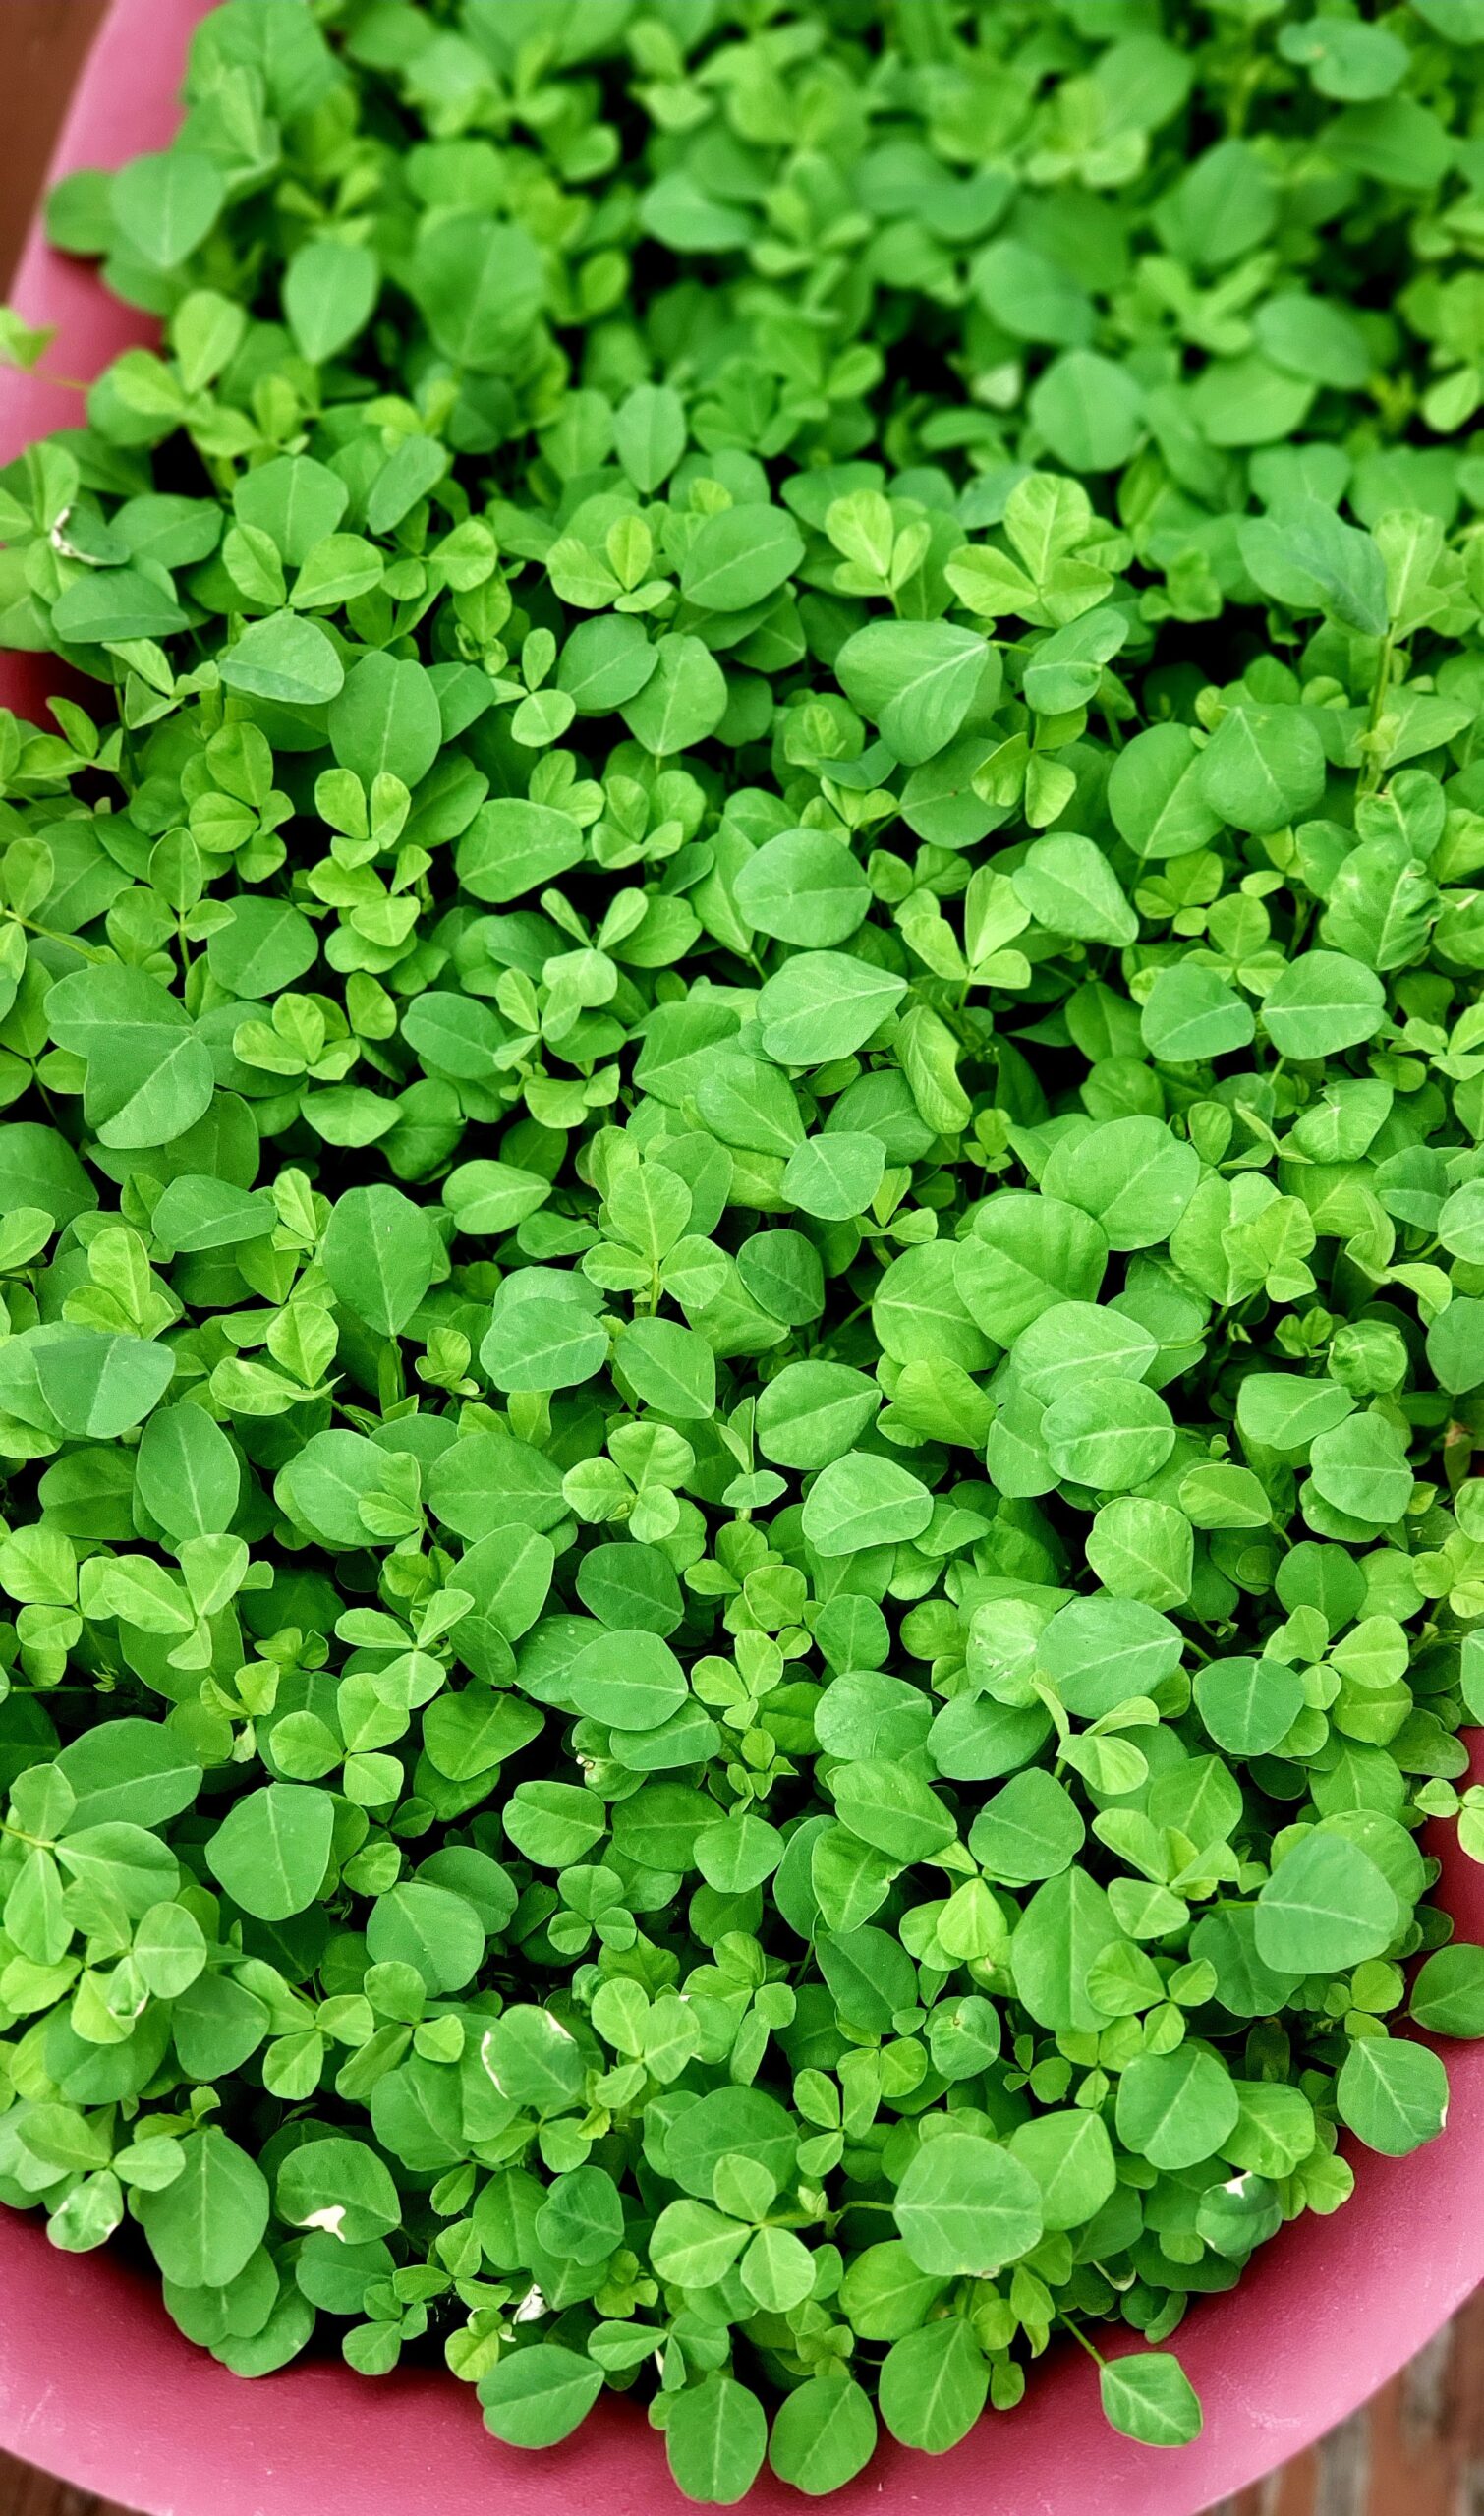
- Methi (Fenugreek Leaves)
- Soak methi seeds overnight – Take a handful of seeds and soak them overnight using room temperature water. Next day, sow the seeds in the soil. Lightly cover them with soil and sprinkle little water just enough to keep the soil moist. In a few days methi leaves should start coming up.
- Directly sow methi seeds – You can also directly sow seeds in the soil and cover them with more soil. Sprinkle water and methi leaves should start coming.
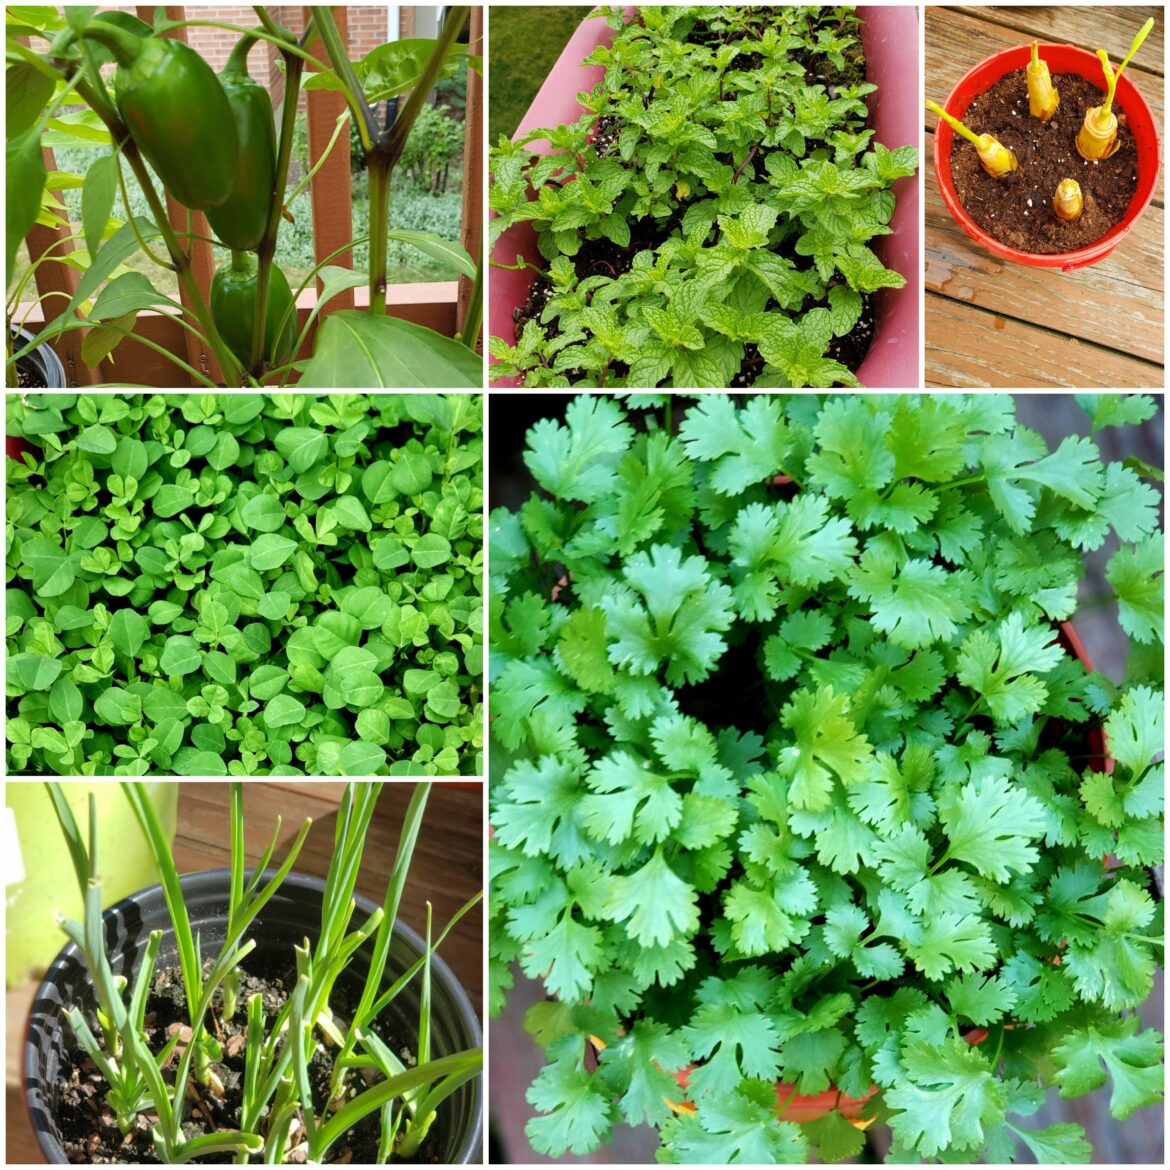
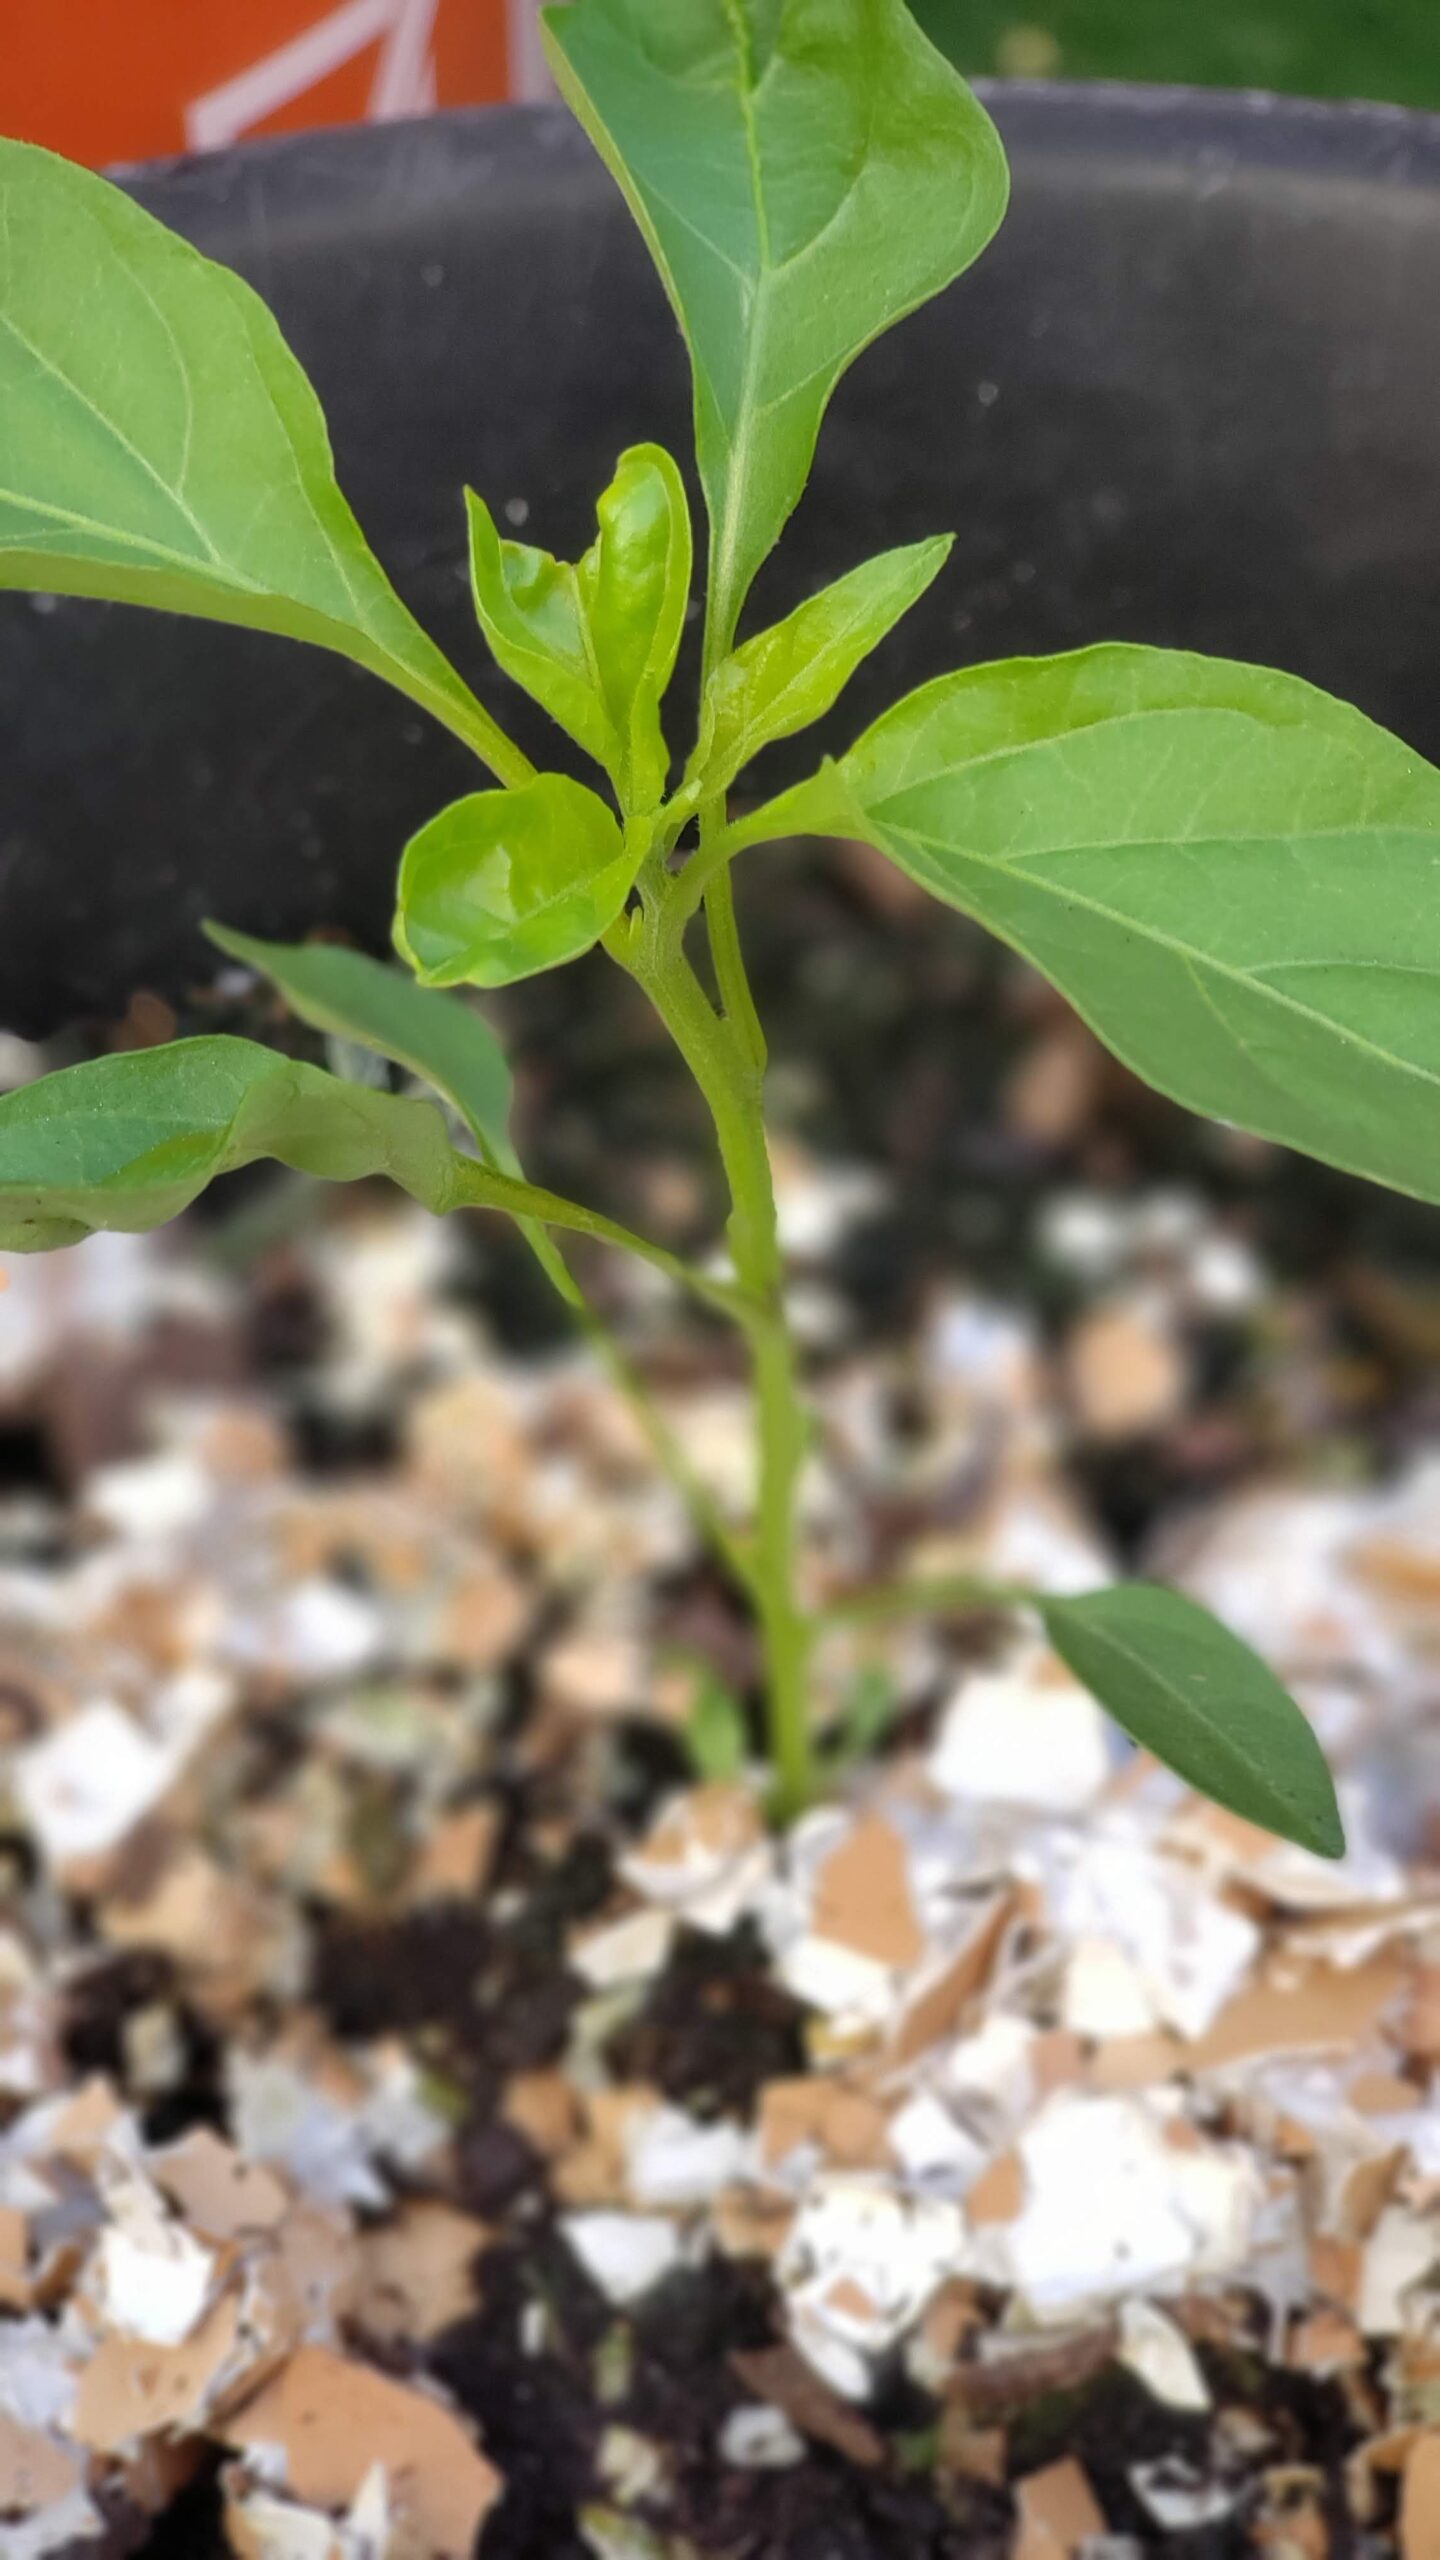
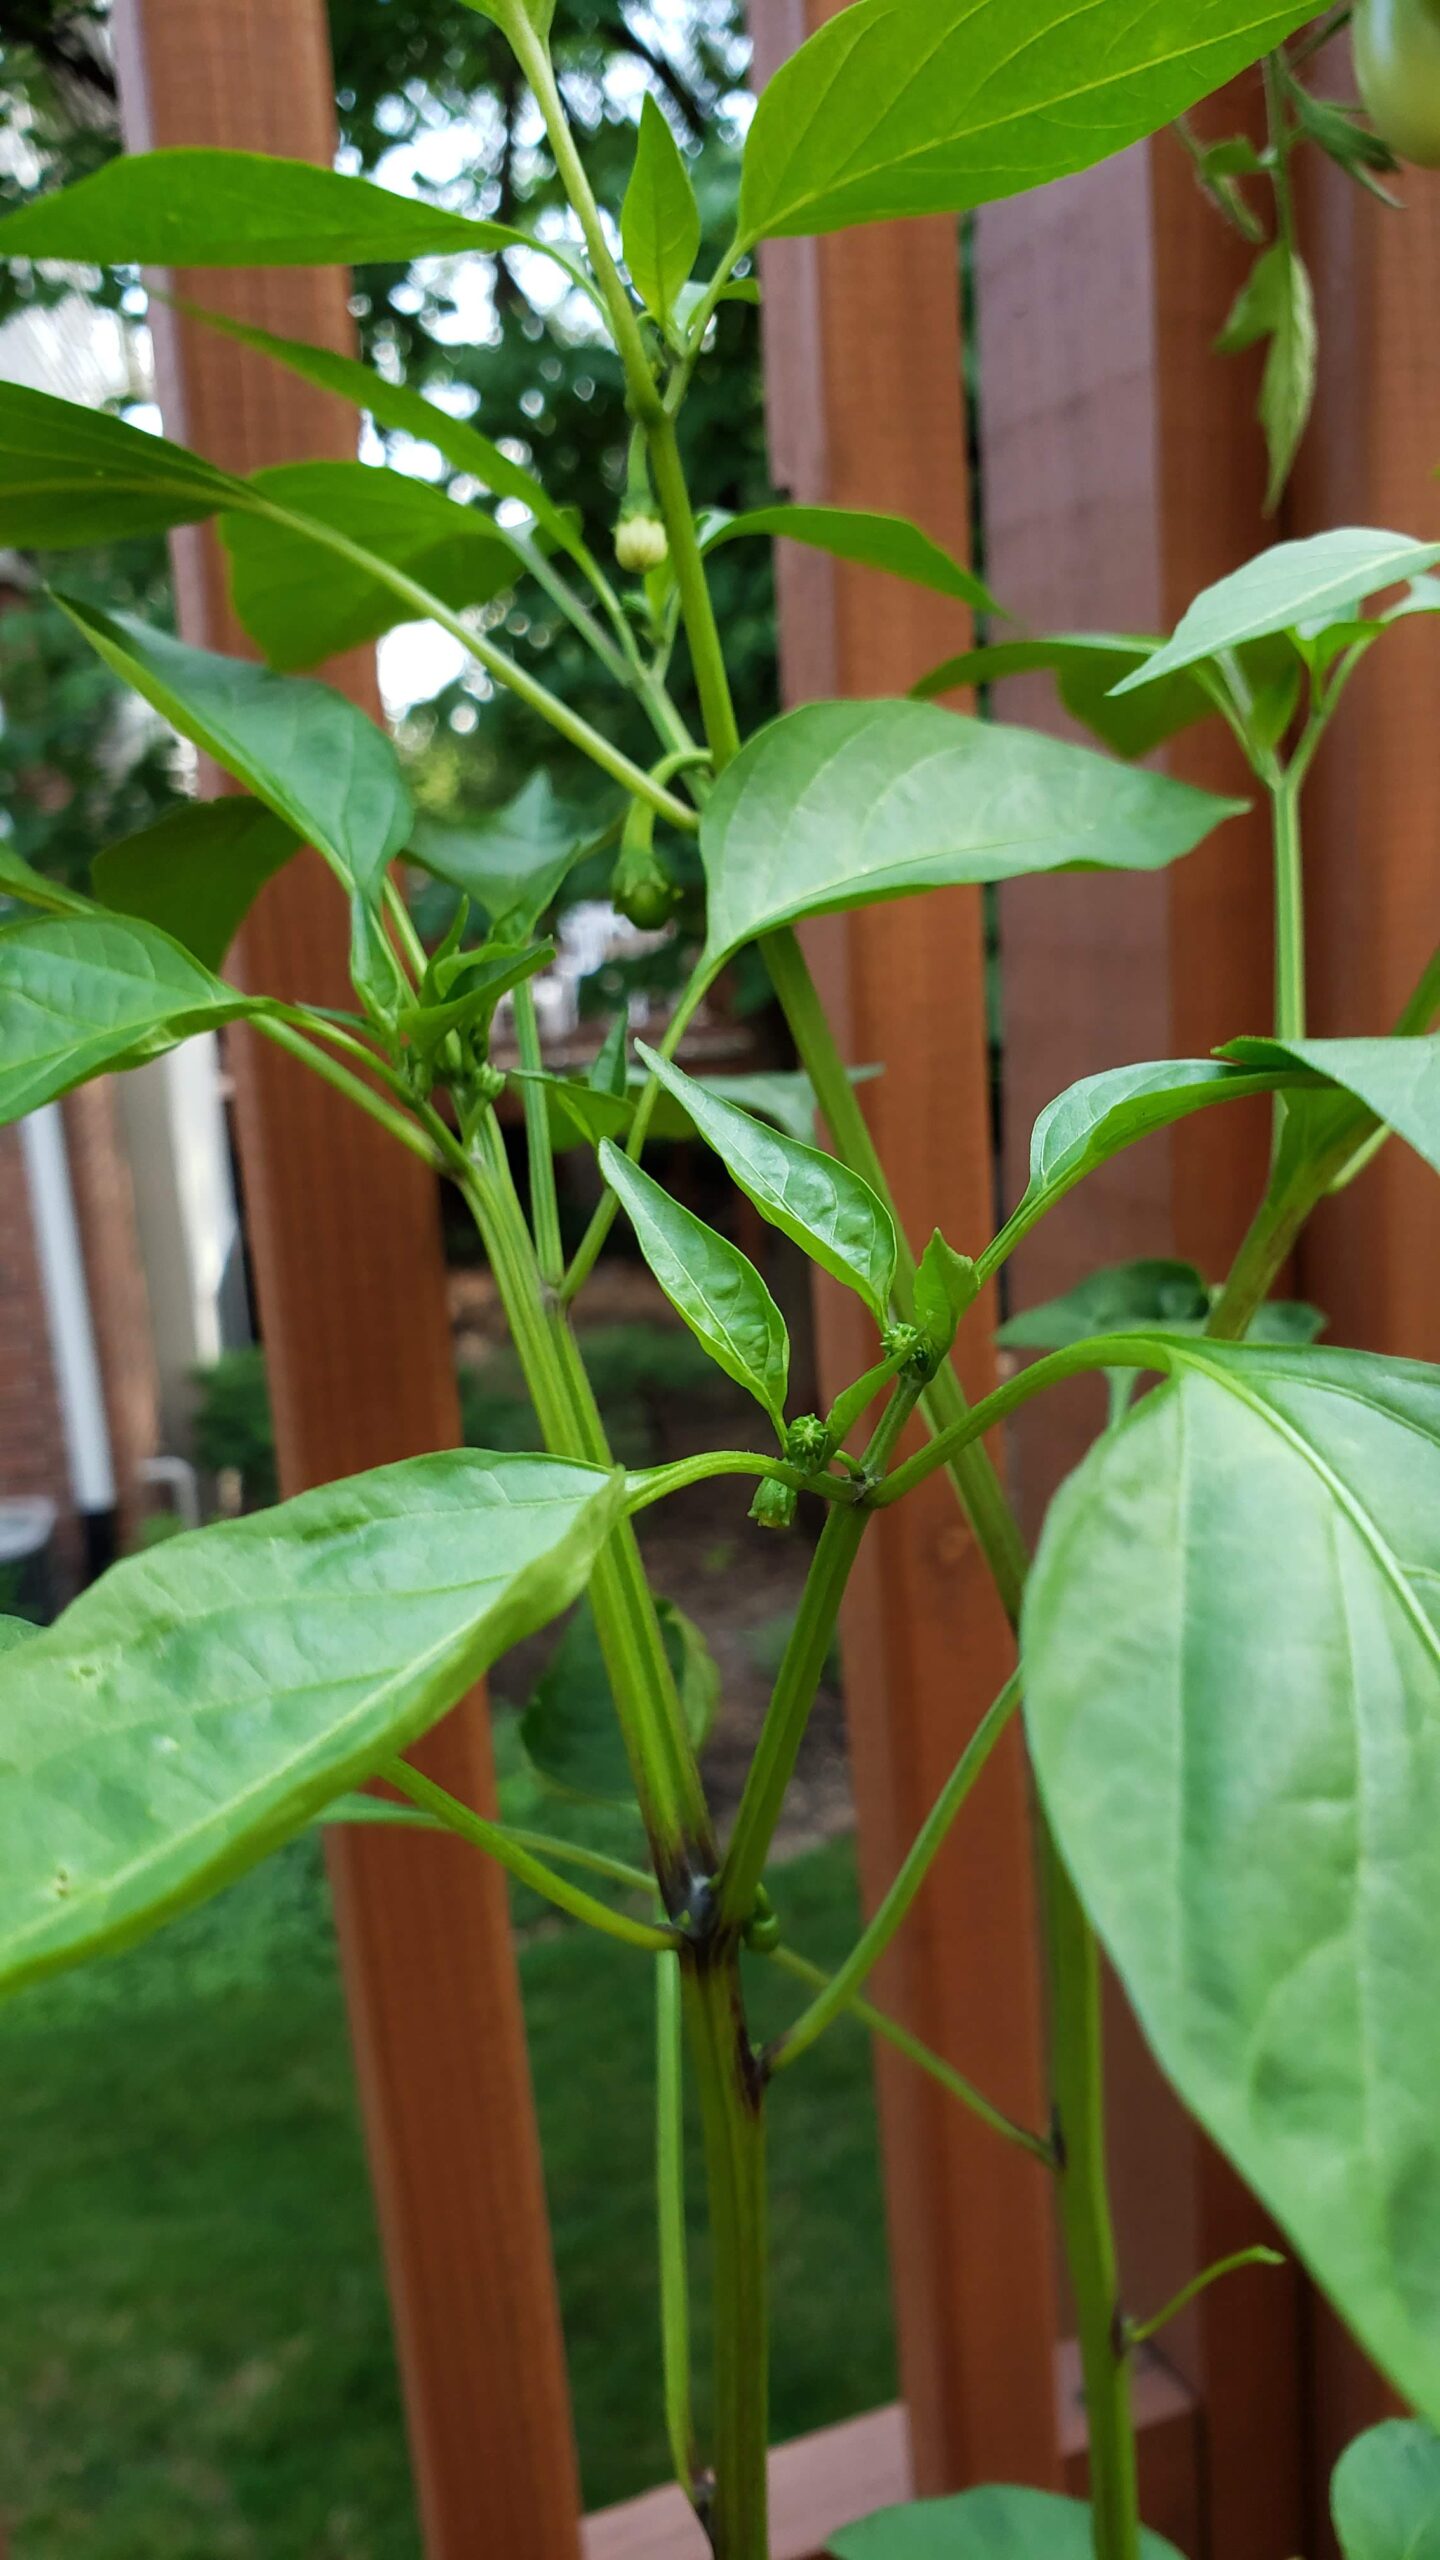
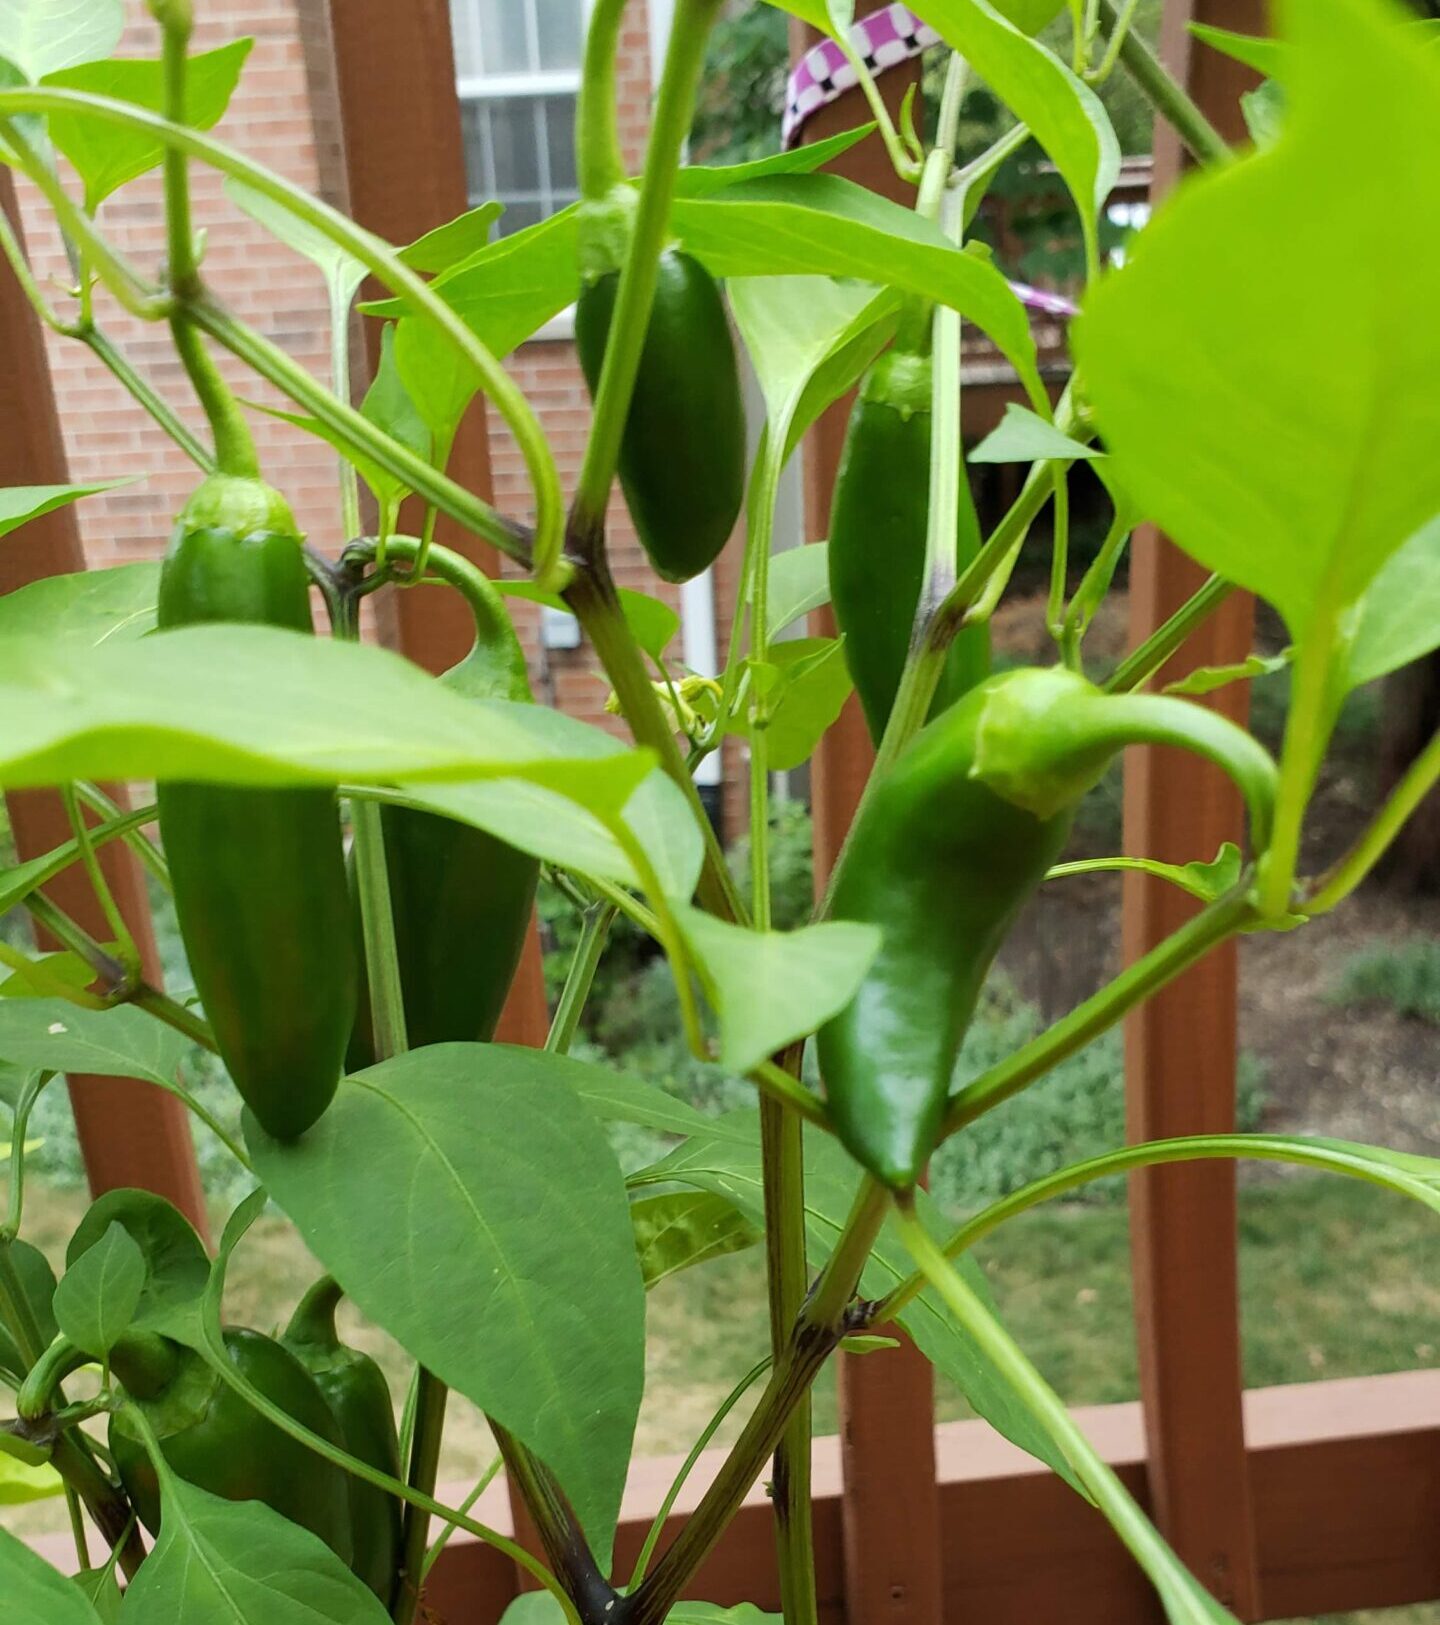
- Chilli Pepper
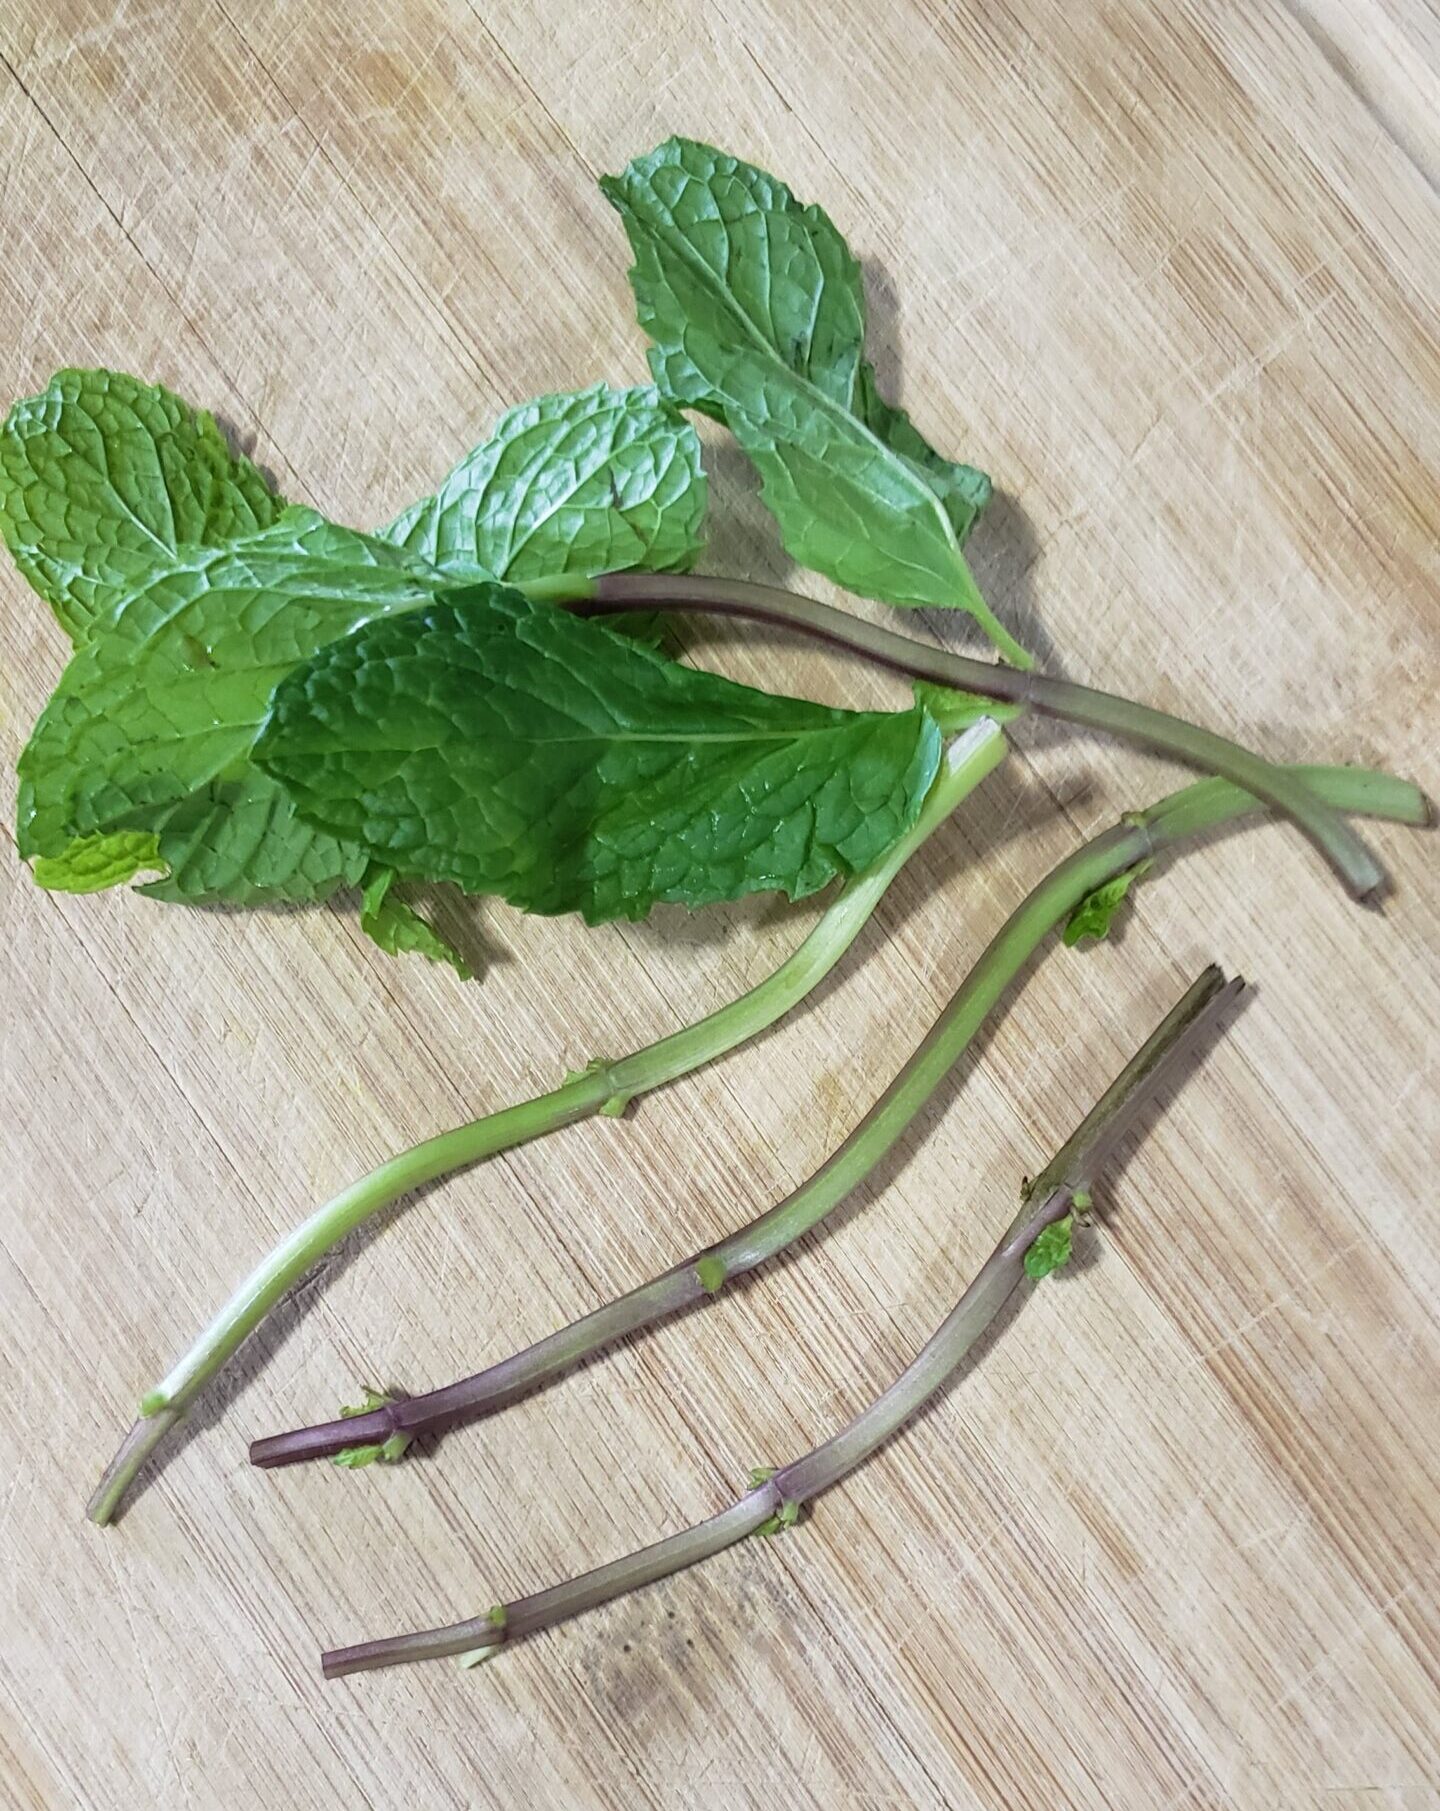
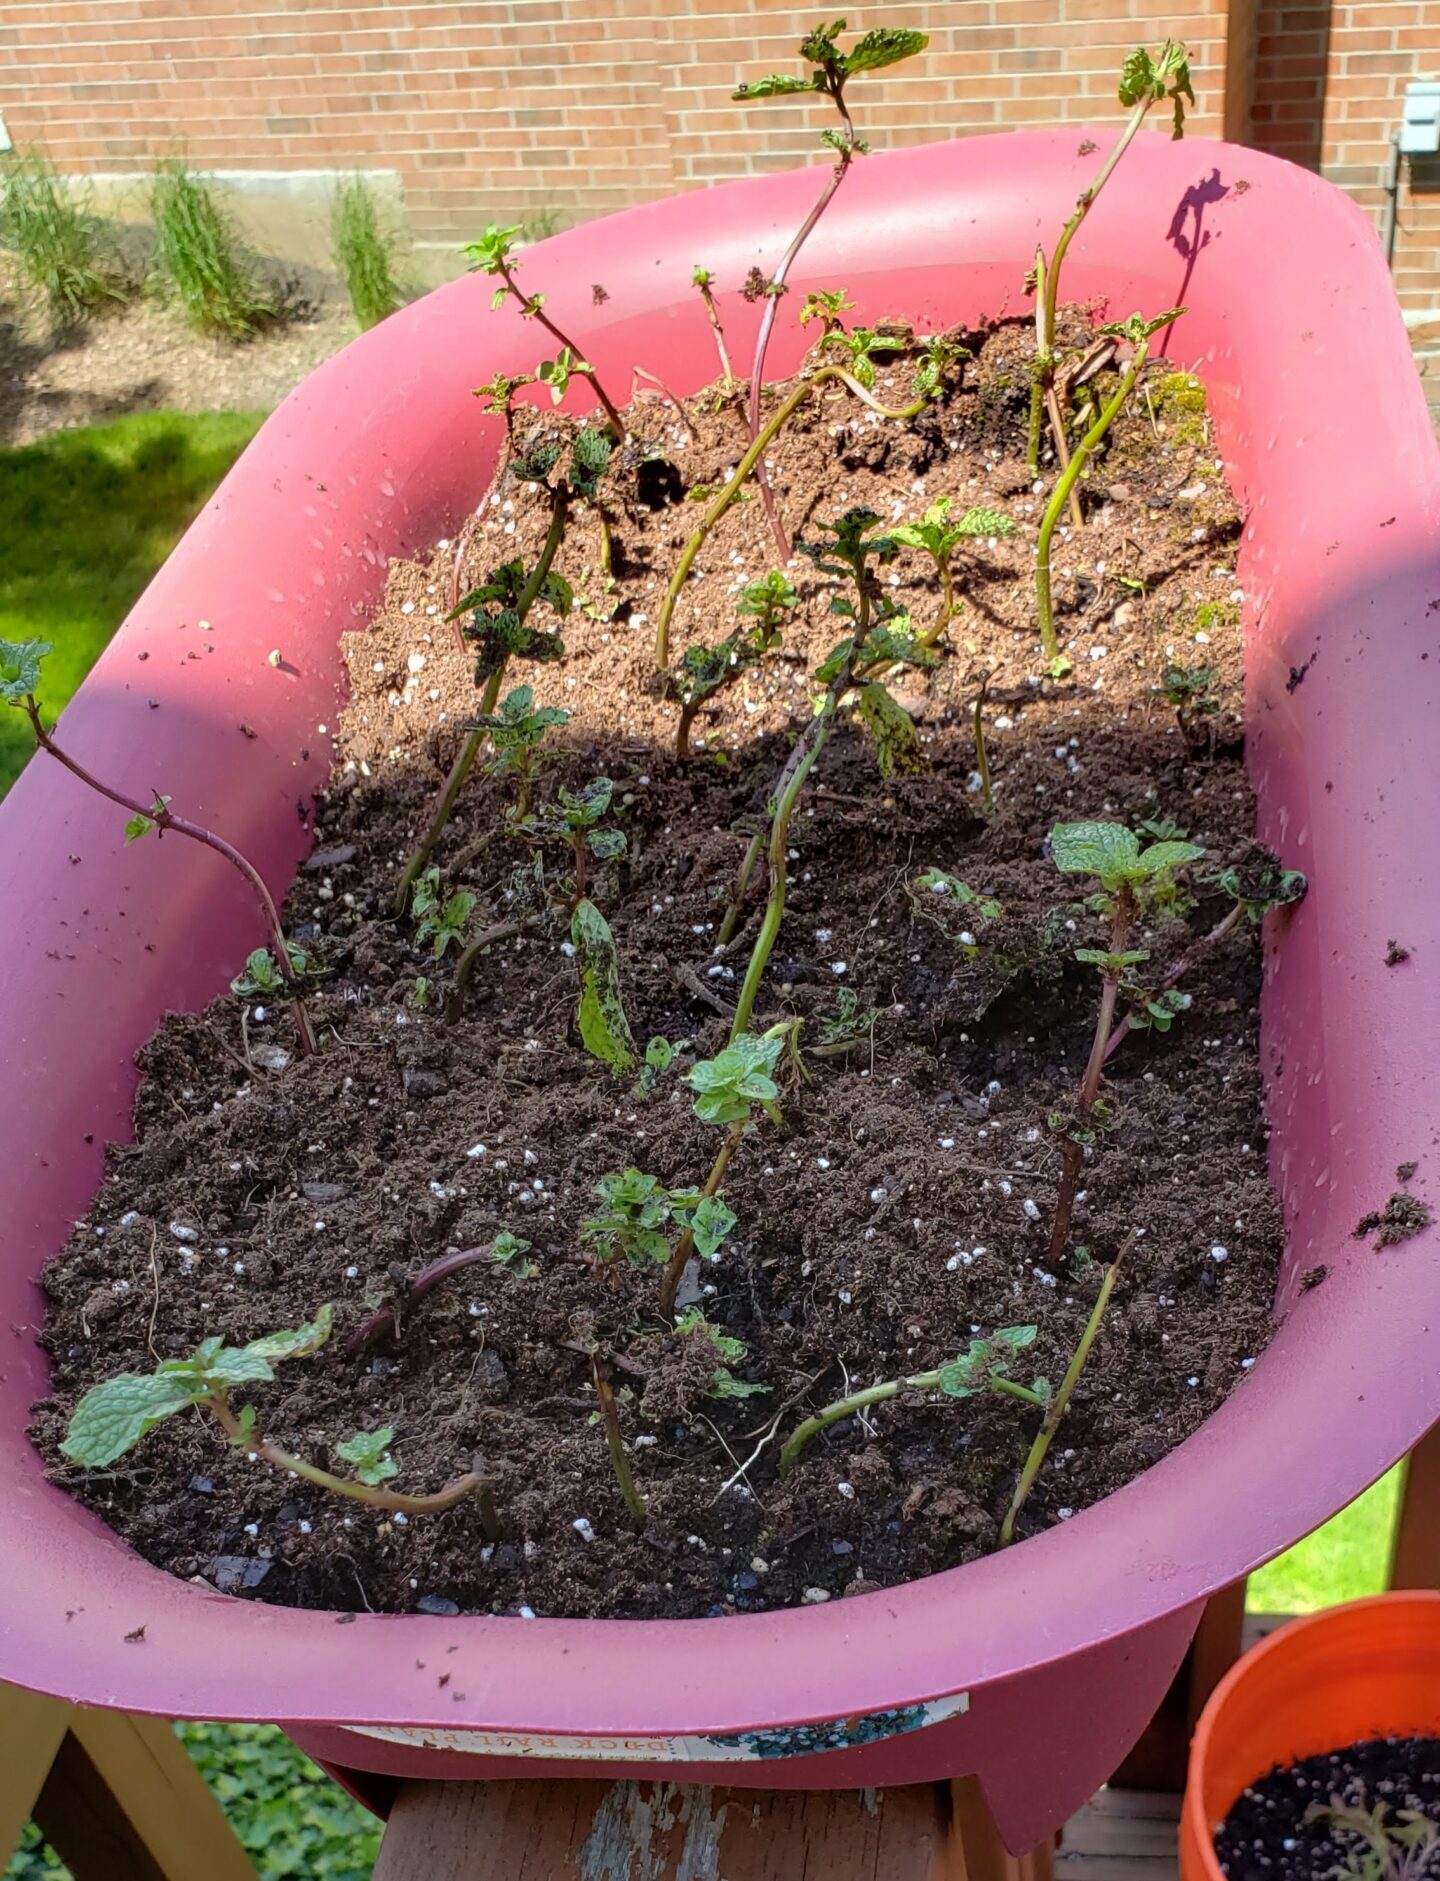
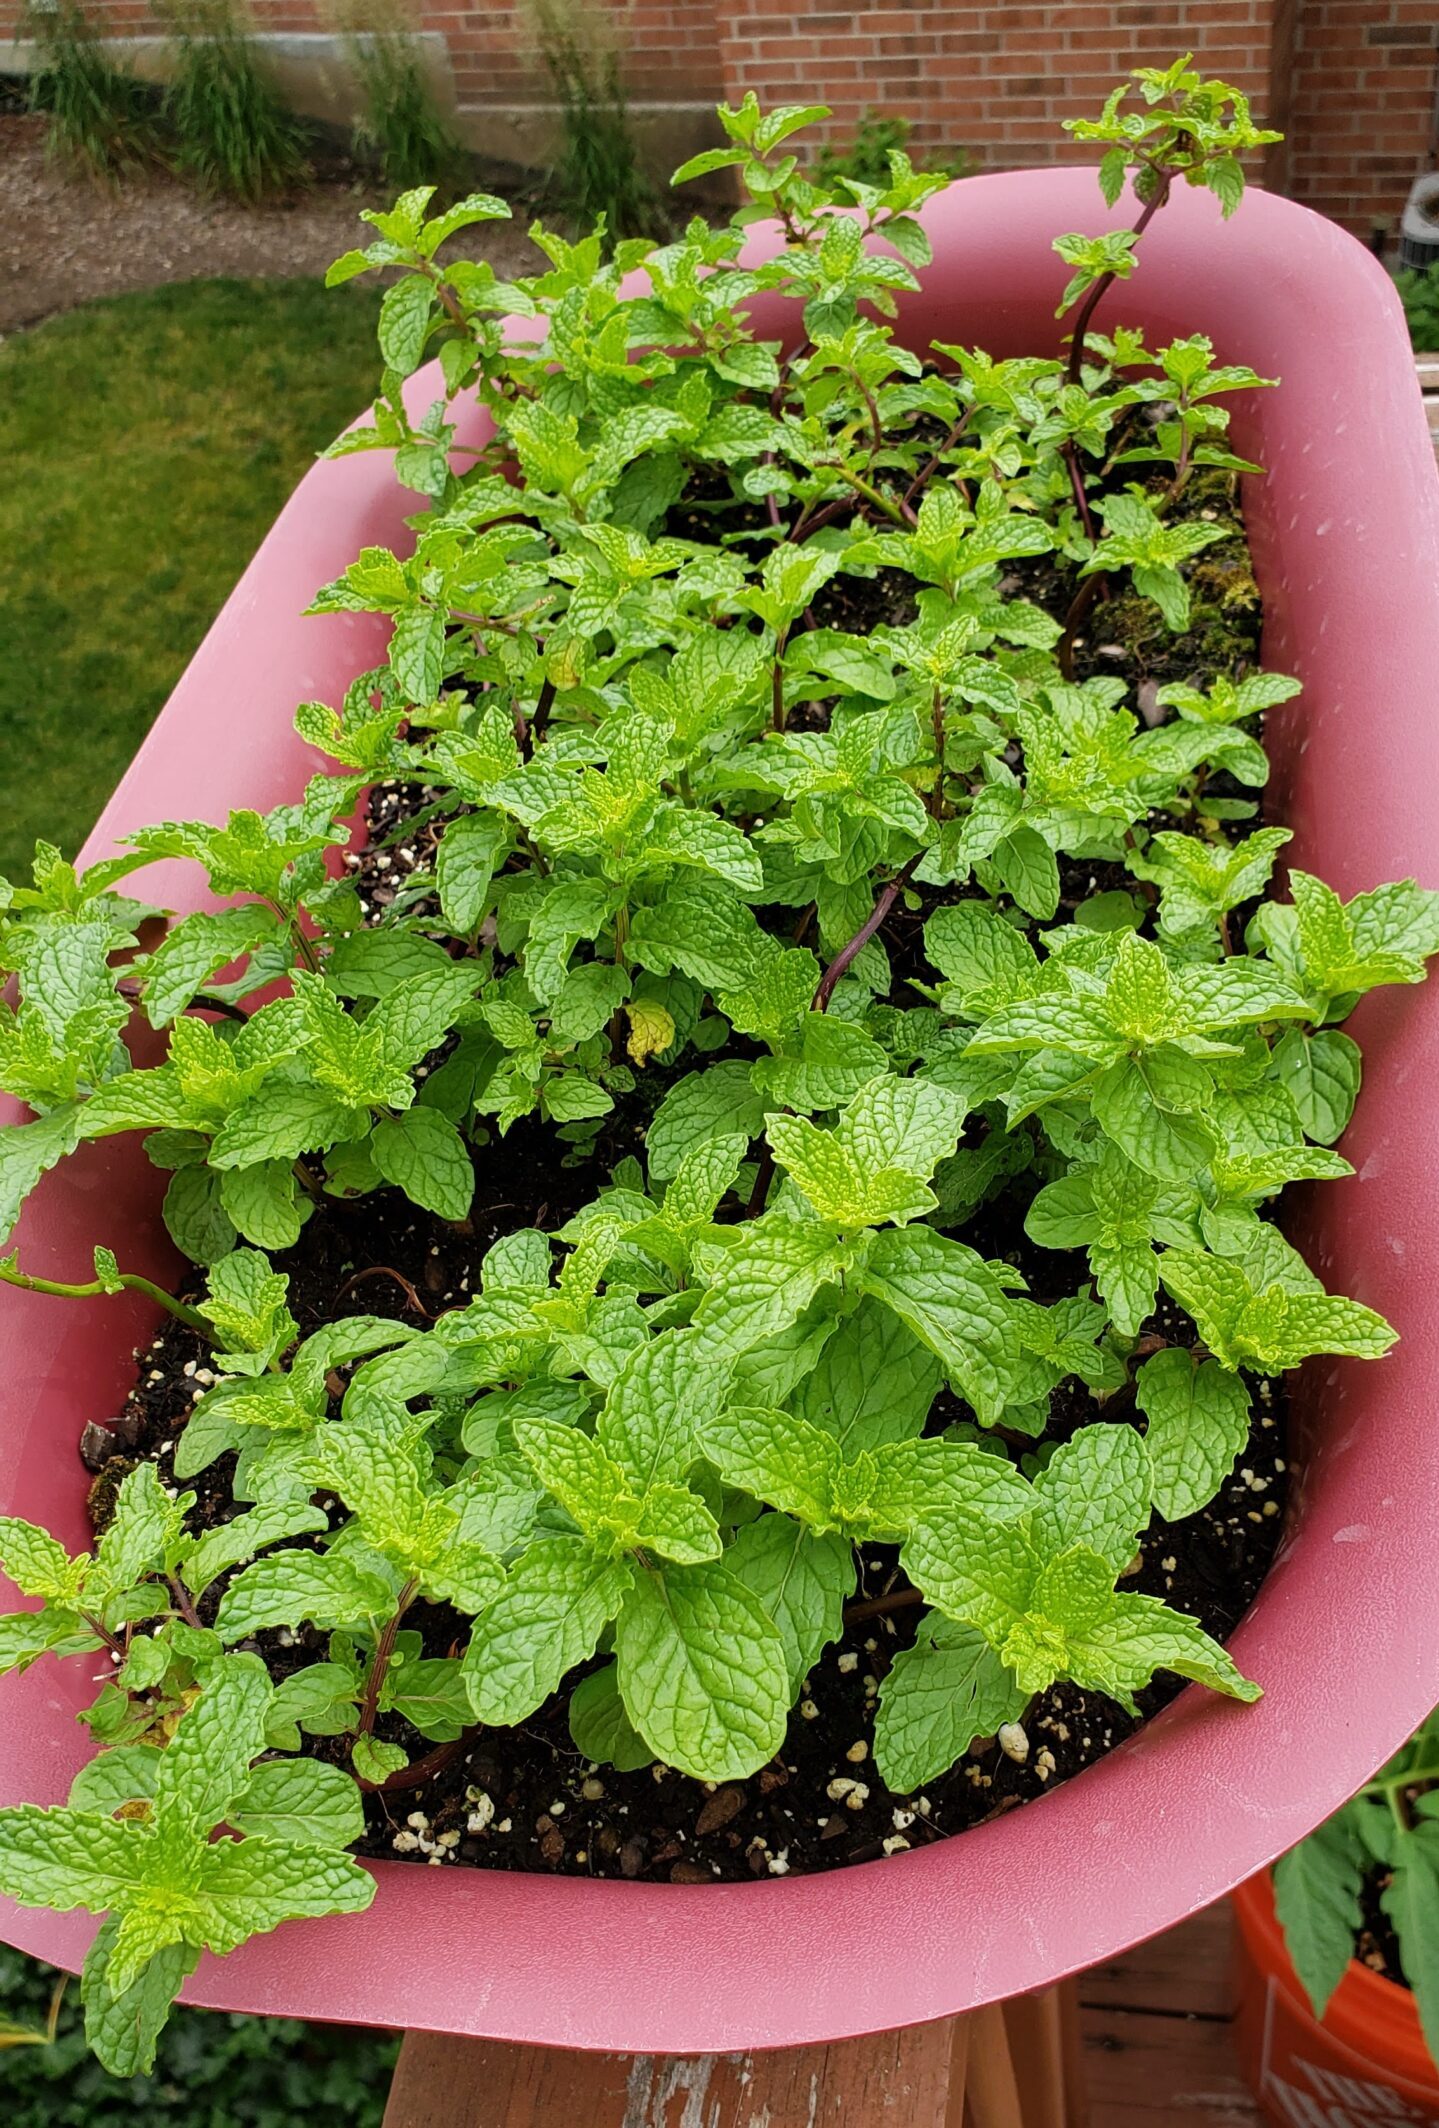
- Mint
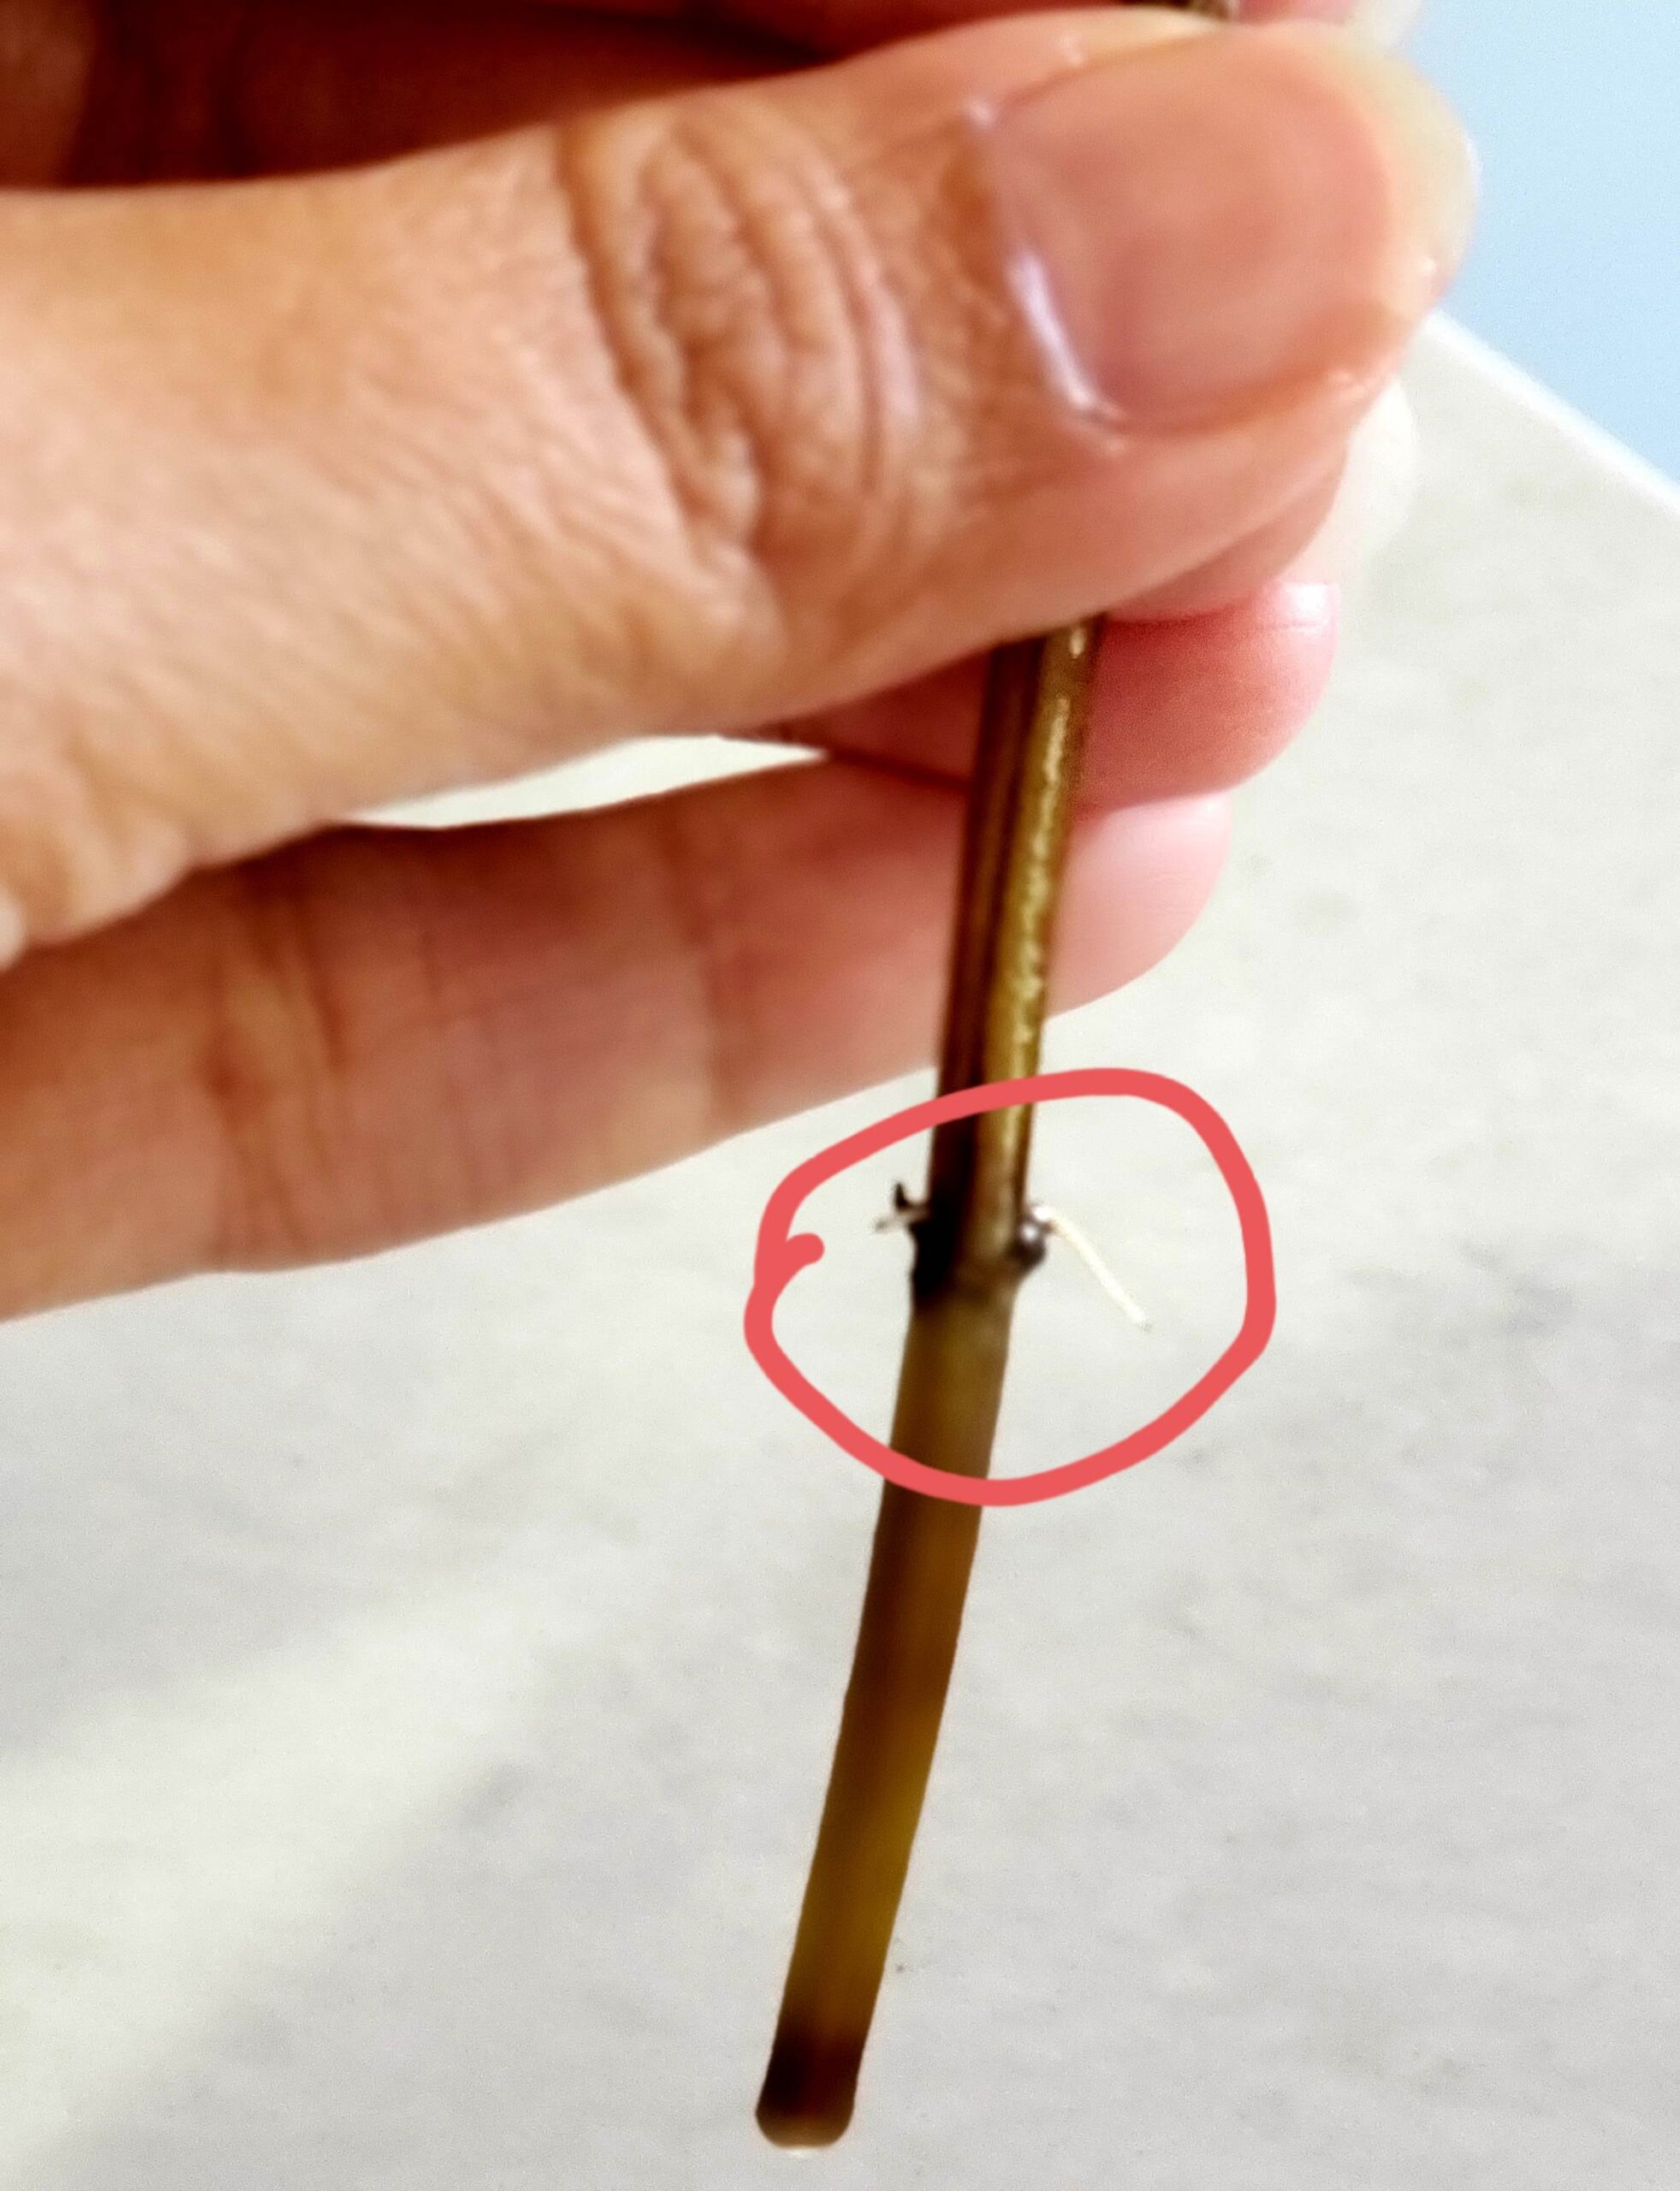
- Place the stems in a cup full of room temperature water. You will start seeing sprouts coming out in 4-5 days. At this stage, you can sow those sprouted stems in soil and mint will start growing in a few days.
- Another way is to directly sow the stems in soil. This will take a little longer than the first method, but you will still see the results.
- Cilantro
- You can buy seeds from home depot or use the one from your kitchen pantry. Make sure they are not roasted coriander seeds. Roasted seeds will not germinate. This is the mistake I made on multiple attempts. So while buying the coriander seeds from a grocery store, make sure to buy raw ones and not the roasted seeds.
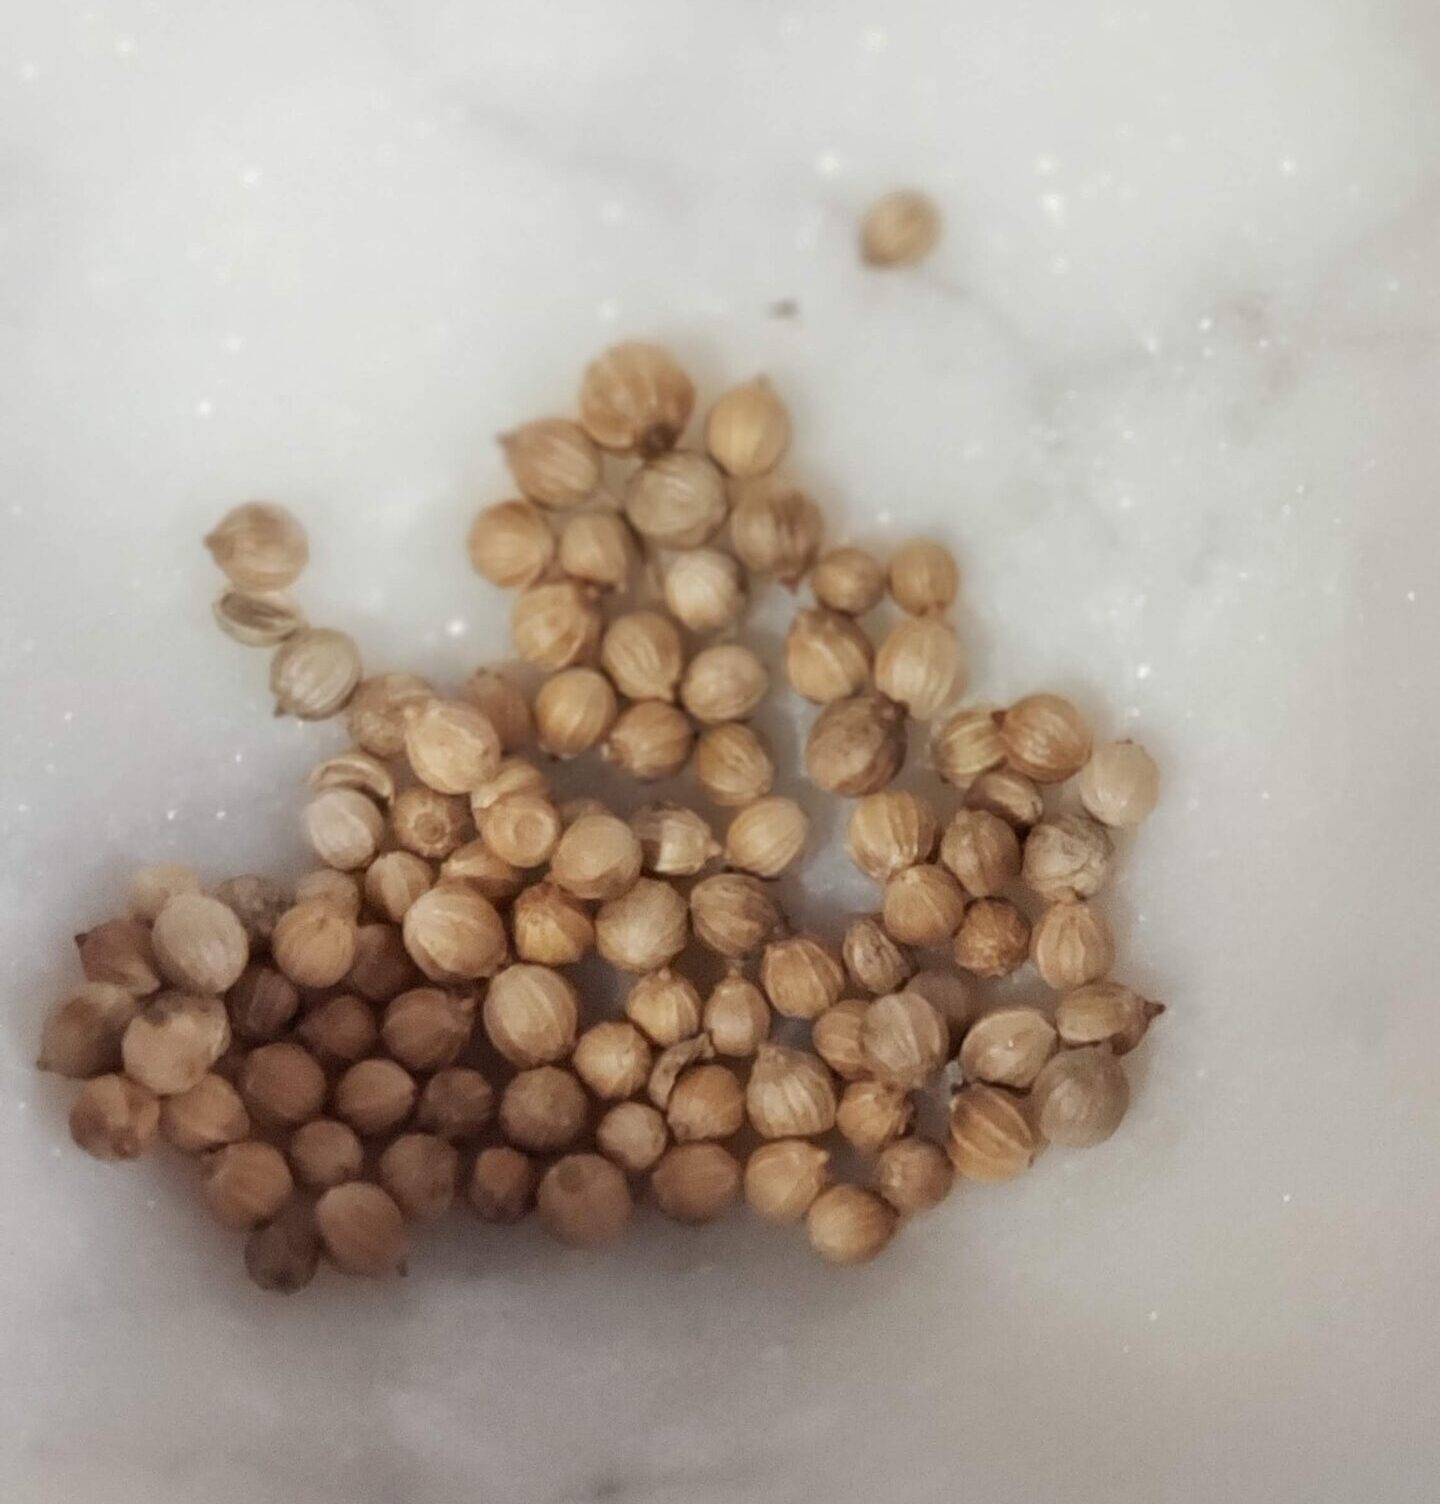
- Now using a mortar and pestle, gently press the seeds and divide them into two halves as shown in the picture. Don’t crush them or make powder, just press them to make two halves out of a single seed.

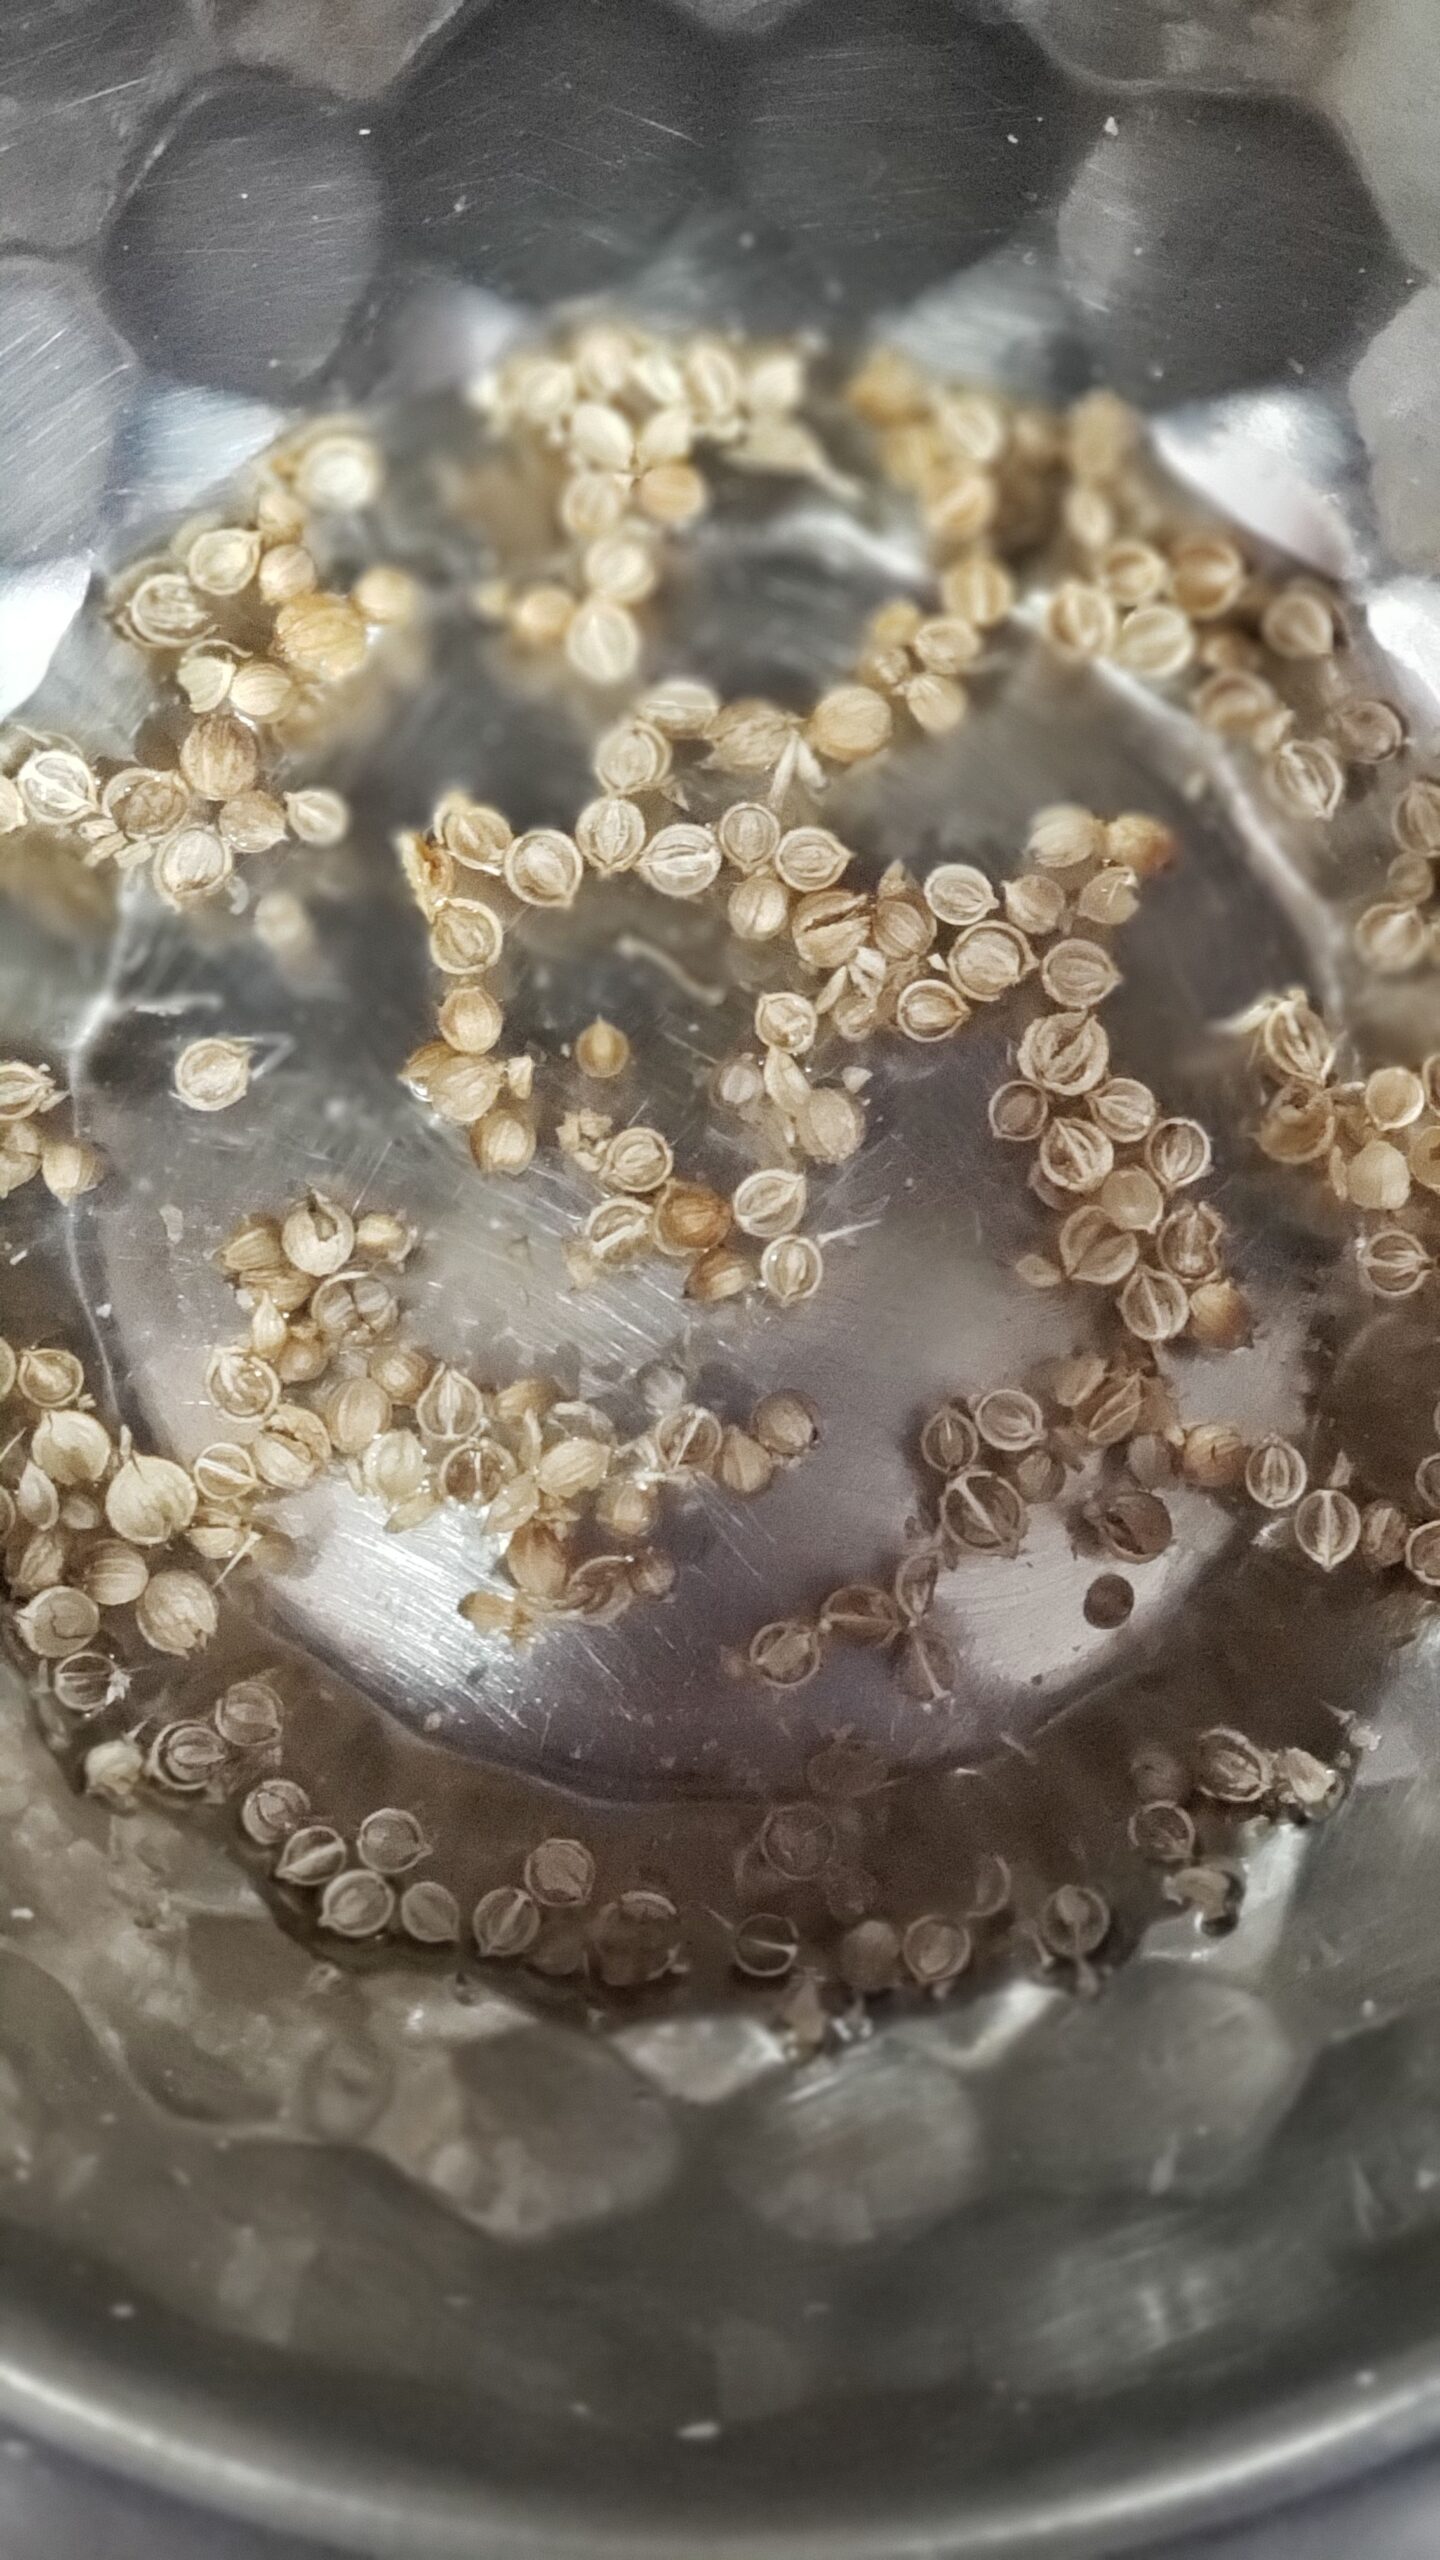
- Soak these halved coriander seeds in room temperature water overnight.
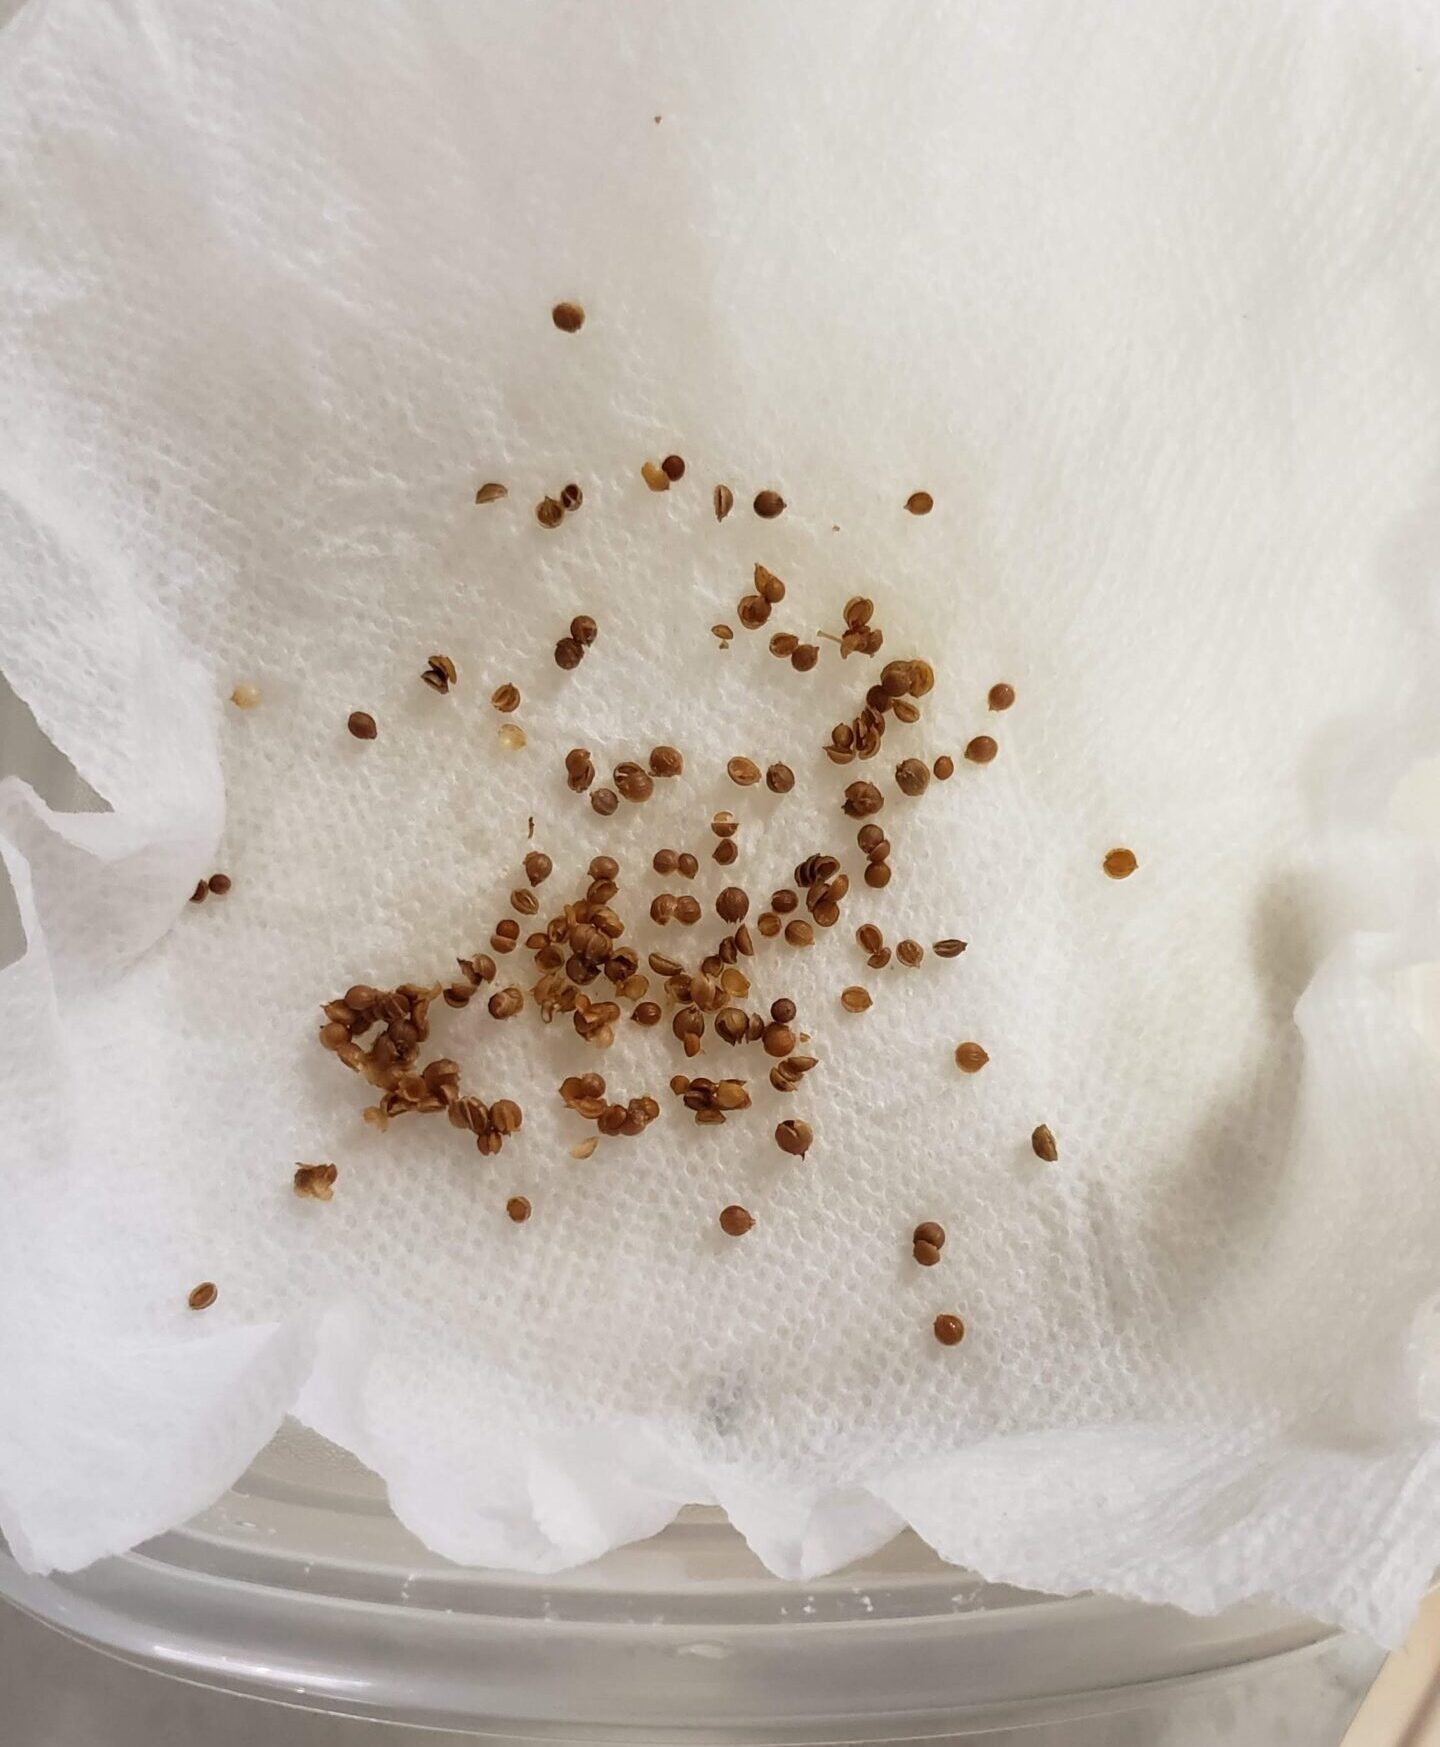
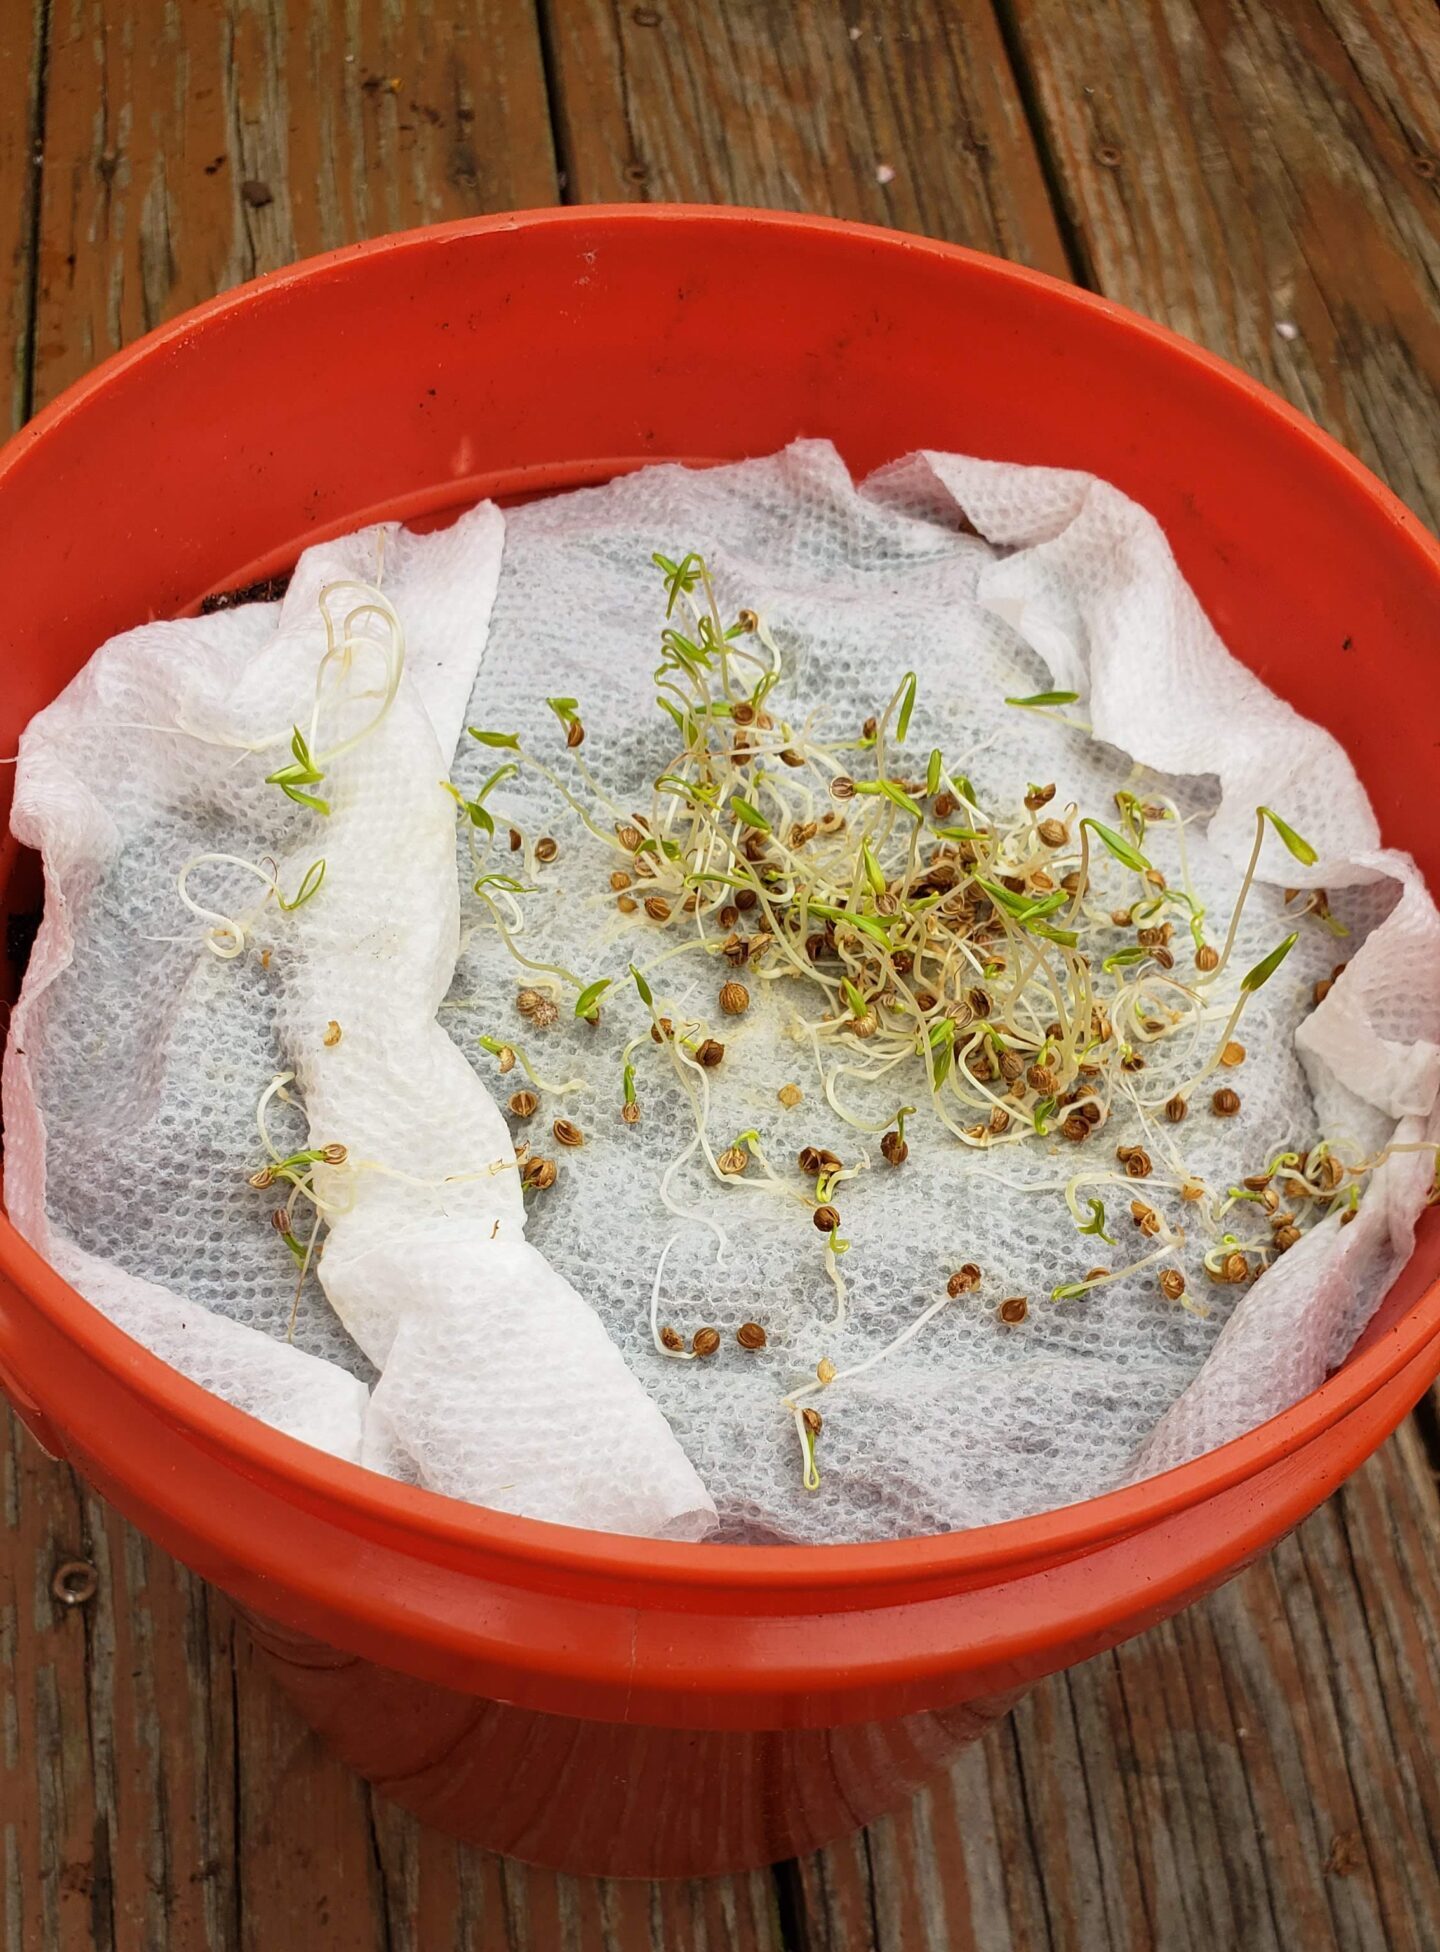
- Now take a lightly wet paper towel and a plastic container that has a lid. Spread soaked coriander seeds on the wet paper towel. Place the towel in the plastic container and close it with the lid. Place the container in one corner of your house and forget about it for 5-6 days.
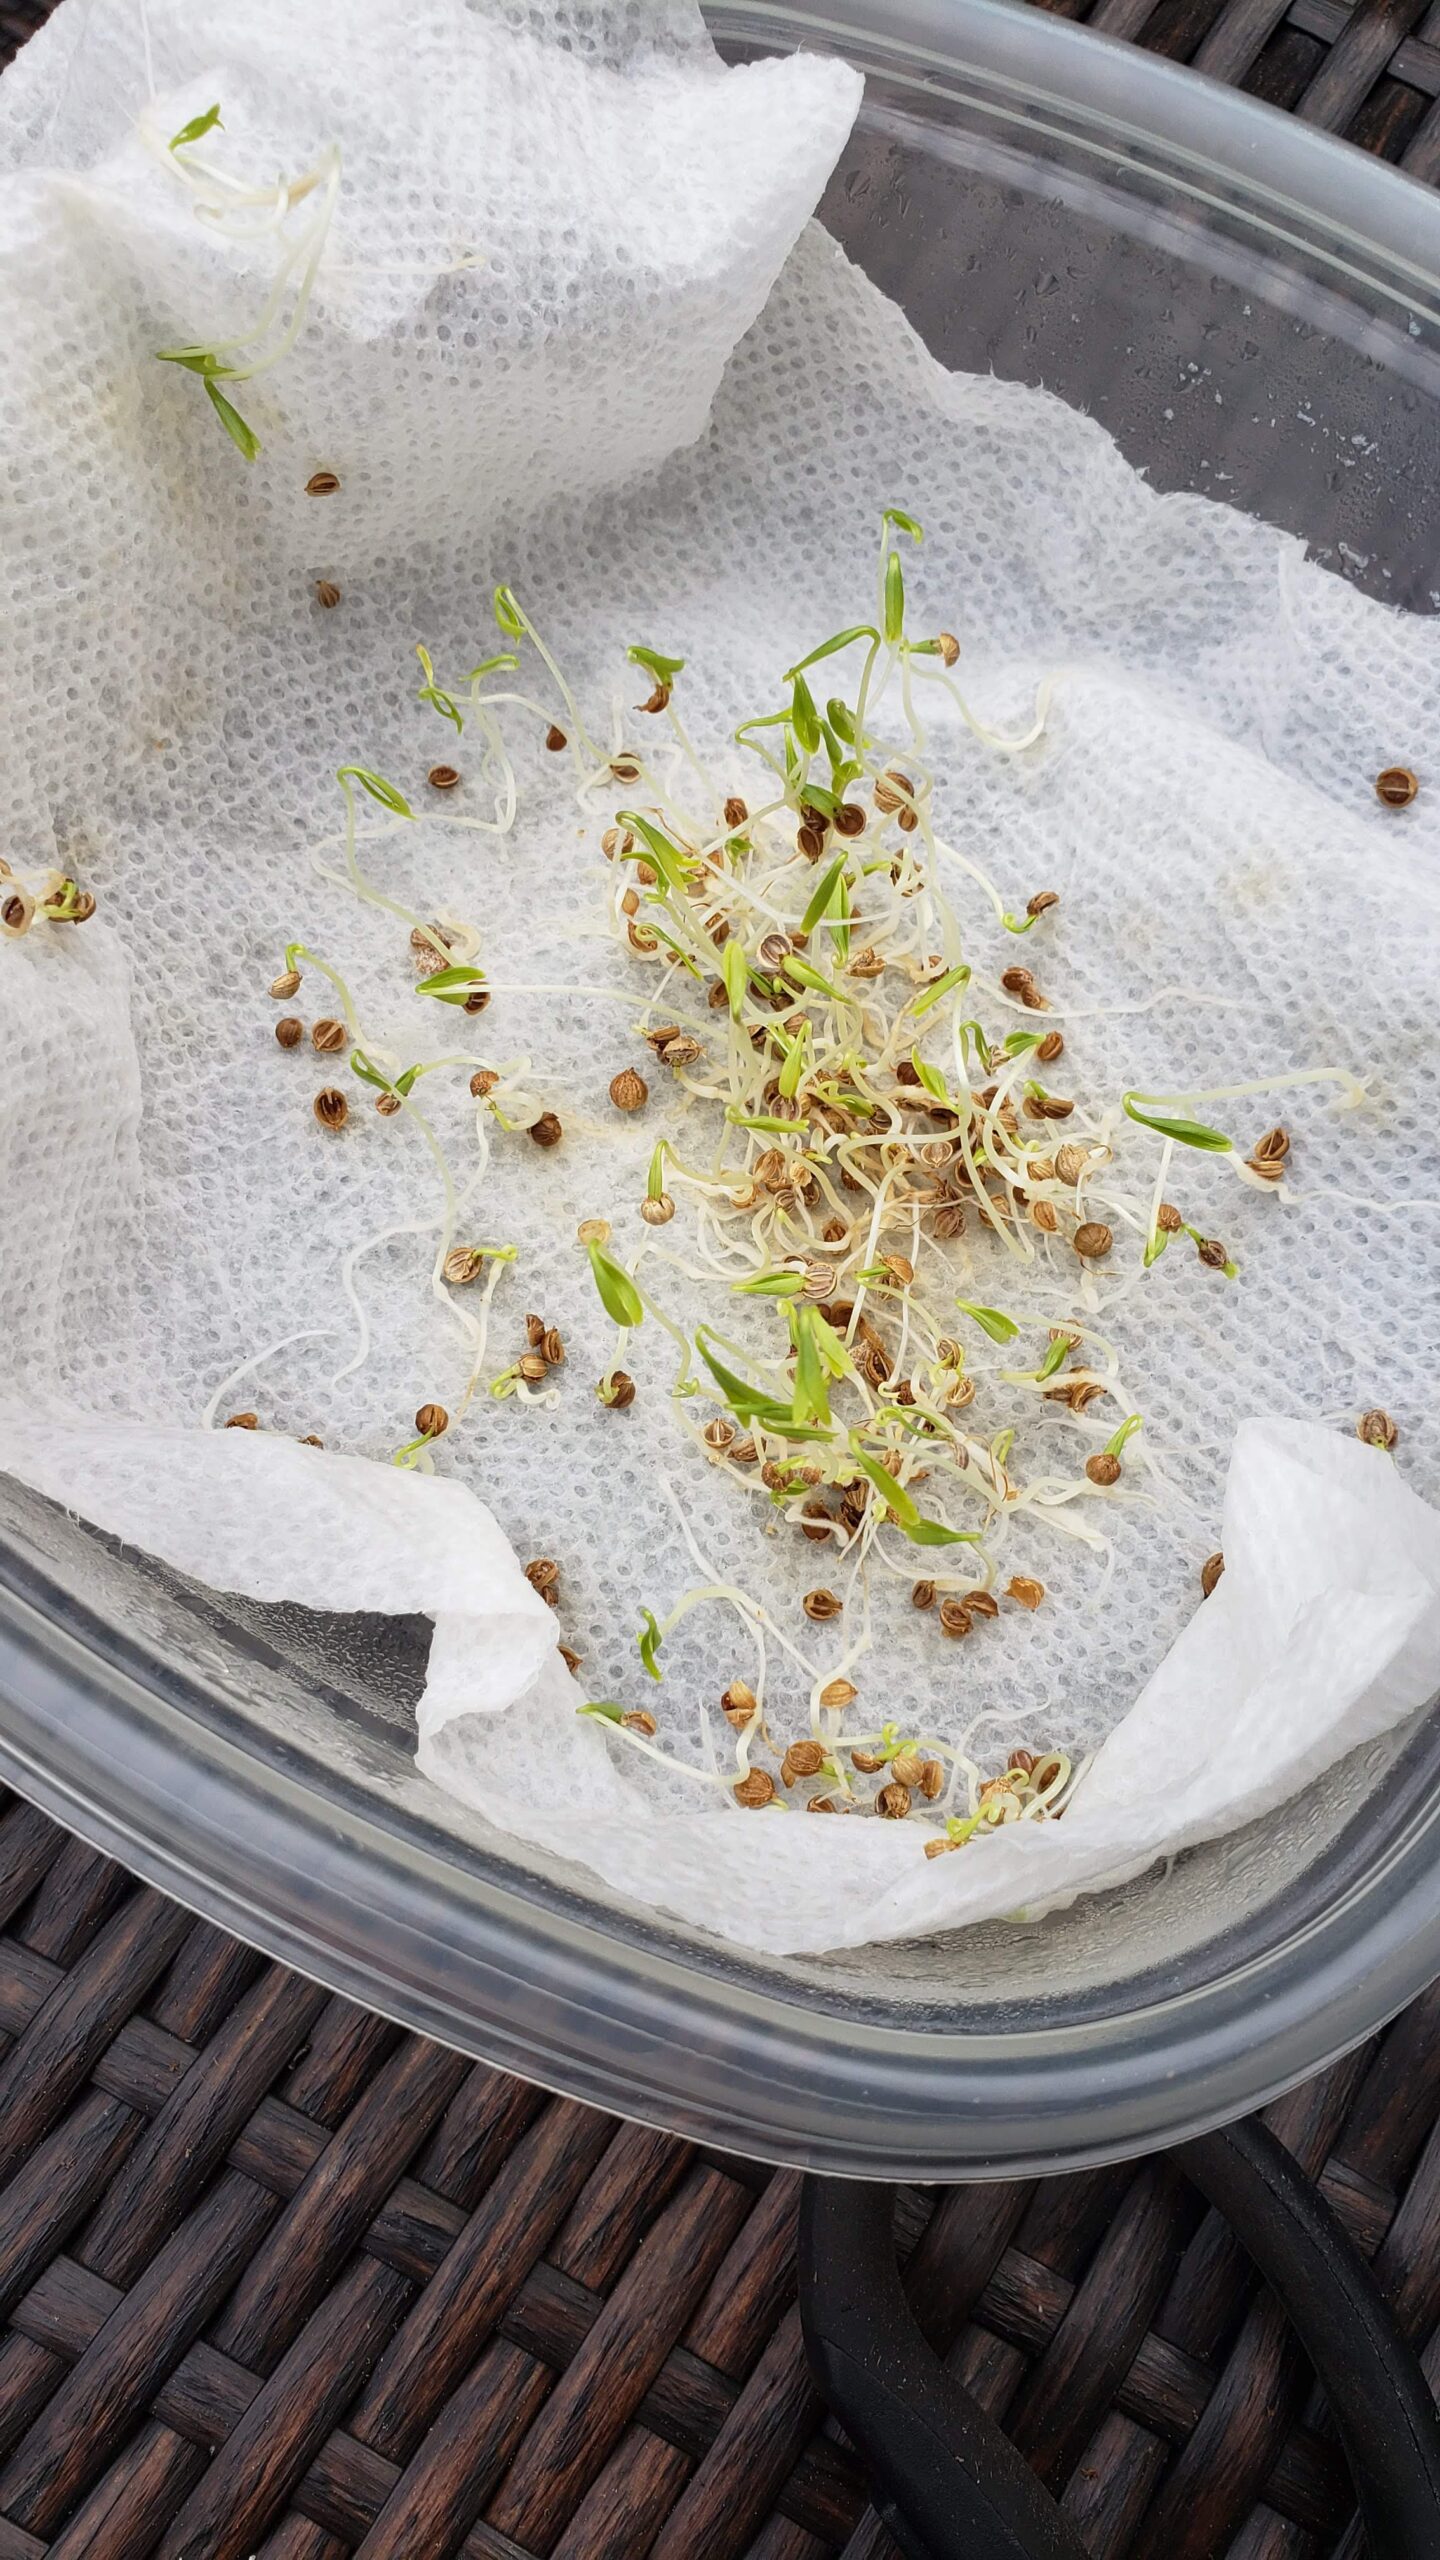
- After 5-6 days, open the container and check. You will see seeds have sprouted as shown in the picture. Basically we created a greenhouse for seeds to germinate. They had enough moisture to germinate.
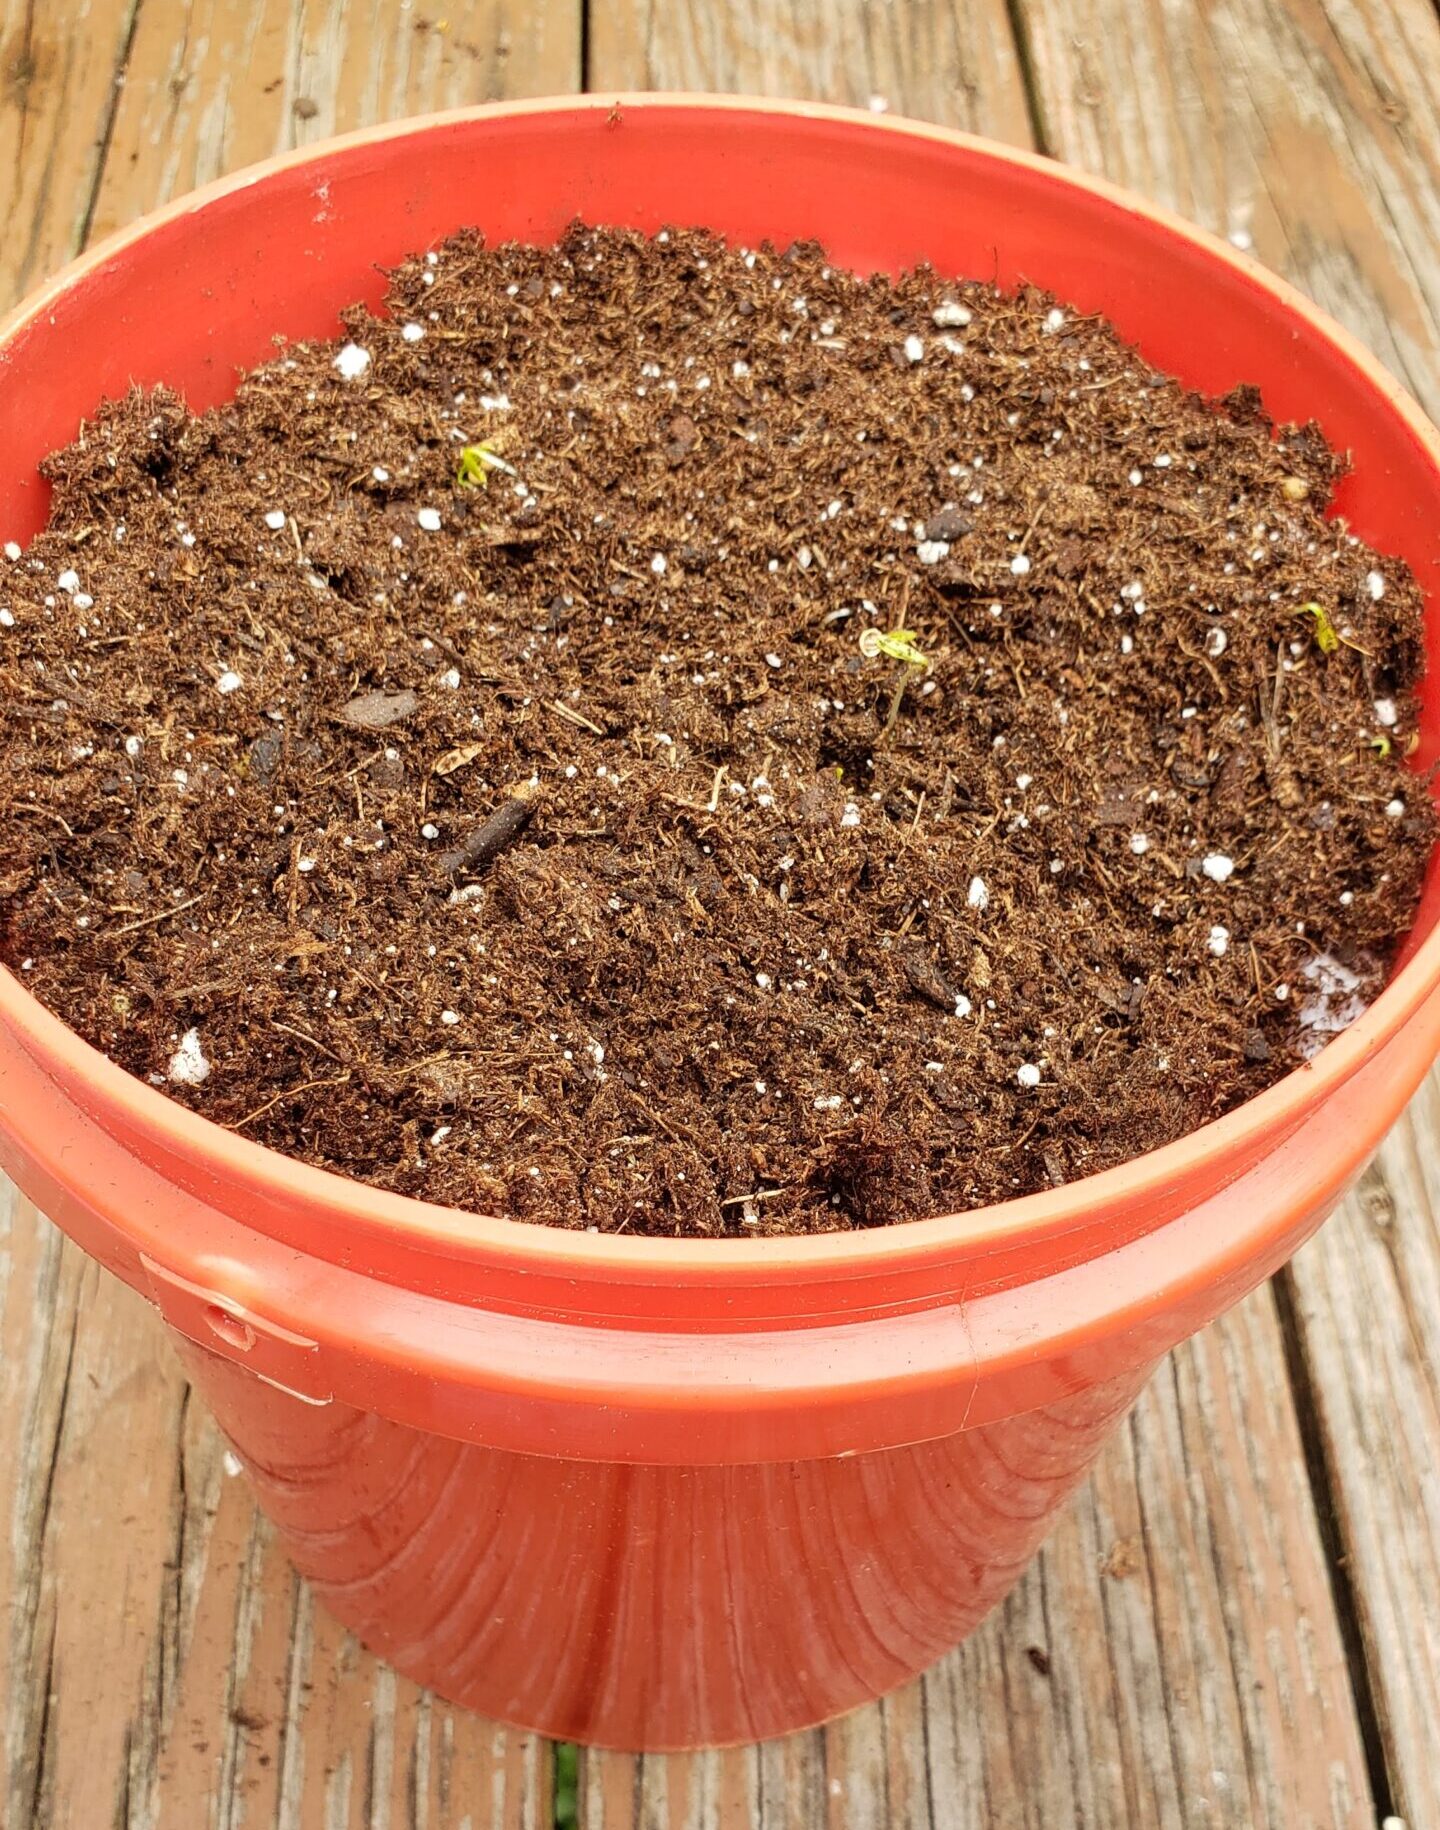
- Now either you can sow all the sprouted seeds in the soil or place the paper towel itself in the soil and cover it with more soil. Paper towel will be recycled and within a few days you will have home grown cilantro.
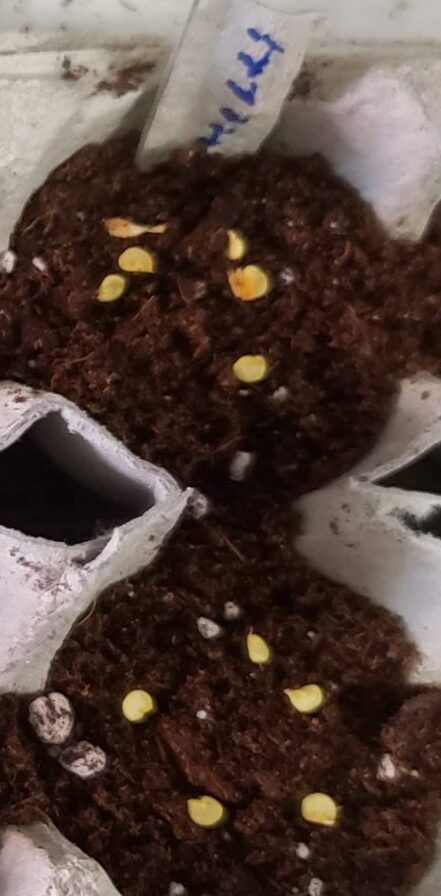
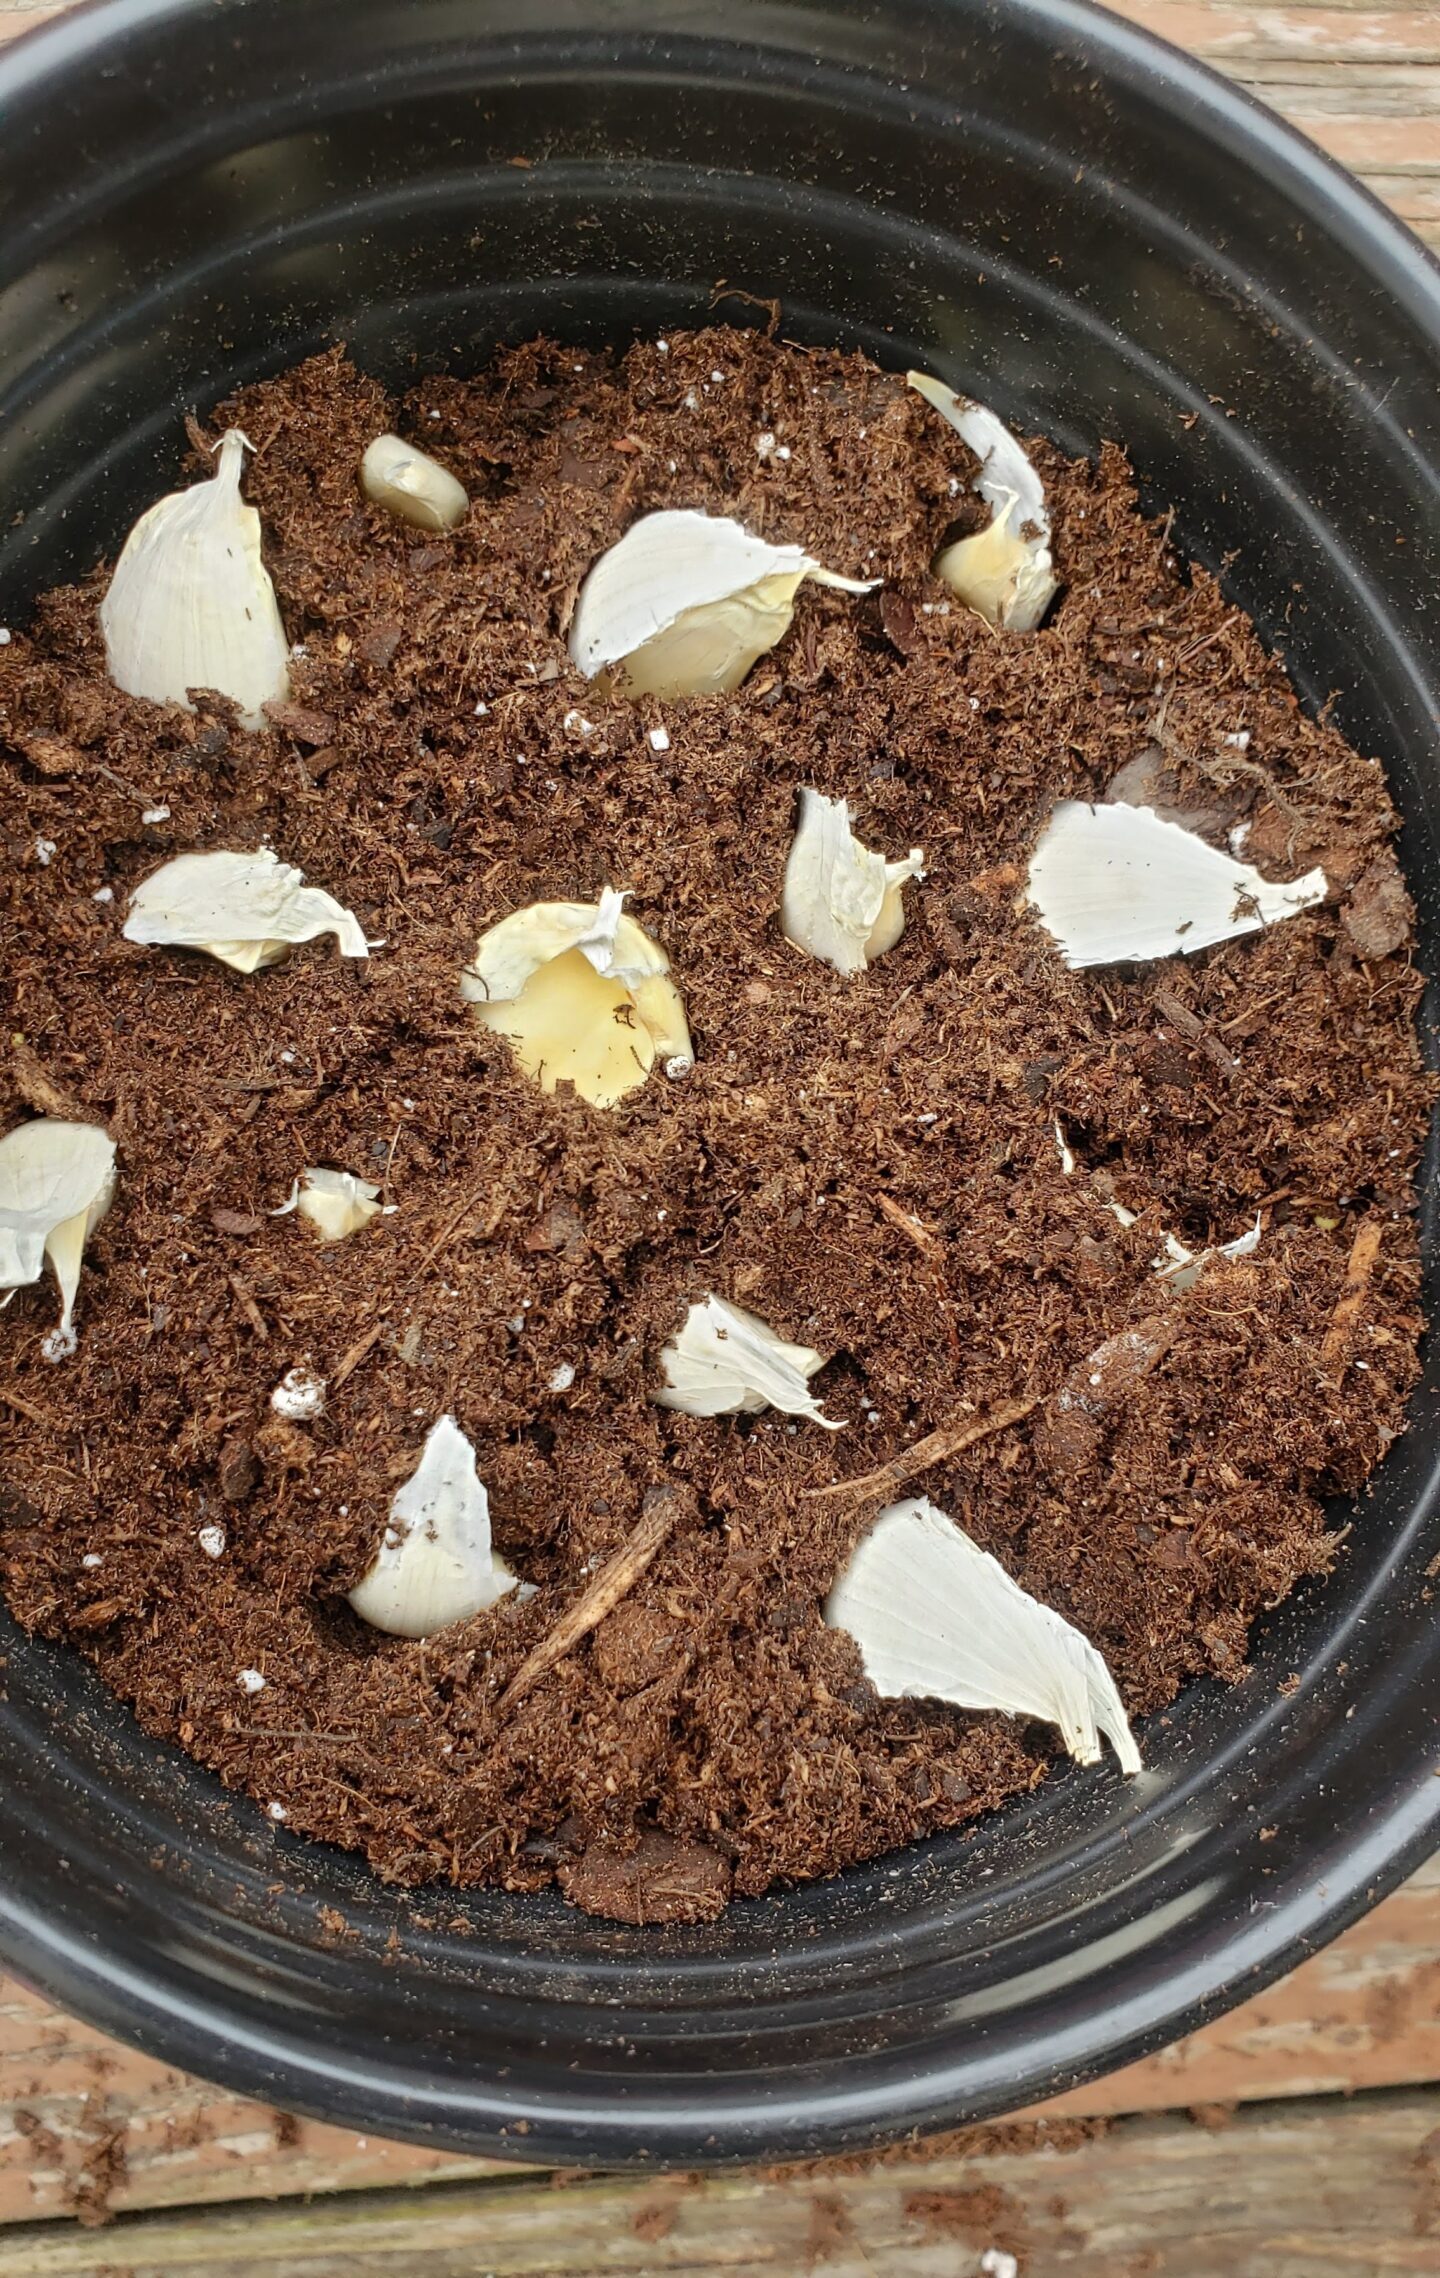
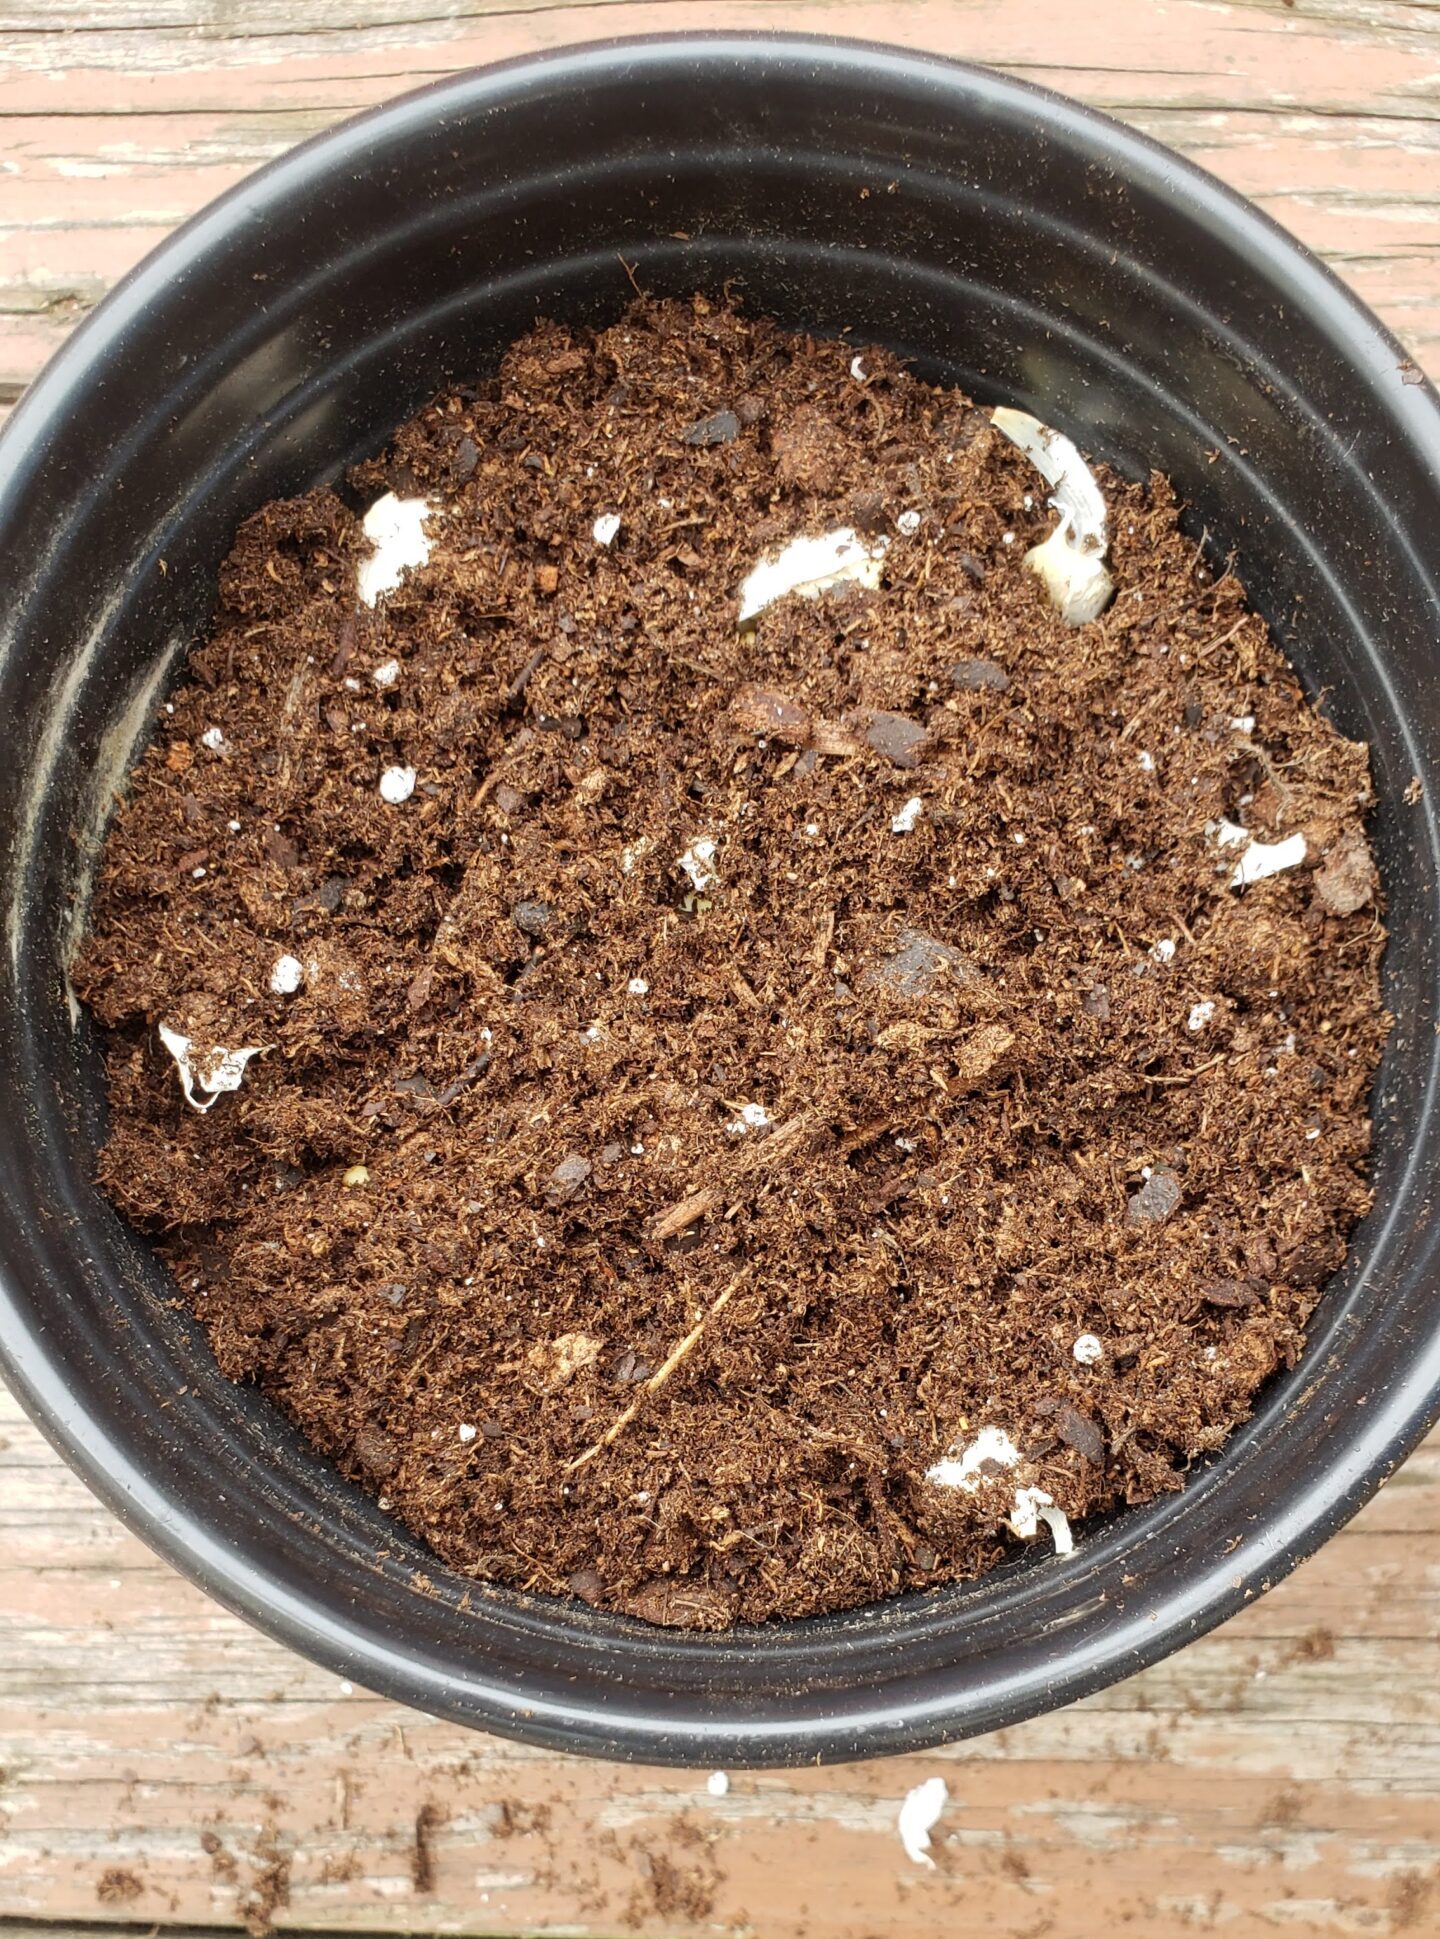
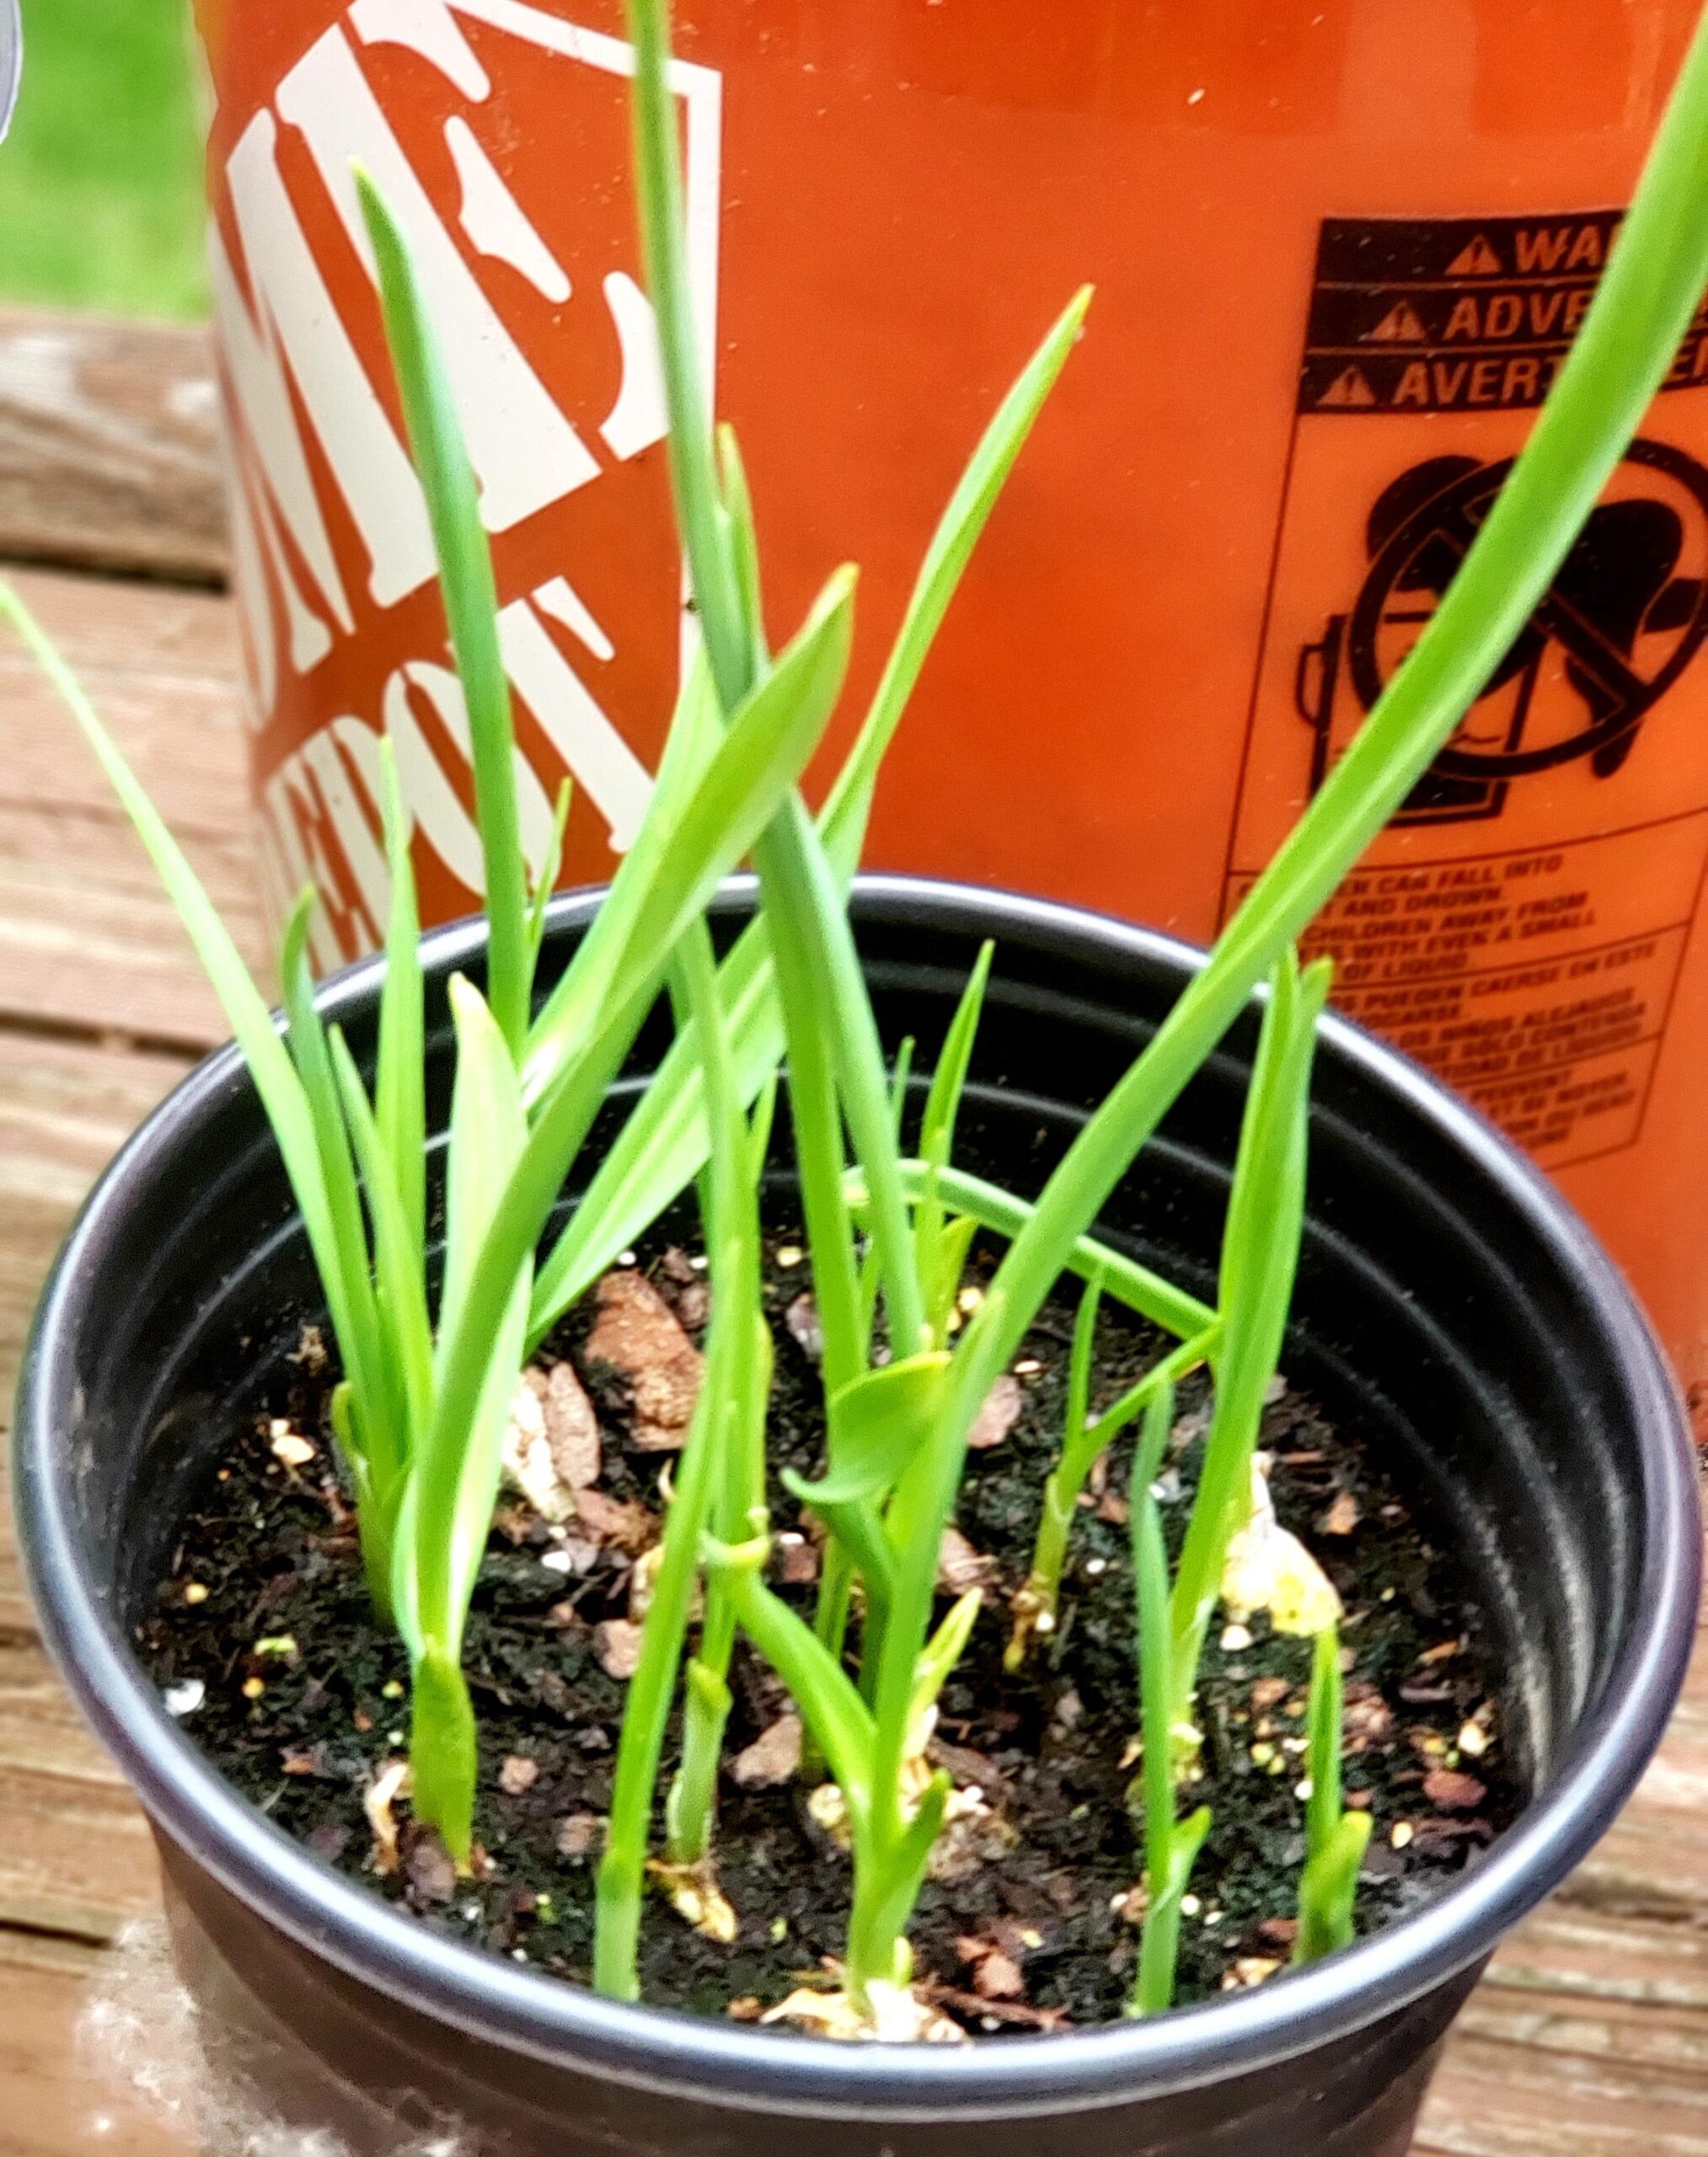
- Garlic Scapes
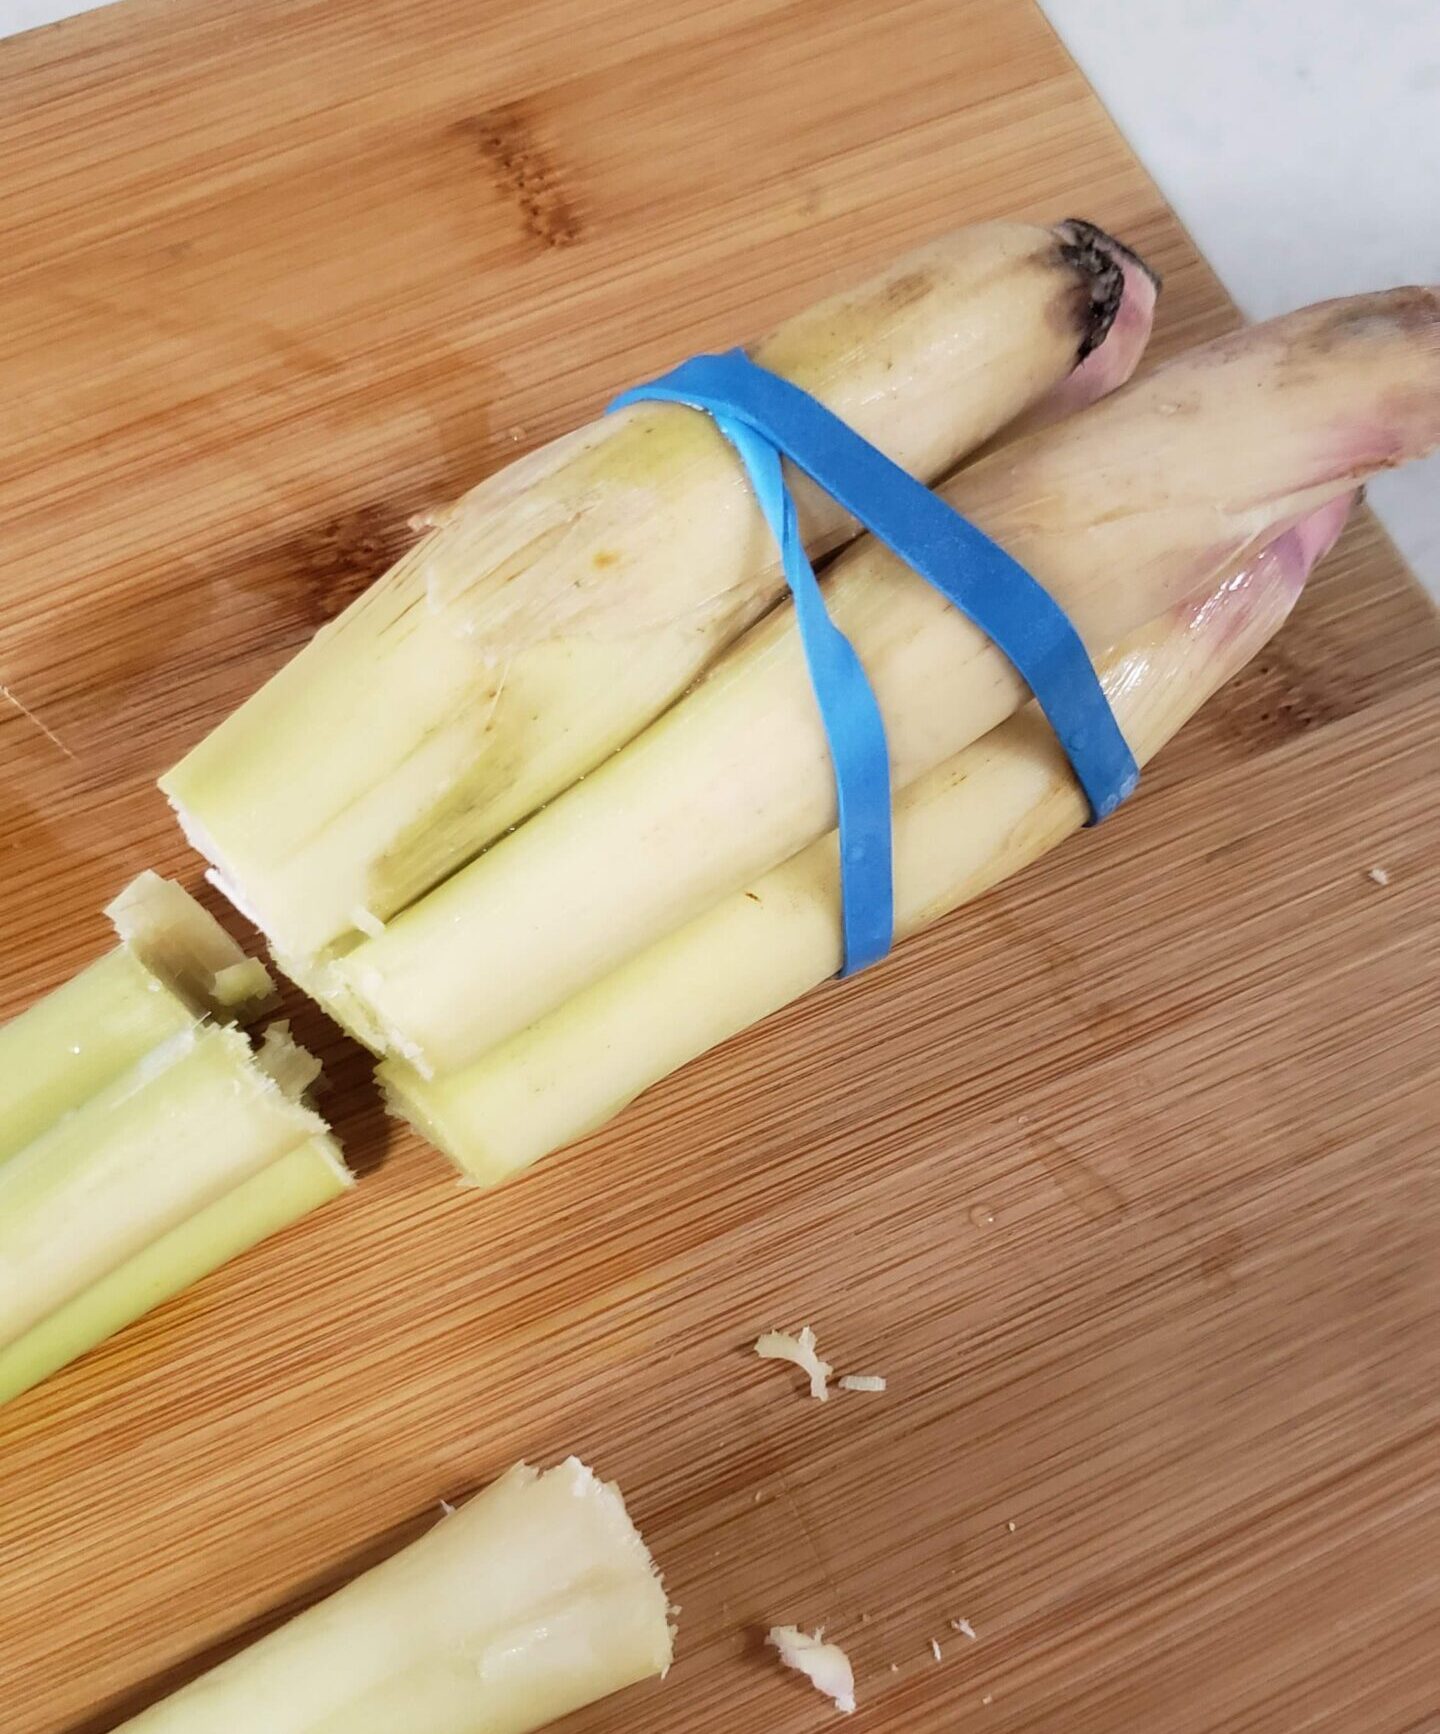
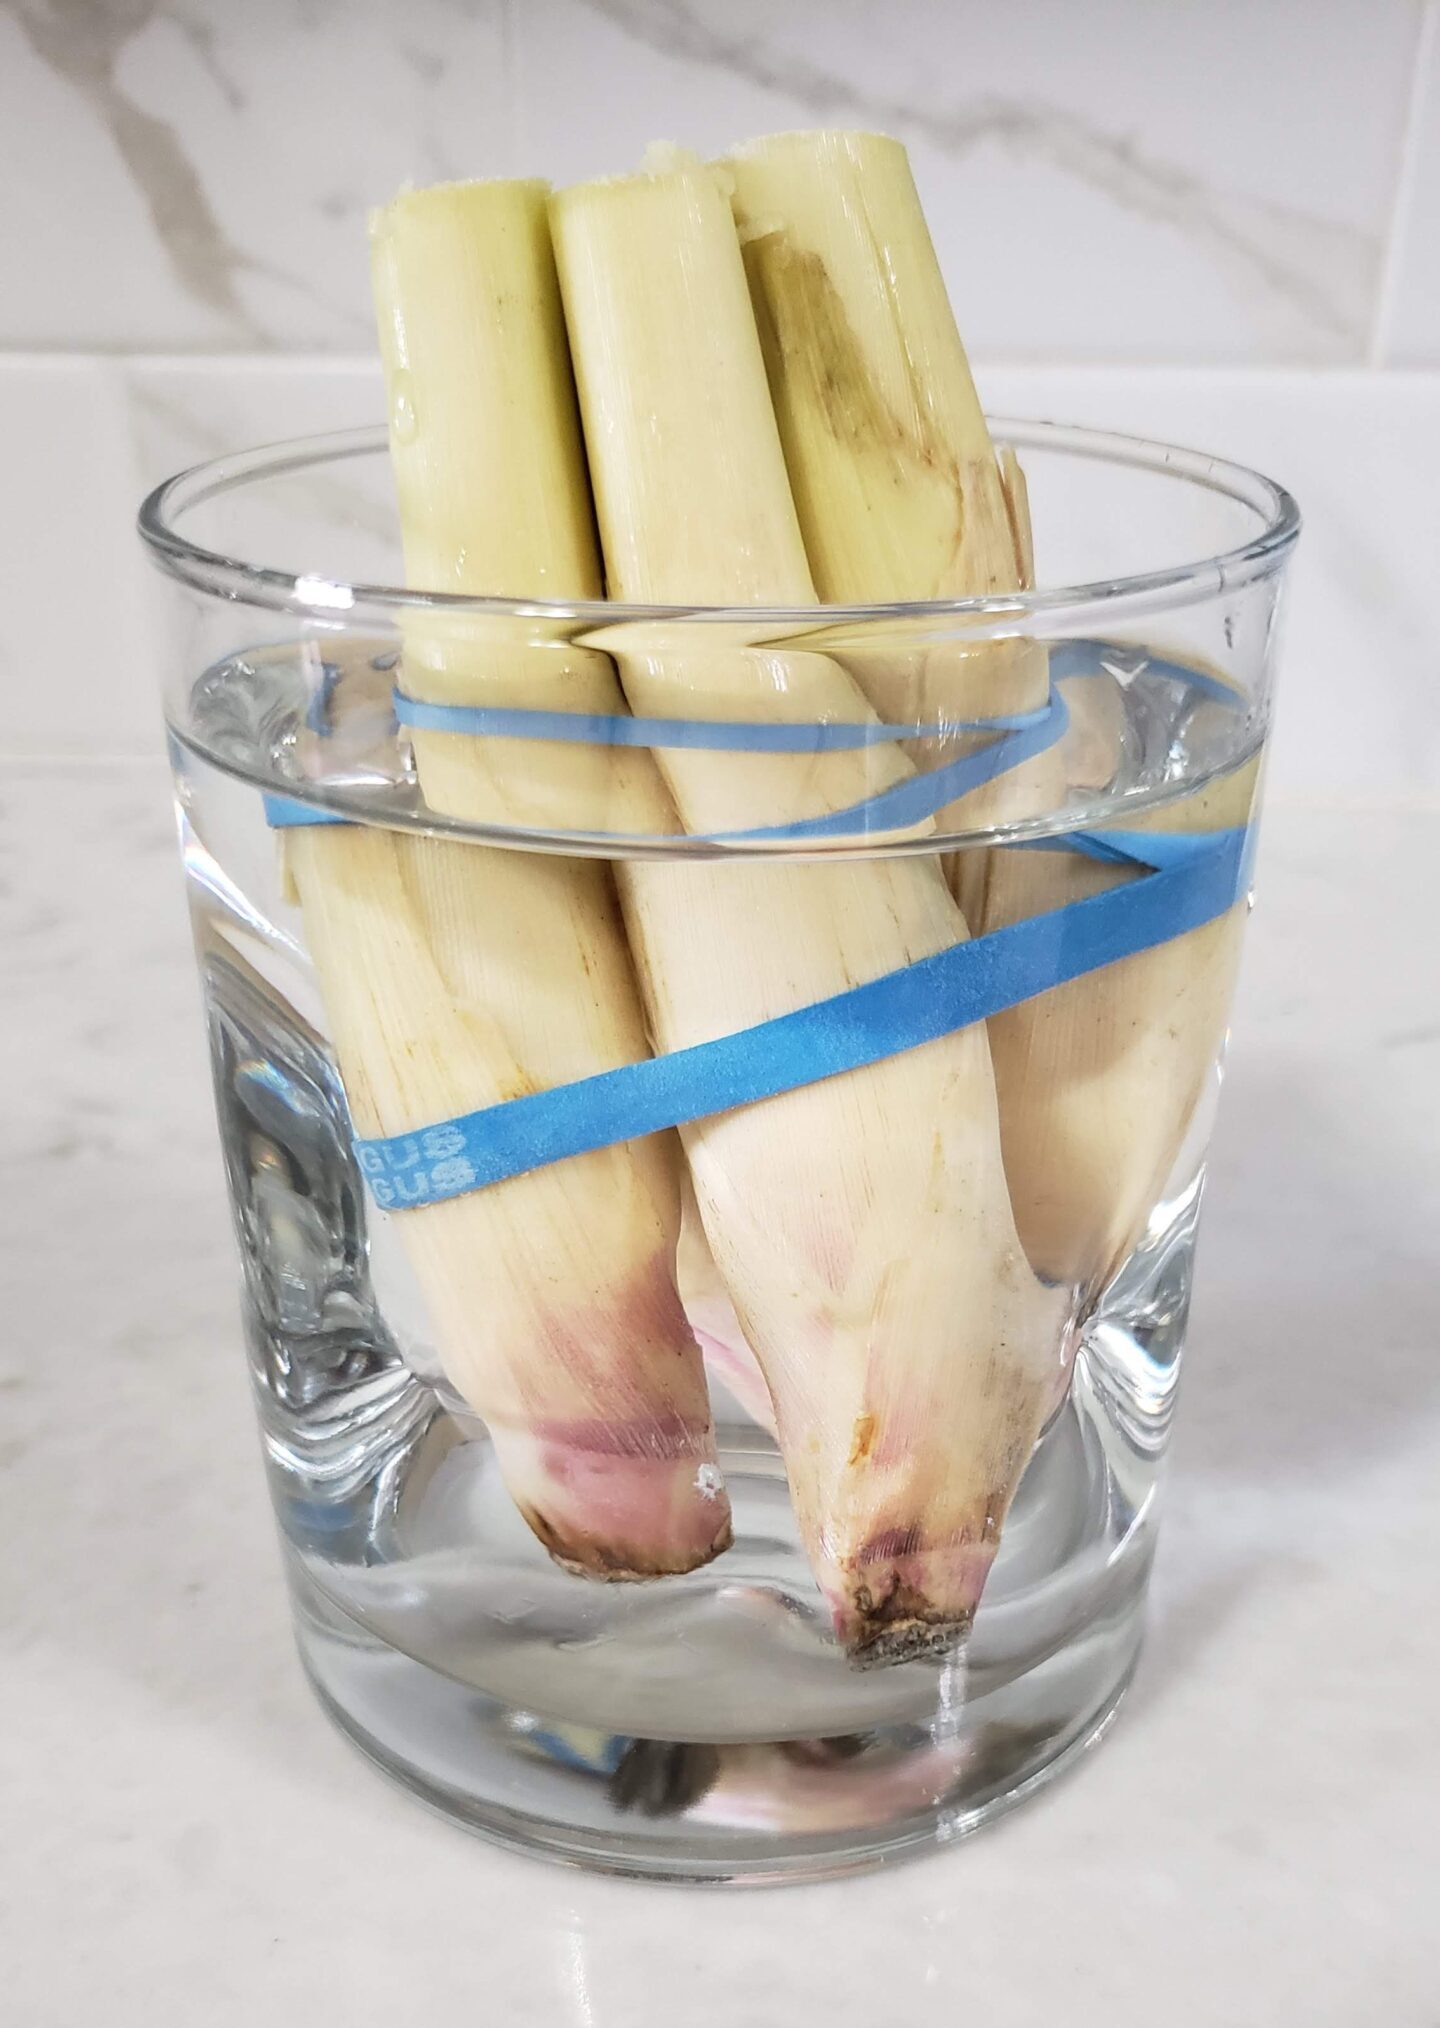
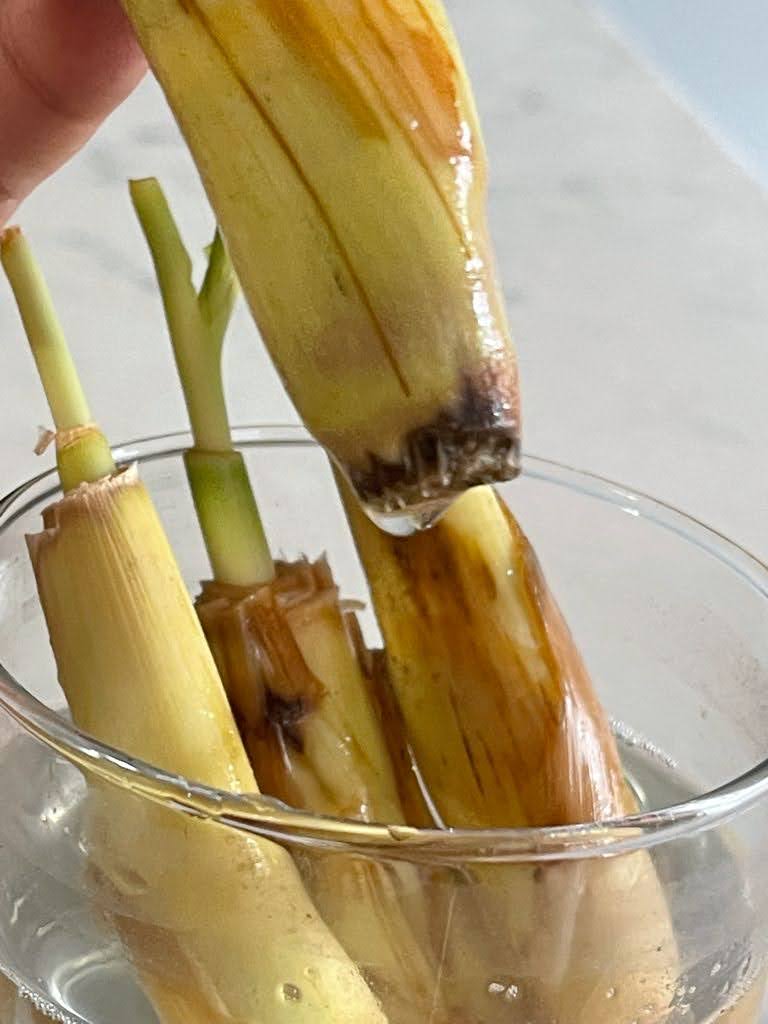
- Lemongrass
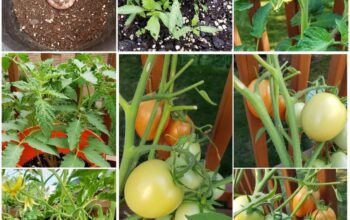
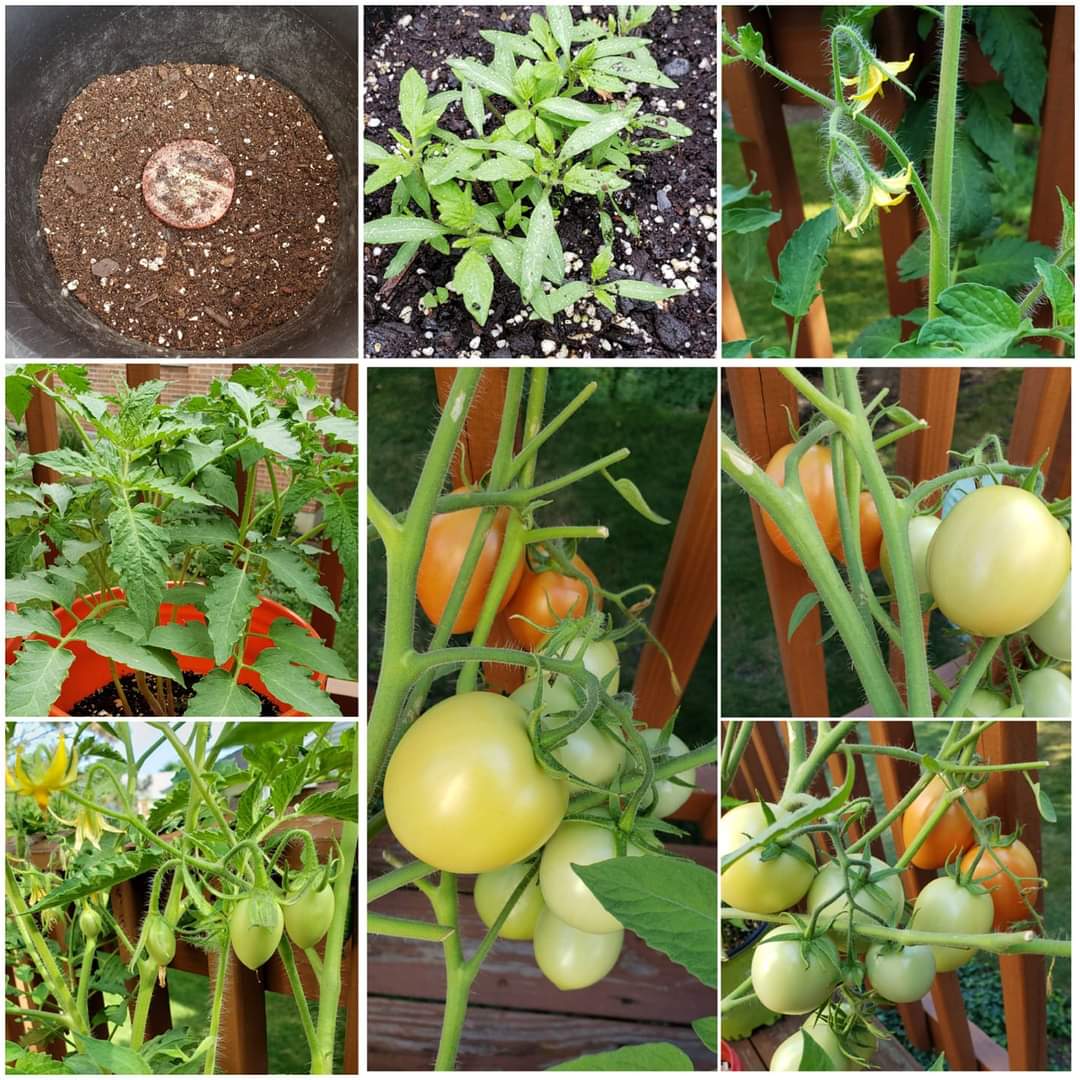
You can grow multiple tomato plants that can yield lots of tomatoes from a single slice of tomato. How to do that? Check out my blog post on the tomato propagation method. Here is the link.
Methi (fenugreek) leaves can be grown from its seeds that are a pantry staple in most Indian homes as it is a commonly used Indian spice. It is really simple to grow methi at home, the only care you need to take is to make sure methi seeds are not roasted. This can be done in two ways:
I have grown methi leaves using both methods and have got amazing results each time. However, I have heard people having difficulty with the second method sometimes. If you also find difficulty with the direct sowing method then try the first one. Basically the first method speeds up germination and sprouting of seeds and so chances of failing are minimal with that method.
During harvest, I cut the leaves from top and make sure not to remove stems from the roots. This way stems keep on regrowing and I can harvest methi leaves again in a few weeks. Since methi grows in cold weather, you can start growing them in spring. During summer when temperatures are very hot, I put them in shaded areas or partial sunlight. This way they will not get roasted and you can enjoy fresh methi.
These are yet another plant that can be grown at home for no extra cost since every household uses green chillies for cooking. I tried growing jalapeños last year and I am growing thai chilli peppers this year. Take your favorite chilli pepper and let it dry on your kitchen counter for a few days. You can also use dry red chillies which we often use for tempering curries. If using red chillies then just make sure they are not roasted. Once the chillies are completely dry, separate the seeds and sow them in soil. Chillies need hot weather to grow. So if you start during spring or beginning of summer then you may see slow growth initially. As the weather starts to get hot and humid, your chilli plant will flourish. Once again, a key to help your chilli plant grow well is to pinch the tops once they are 2 inch tall just like curry leaf plant. This will help in making the plant bushier, meaning more branches which leads to more peppers.
The next time you buy mint from grocery stores, make sure to save up those stems after using the leaves. We can grow fresh mint using those stems. There are two ways of growing mint from these stems. I have tried both the methods and got successful.
A key point in growing mint is to always grow them in pots/containers. Don’t grow them in open spaces like a raised bed or directly in the ground. Mint grows like weeds. They will take over the whole space within no time. So it is always a good idea to grow them in pots. Water them once a day or when the soil is really dry.

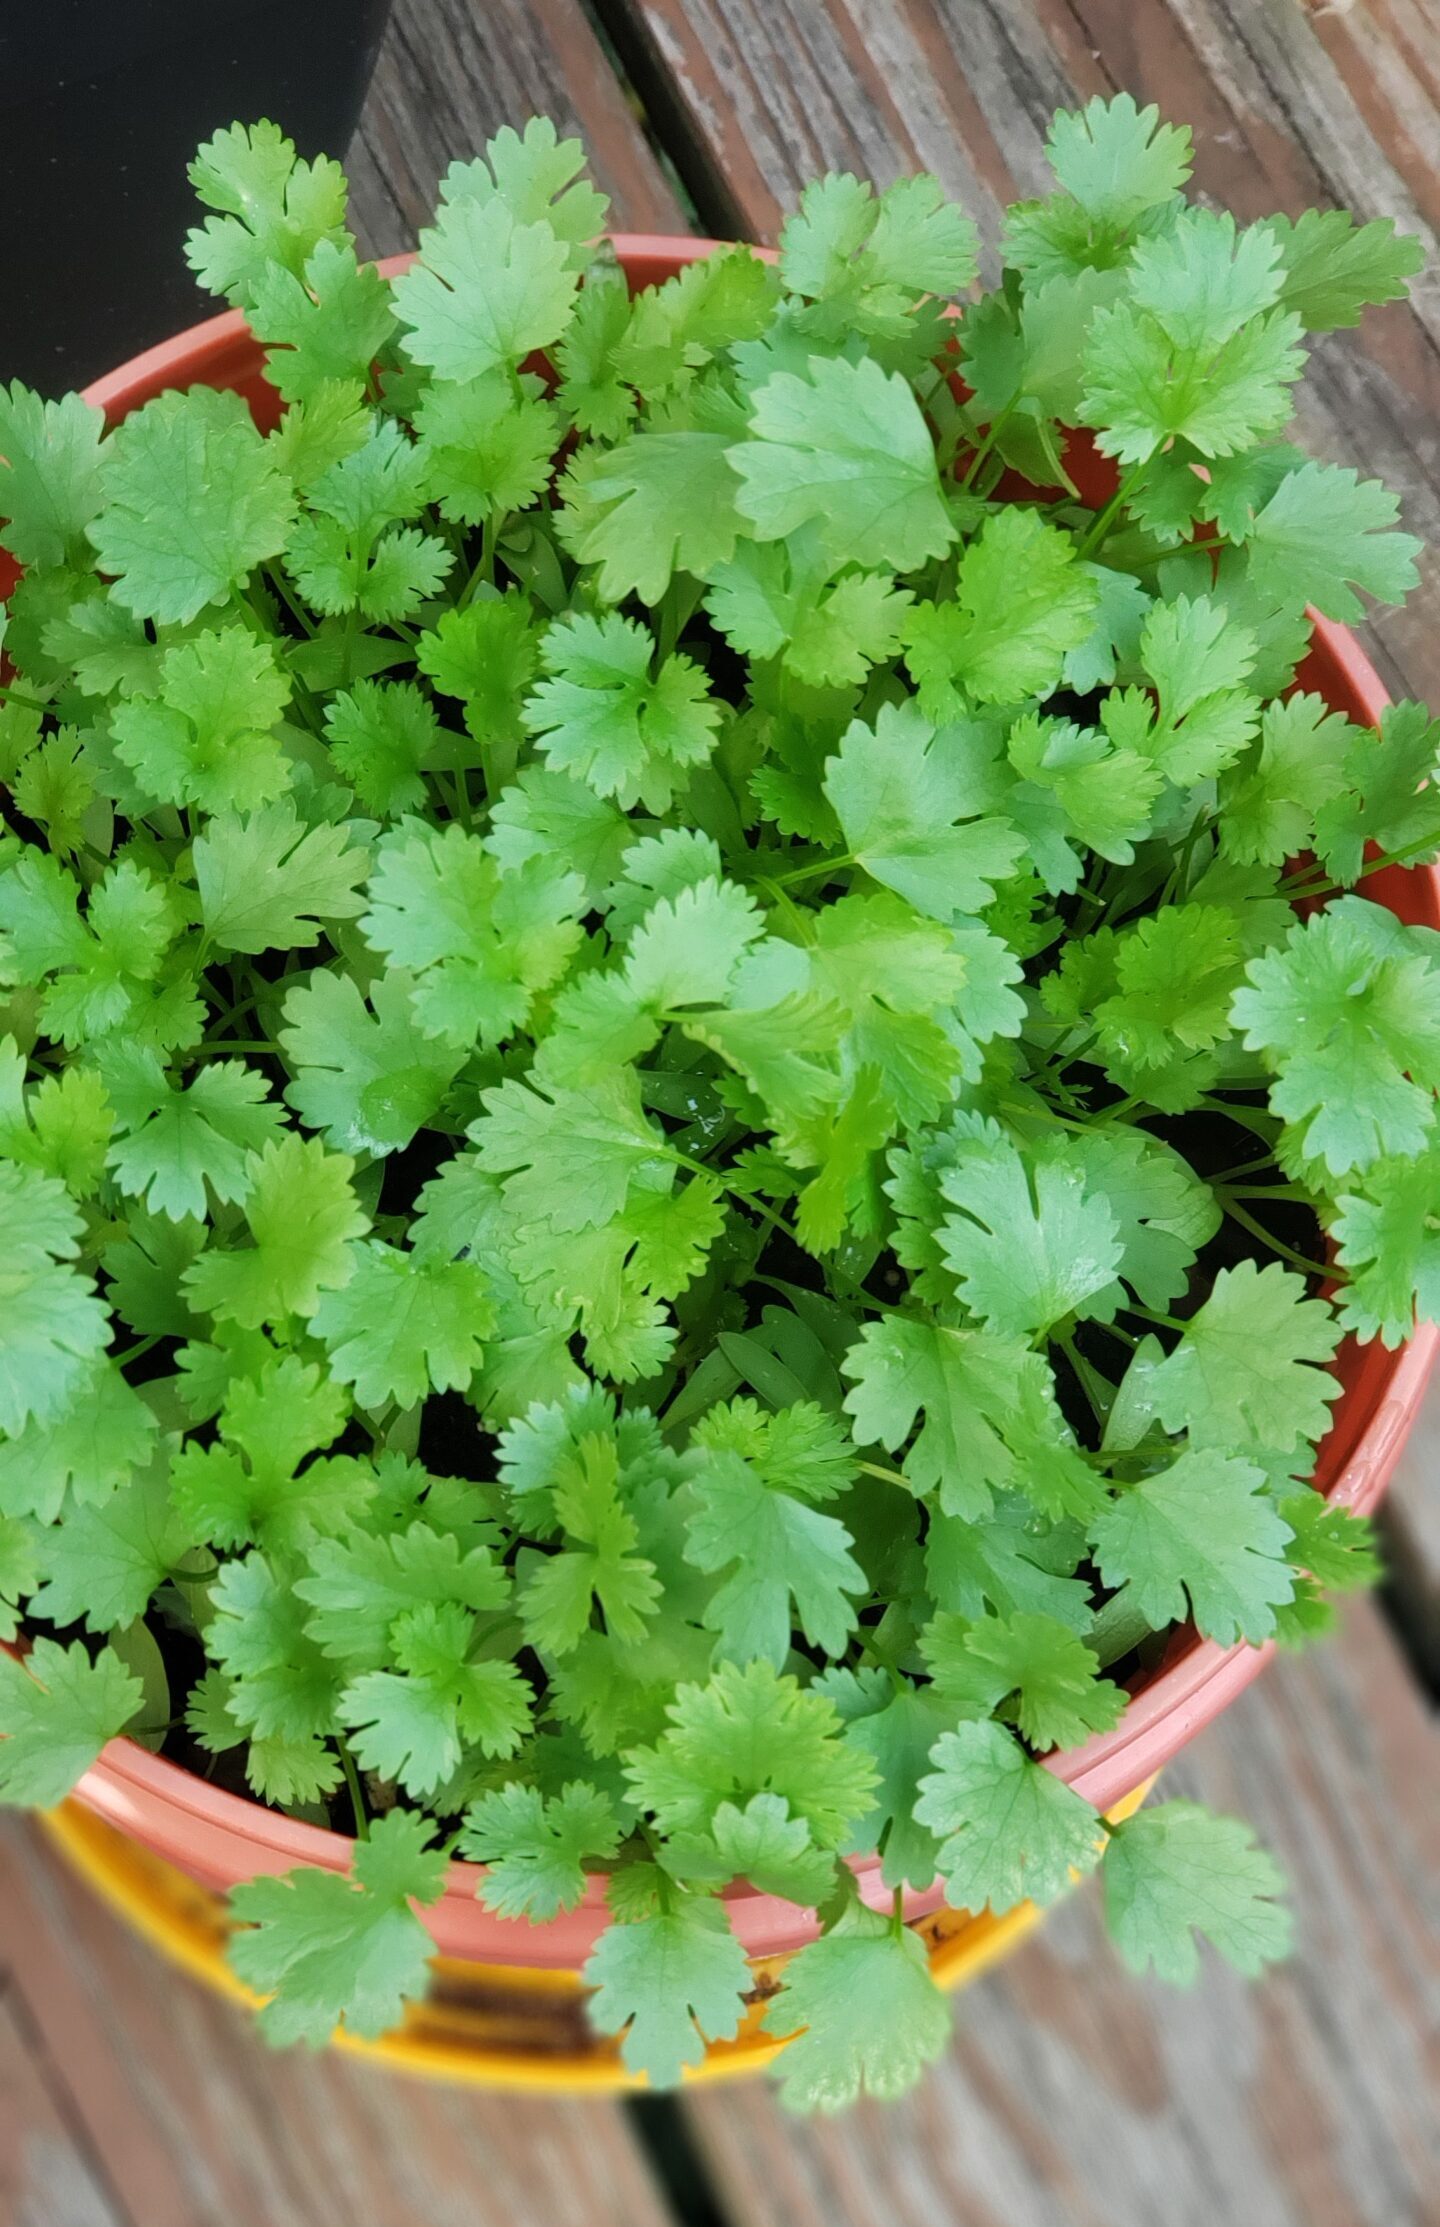
This is one herb which I always struggled to grow. I have tried so many ways in the past but none worked for me. Finally I was able to get my hands on a method that helped me successfully grow this herb that I call the darling of Indian food. No Indian savory dish is complete without garnishing with some cilantro or coriander leaves. So here I am sharing how I successfully grow cilantro in my deck garden.
Cilantro again is a cold weather herb. So start growing them in spring or grow them in fall. When the weather starts to warm up, place the plant in a shaded area to prevent it from getting roasted. For harvest, cut the leaves from the top using scissors and they will keep growing. When the weather is too hot for them, they will start bolting and flowering. In this case let it happen. This way you will be able to collect coriander seeds for next season.
Garlic scapes are very easy to grow and one of the most flavorful herbs in my opinion. To grow them, take whole garlic and break it into individual cloves. Now plant these cloves 2 – 4 inches apart and 2 inches deep, in their upright position (the wide root side facing down and pointed end facing up). Cover it lightly with soil. Place them in partial sunlight and water once a day. You will start to have garlic scapes in a few days. I love the fresh garlic scape flavor. I use them in making a lot of indian dishes. Cut them with scissors as and when needed and they will grow back again.
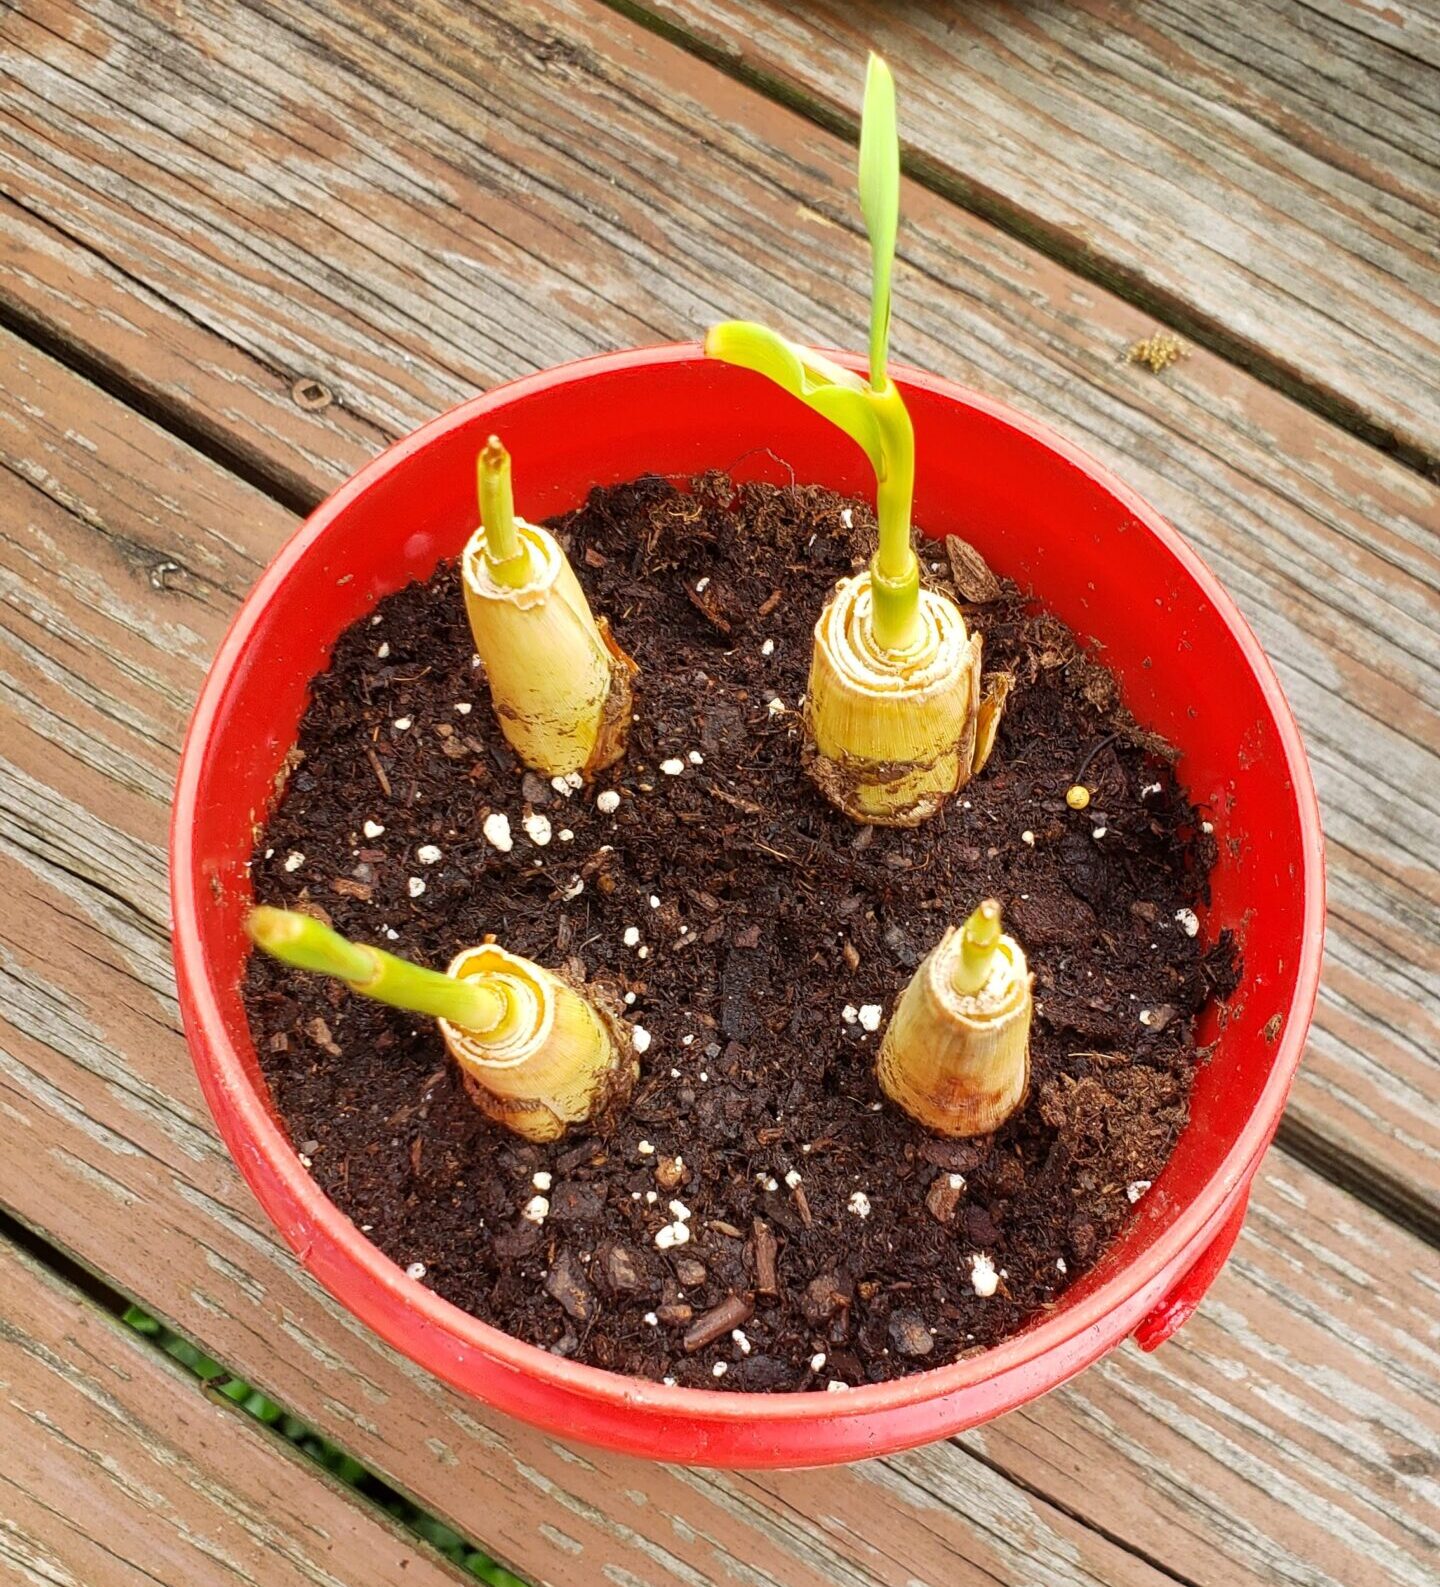
Growing lemon grass may be common for some people but it was really new for me. So I have included it in this blog. I have seen people grow spring onion scapes and lettuce from chopped heads of spring onions and lettuce. So I decided to do the same thing with lemongrass which we get in our grocery stores in USA. Of Course it’s not the same as what we get in India. Something is better than nothing, right?! So to grow lemongrass, I cut its ends and placed them in water in a cup. After a week, there was new growth and small roots started to come out as shown in the picture. I planted them in the soil and lemongrass started to grow in a few days. Now I have fresh lemongrass from my deck garden to add to my tea every morning.
As you can see, growing these plants is not very difficult. But plants need constant care just like kids. Our job is not done once the seeds/seedlings have sprouted or germinated. We have to take care of the plants like feeding them every once in a while, hydrating them or making sure the temperature around them is optimal. These are the little things that will help you get a good yield. I have mentioned all the tips and tricks which I use for my container plants in my blog post Gardening Tips. If you haven’t checked it out, click here. Let me know if you try growing them or any other plants which you grow from the kitchen pantry and are not mentioned here. I will happily include that in the list.
Happy Gardening! 🙂